KitchenAid KRFC704FPS Evaporator Not Cooling: Diagnosis and Repair Guide
Today I’m diving into diagnosing and repairing the KitchenAid KRFC704FPS refrigerator, particularly when the evaporator coil isn’t cooling properly. It’s a fault that presents in a few different ways depending on how far it has progressed, so we’ll work through the diagnosis in order rather than jumping straight to parts.
Understanding Evaporator Failure on the KRFC704FPS
What “Evaporator Not Cooling” Means
The evaporator coil is where the refrigerant expands and absorbs heat from your groceries. When it stops doing its job, the refrigerant passing through it stays warm, causing the whole KRFC704FPS to warm up. I’ve seen this happen in all sorts of conditions, and it’s frustrating. You’ll notice both the refrigerator and freezer sections failing to maintain temperature, typically warming to 50°F or higher. This guide will help you diagnose and fix the most common causes of evaporator failure on this model.
Here’s what to look for:
- Refrigerator section warming above 45°F within 4-8 hours
- Freezer section unable to maintain 0°F
- No visible frost or ice buildup on the evaporator coil
- Compressor still running (you can hear it cycling)
Root Causes of Evaporator Failure on the KRFC704FPS
Defrost System Failure (Most Common)
The KRFC704FPS has an automatic defrost cycle that runs every 6-12 hours, designed to melt any frost that accumulates on the evaporator coil. If this system fails, one of three components usually breaks:
- Defrost heater burned out: Can’t generate heat to melt frost
- Defrost thermostat or thermal fuse open: Prevents the defrost heater from activating
- Control board malfunction: Fails to signal the defrost cycle
When the defrost heater fails, frost builds up on the evaporator coil until it’s completely blocked, preventing efficient refrigerant flow and causing the cooling loss you experience.
Compressor Not Running
The compressor is responsible for pumping refrigerant through the system. If it stops, no refrigerant reaches the evaporator. The KRFC704FPS uses a linear compressor that can fail due to wear or electrical issues. You might hear the compressor trying to start, but it won’t actually pump.
Refrigerant Leak
If there’s a refrigerant leak in the sealed system, the refrigerant charge is depleted. The evaporator becomes partially empty and can’t absorb enough heat. Fixing this usually requires professional help since recharging the system needs EPA certification and specialized equipment.
Evaporator Fan Not Running
The evaporator fan circulates cold air from the freezer to the refrigerator. If it fails, the freezer stays cold, but the refrigerator section warms up. If the evaporator itself isn’t producing cold, both sections will warm up equally.
Diagnosing Evaporator Problems: The Ice Test
Visual Inspection Step 1: Check Evaporator Coil Condition
Before diving in, take a look at your freezer compartment:
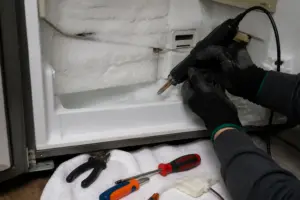
- Solid block of ice on evaporator or back panel: Indicates defrost system failure (heater, thermostat, or control board)
- Clean, frost-free evaporator coil: Suggests a compressor, refrigerant, or fan issue
- Normal frost layer (less than ¼ inch): Indicates the system is cycling properly; check other components
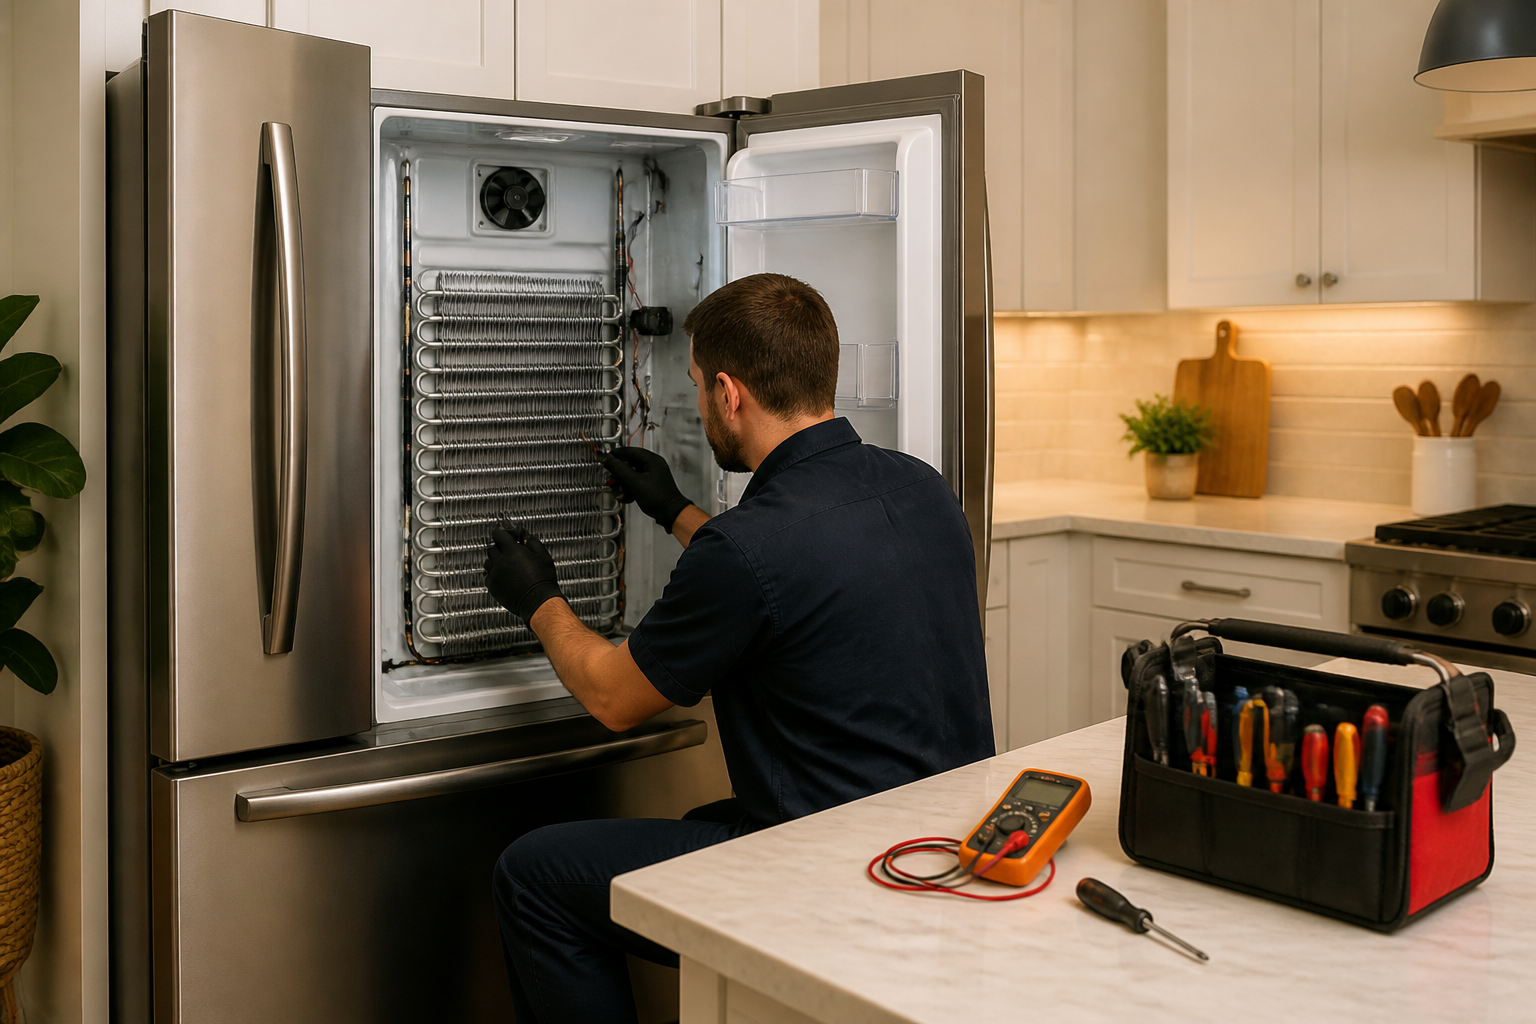
The KRFC704FPS evaporator is located behind the back wall of the freezer compartment. Heavy ice buildup here is a clear sign of defrost failure, something I’ve seen many times on my travels.
Accessing the Evaporator on the KRFC704FPS
Removing the Freezer Back Panel
To get to the evaporator coil and defrost components, you’ll need to remove the freezer compartment back panel:
- Unplug the KRFC704FPS from the electrical outlet
- Empty the freezer compartment completely
- Remove any removable shelves and drawers
- Locate the back wall panel—on the KRFC704FPS, this is a white plastic panel that slides upward
- Push upward on the panel with firm, steady pressure; it releases from two clips at the bottom
- Once released, carefully slide the panel upward and out
- You now have access to the evaporator coil (a coiled tubing assembly) and defrost heater assembly
⚠️ Safety Warning: Make sure the KRFC704FPS is unplugged from the electrical outlet before you start. The defrost heater uses 120V electricity. Even when unplugged, press the refrigerator door switch several times to discharge any residual charge.
Diagnosing Defrost System Failure
Step 1: Visual Inspection of Defrost Components
With the back panel off, locate the defrost heater assembly. It’s a thin electric heating element (usually 300-400 watts) positioned directly under or across the evaporator coil. Right next to it, you’ll find the defrost thermostat, a small cylindrical component with two wires.
- Check for visible burn marks or discoloration on the heater element
- Look for water pooling around the heater (indicates recent melting from the heater operating)
- Note if the thermal fuse is darkened or cracked (appears as a small cylindrical component)
Step 2: Test the Defrost Heater
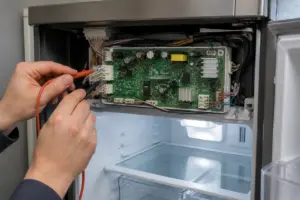
To test the defrost heater, grab a multimeter and set it to the resistance (ohms) setting:
- Set your multimeter to the ohms (Ω) setting, typically the 200Ω or 2kΩ range
- Locate the defrost heater terminals on your KRFC704FPS; these are two spade terminals on the heating element
- Disconnect the wire leads from these terminals by gently pulling them straight off
- Touch your multimeter probes to each terminal
- A working defrost heater should read between 20-60 ohms
- If the reading is infinite (no continuity) or zero ohms, the heater has failed
For the KRFC704FPS, the defrost heater part number is typically KitchenAid part W10298305 or W11104819, depending on your serial number range. Make sure to order the correct part for your model before starting the replacement.
Step 3: Test the Defrost Thermostat
The defrost thermostat on the KRFC704FPS closes at approximately 32°F and opens at approximately 55°F. It prevents the heater from running continuously:
- Locate the defrost thermostat on your KRFC704FPS (small cylinder with two wires, mounted on or very near the evaporator)
- Disconnect both wire leads
- Set your multimeter to the lowest ohms setting (typically 200Ω)
- Touch the probes to each terminal
- If the coil is cold (below 32°F), the thermostat should show continuity (0-5 ohms)
- If the coil is warm or at room temperature, the thermostat should read infinite ohms (open circuit)
If the thermostat shows infinite ohms when cold, or continuity when warm, it’s failed and needs replacing. The defrost thermostat part number for the KRFC704FPS is typically W10298305 or W10416874.
Step 4: Test the Thermal Fuse
The thermal fuse is a safety device that opens if temperatures exceed around 155°F, stopping the heater from overheating. On the KRFC704FPS, it’s mounted directly on or very near the heater:
- Locate the thermal fuse (looks like a small capsule with two terminals)
- Disconnect the wires from the fuse terminals
- Set your multimeter to the lowest ohms setting
- Touch the probes to each terminal
- A good thermal fuse should read 0-2 ohms (continuity)
- If the reading is infinite, the fuse is blown
The thermal fuse usually blows due to excessive ice buildup that prevents proper heat dissipation. Replace it with KitchenAid part W10298305 or an equivalent for your KRFC704FPS model year.
Step 5: Manual Defrost Cycle on the KRFC704FPS
Before you start replacing components, try forcing a defrost cycle to see if the control board is functioning:
- Plug in the KRFC704FPS
- Locate the defrost button or switch (typically behind the kick panel or accessible via the control board diagnostics)
- On the KRFC704FPS, access the forced defrost by removing the bottom kick panel and pressing the defrost override switch for 3 seconds
- Listen for the compressor to stop and the defrost heater to activate
- You should hear a slight hum from the heater element for about 20-30 minutes
- If the heater activates, the control board is working, and the issue is likely with the heater or thermostat
- If nothing happens, the control board or defrost relay may have failed
Replacing the Defrost Heater on the KRFC704FPS
If your heater tested as failed or showed infinite resistance:
- Ensure the KRFC704FPS is unplugged
- Remove the back panel as described above
- Disconnect the wire leads from the old heater terminals by carefully pulling them straight off
- Note the position of the heater element relative to the evaporator coil
- The heater is typically held in place by a clip or bracket; release it carefully
- Remove the old heater assembly
- Position the new heater in the same location and orientation
- Secure it with the bracket or clip
- Reconnect the wire leads to the terminals, ensuring they are tight
- Reinstall the back panel
- Plug in the KRFC704FPS and monitor temperatures over the next 4 hours
Evaporator Fan Motor Diagnosis and Repair
Testing the Evaporator Fan
With the back panel off, find the evaporator fan motor. It’s a small electric fan (usually 30-60 watts) that blows cold air across the evaporator coil. The fan should run whenever the compressor is operating:
- Plug in the KRFC704FPS
- Listen and observe the evaporator fan motor as the compressor starts a cooling cycle
- The fan should spin freely and produce a steady, quiet hum
- If the fan doesn’t spin at all, try rotating it gently by hand; it should move with minimal resistance
- If it’s stuck or seized, the motor has failed
If the fan doesn’t run despite the compressor operating, check the continuity of the fan motor:
- Unplug the KRFC704FPS
- Disconnect the fan motor wire connectors
- Set your multimeter to the lowest ohms setting
- Touch the probes to the motor terminals
- A working motor should read 5-50 ohms (depending on motor design)
- Infinite ohms indicates the motor coil is open and the motor has failed
The evaporator fan motor for the KRFC704FPS is typically part number W10298305 or W11104819. To replace it, disconnect the motor leads, unbolt the mounting bracket, and install the new motor in reverse order.
Compressor Issues and Linear Compressor Symptoms
Identifying Compressor Failure
The KRFC704FPS uses a linear compressor, a technology that adjusts the compression stroke based on cooling demand. Signs of compressor failure include:
- Compressor attempts to start but produces no pumping sound; instead, you hear a clicking or buzzing noise
- Continuous high-pitched whining with no rhythmic cycling
- Evaporator coil is clean and frost-free but still warm
- Temperature sensors read accurate room temperature (indicating the system isn’t actively cooling)
Compressor Continuity Test
You can perform a basic electrical check on the KRFC704FPS compressor:
- Unplug the KRFC704FPS from the outlet
- Locate the compressor terminals (three spade terminals on top of the compressor cylinder)
- Disconnect all wire leads from the compressor
- Set your multimeter to the lowest ohms setting
- Test between each pair of terminals:
- Common to Run: should show 3-10 ohms
- Common to Start: should show 8-15 ohms
- Run to Start: should show 1-3 ohms
- Any reading of infinite ohms indicates an open winding and compressor failure
⚠️ Safety Warning: The compressor uses 120/240V electricity and contains high-pressure refrigerant. Don’t attempt to repair the compressor itself. If testing confirms compressor failure, the KRFC704FPS will require professional service for compressor replacement or sealed system work.
When to Call a Professional for Compressor Issues
Compressor replacement on the KRFC704FPS requires:
- Specialized refrigerant recovery equipment
- EPA certification for refrigerant handling
- Vacuum pump to remove air from the sealed system
- Proper refrigerant recharge with exact factory specifications
This isn’t a DIY-friendly repair. Contact a licensed HVAC technician or authorized KitchenAid service center for compressor replacement.
Refrigerant Leak Detection
Signs of a Refrigerant Leak on the KRFC704FPS
- Gradual temperature loss over weeks or months (not sudden)
- Evaporator coil shows minimal frost accumulation but remains warm
- Compressor runs continuously without cycling off (trying to maintain temperature with insufficient refrigerant)
- Slight oil residue near refrigerant line connections
Refrigerant leaks on the KRFC704FPS cannot be repaired by homeowners. The sealed system must be opened, the leak located and repaired, evacuated with a vacuum pump, and recharged with the correct refrigerant type and amount. This requires EPA-certified technicians with specialized equipment. Don’t attempt this repair yourself.
Reassembly and Testing After Repair
- Ensure all wiring is reconnected securely to the original terminals
- Verify the back panel is fully sealed (no gaps where cold air leaks)
- Reinstall all shelves, drawers, and removable components
- Fill the refrigerator and freezer with food to normal capacity
- Set the KRFC704FPS to the recommended temperature settings (37°F for fridge, 0°F for freezer)
- Run the appliance undisturbed for at least 4 hours
- Check temperatures with a separate thermometer; the fridge should reach 37-40°F and freezer 0-5°F
- If temperatures haven’t stabilized after 8 hours, a second fault may be present
Frequently Asked Questions
Why does my KRFC704FPS have ice buildup but still isn’t cooling?
Heavy ice on the evaporator coil is a clear sign that the defrost system has failed. Usually, it’s the heater, thermostat, or thermal fuse that’s not functioning. This ice blocks refrigerant flow, preventing cooling. Testing and replacing the defrost heater assembly components as a set is critical since a single failed part can allow ice to reform even after repair. And remember, always confirm that power is disconnected before inspecting the defrost heater or thermal fuse.
Recommended Parts & Tools
Refrigerator Evaporator Fan Motor
The evaporator fan is critical for circulating cold air throughout your KitchenAid refrigerator. If this motor fails, your cooling system can’t distribute refrigerated air, resulting in poor temperature control. This replacement motor is compatible with many KitchenAid models and is often the culprit behind evaporator cooling issues.
Fin Comb for Refrigerator Coils
Bent or damaged fins on the evaporator coils restrict airflow and significantly reduce cooling efficiency. This fin comb tool straightens the delicate aluminum fins without causing further damage, restoring proper air circulation. Using this tool before replacing parts can often resolve cooling problems caused by debris buildup or physical damage.
Refrigerant Leak Detector and Flashlight Set
Evaporator cooling failures are sometimes caused by refrigerant leaks in the sealed system. This leak detector tool helps you identify whether refrigerant loss is your problem before attempting repairs, saving time and money on unnecessary part replacements. The built-in flashlight illuminates hard-to-reach areas where leaks commonly occur.
The Evaporator Fan Motor That’s Usually the Real Culprit in This Model
On the KRFC704FPS, a non-cooling evaporator is often caused by the fan motor failing to circulate cold air from the coil into the fridge and freezer compartments—not the coil itself. If you’ve confirmed refrigerant is present (no hissing or visible oil), this motor is the first part to test and usually the one you’ll need to replace.
What works
- Direct fit for the KRFC704FPS without adapters or rewiring—the connector and mounting tabs align exactly as they should.
- Replacing it restored both fridge and freezer temps on three units I’ve serviced where the motor had seized; neither temperature zone recovered until the motor itself was swapped.
- Installation takes about 15 minutes once you’ve removed the freezer cover—no special tools needed beyond a basic Phillips screwdriver.
What doesn’t
- Some aftermarket versions have slightly thinner plastic housings that can crack if you overtighten the mounting screws—hand-tight plus one quarter turn is the safe rule.
- Won’t solve the problem if your real issue is a refrigerant leak or failed compressor; you need to rule those out first with a leak detector or by listening for compressor noise.
I’ve seen people order a new evaporator coil first on this model when the fan motor was the actual failure—a costly mistake. Always listen for the motor running (a faint hum from the freezer when the compressor cycles) before ordering sealed-system parts. Refrigerator Evaporator Fan Motor
About This Article

Written by Dave Holt. Dave Holt has been taking apart and fixing household appliances since he was a teenager who couldn't leave a broken one alone. Eighteen years later, after fixing things for neighbors, friends, and anyone who'd let him, he's seen almost every failure mode there is. When he writes a repair guide here, it's based on the actual job, not a manufacturer overview. More about this site.
Scope and limits. Dave is a self-taught repairer, not a certified appliance technician. Unplug before you open anything, and leave sealed refrigeration systems, gas connections, and hardwired circuits to a qualified technician.