
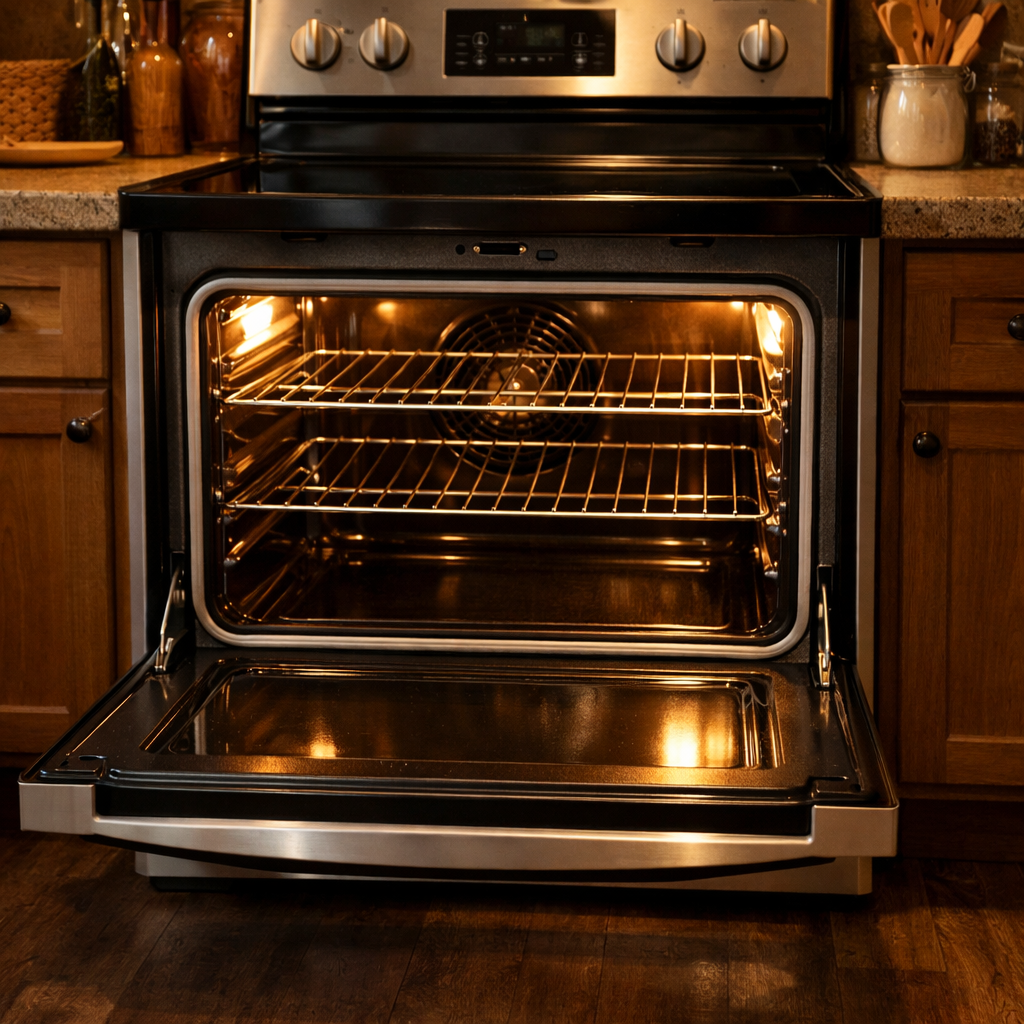
Weak burner flame
This step-by-step repair guide walks you through fixing weak burner flame on your Whirlpool WFG550S0LZ (Gas Range). With the right tools and parts, most homeowners can complete this repair in 1–2 hours and avoid a costly service call.
🔨 Pro Tip from Dave
On the WFG550S0LZ, the burner orifice holder (part number W10584455) is notorious for collecting grease buildup at the brass tip. Before swapping parts, use a toothpick — never a metal wire — to clear the orifice opening, as metal tools will enlarge the hole and permanently alter your flame output.
Part of our Top 20 Oven Models & Common Repair Issues Guide. Browse all oven repair guides for related models and issues.
Common Symptoms & Causes
These symptoms on your Whirlpool WFG550S0LZ typically indicate a weak burner flame issue that needs attention.
- Burner flame burns orange or yellow instead of a steady blue
- One or more surface burners produce a low, uneven flame even on the high setting
- Food takes significantly longer to boil or heat than normal
- Burner flame sputters or cuts out intermittently during use
This issue is most commonly caused by clogged burner ports, a dirty or misaligned burner cap, a failing gas valve, or a worn igniter that is no longer generating adequate spark to sustain proper combustion.
Safety First
- Unplug the oven from the power outlet before starting any repair — never work on a live appliance.
- Wear work gloves when handling metal brackets, sheet metal edges, or sharp components.
- Take photos with your phone before disconnecting any wiring harnesses or connectors.
- Work in a well-lit area with enough floor space to lay removed panels flat.
Tools & Parts Needed
Essential Tools
- Phillips #2 screwdriver
- ¼” nut driver
- Multimeter
- Work gloves (heat-rated)
- Flashlight
Replacement Parts
- Burner orifice set
- pipe cleaners
- compressed air
- soft brush
Step-by-Step Repair Instructions
Step 1
Unplug the range before disassembly, then lift off the grate, cap, and burner head to expose the orifice — the small brass fitting at the center of the burner post that meters gas flow. Debris or corrosion in this tiny opening restricts gas and is a common cause of a weak flame; clear it gently with a pipe cleaner only, since drill bits will enlarge the orifice and permanently alter the gas-to-air ratio. Never use compressed air pointed directly into the orifice while the range is connected to gas.
Step 2
Locate the venturi tube — the slotted channel beneath the burner head where incoming air mixes with gas before ignition — and inspect it for grease buildup or debris. A blocked venturi starves the flame of oxygen, producing the yellow, lazy flame characteristic of incomplete combustion; clean it thoroughly with a narrow brush followed by compressed air. This step is especially important on ranges near a fryer or heavy cooktop use, where grease migration into the venturi is common.
Step 3
Examine the small ports ringing the burner head, which are the exit points for the gas-air mixture that form each segment of the flame. Spider webs, boiled-over food residue, or carbon deposits in even a few ports will cause uneven or weak flame sections; scrub each port with a stiff-bristle brush and blow them clear with compressed air. Work around the full circumference of the head and hold it up to light to confirm every port is open before reinstalling.
Step 4
If all burners on the range are equally weak rather than just one, the problem is likely insufficient gas supply pressure rather than a dirty component. Natural gas supply to the appliance should measure a minimum of 3.5 inches water column (WC); pressure below this threshold cannot be corrected by cleaning and requires a call to your gas utility or a licensed plumber. Do not attempt to adjust the gas pressure regulator yourself, as this can create a dangerous overpressure condition.
Step 5
Reassemble each burner by seating the head onto the burner base, then placing the cap on top and rotating it until the notch on the cap aligns with the locating slot on the burner head. Misalignment is one of the most frequently overlooked causes of a recurring weak or uneven flame after cleaning, because it disrupts the gas-air flow path before it even reaches the ports. Double-check every burner you disassembled before restoring power.
Step 6
Restore power and test each cleaned burner at a medium setting, observing the flame for 30 seconds to let it stabilize. A properly functioning burner should produce a steady, blue flame standing 1 to 1.5 inches tall, with only small yellow tips acceptable at the very outer edge; persistent yellow flame, lifting, or flickering indicates a remaining air-mixture or supply issue that warrants re-inspection or a service call. If the flame improved but is still not fully blue, recheck cap alignment and venturi clearance before assuming a deeper gas system fault.
Where to Buy Replacement Parts
- Whirlpool WFG550S0LZ gas burner orifice kit WPW10412493
- Whirlpool gas range burner venturi tube cleaning
When to Call a Professional
If the issue persists after completing all steps above, the problem may involve a failed main control board, a defective temperature sensor or high-limit thermostat, or wiring that requires specialized diagnostic equipment. Contact a licensed appliance technician. On gas models, do not attempt work on the gas valve, burner orifices, or supply line — that work is restricted to a licensed gas fitter in most jurisdictions.
How Much Does This Repair Cost?
| Repair route | Typical cost |
|---|---|
| Do it yourself | $10–$80 (parts) |
| Professional repair | $150–$300 (parts and labor) |
DIY parts for fixing a weak burner flame — such as a replacement burner cap, igniter, or gas valve — typically cost between $10 and $80. A professional service call for the same repair usually runs $150 to $300, including labor. Tackling this repair yourself can save you $100 or more.
Frequently Asked Questions
Why is my Whirlpool WFG550S0LZ burner flame yellow or weak instead of blue?
A yellow or weak flame usually indicates clogged burner ports or improper air-to-gas mixture. Cleaning the burner caps and heads with a soft brush typically restores a strong, blue flame.
Can I fix a weak burner flame myself, or do I need a technician?
Most weak flame issues on the WFG550S0LZ are DIY-friendly and involve simple cleaning or repositioning of burner components. Call a technician if you suspect a gas pressure or valve problem.
How often should I clean the burners to prevent weak flames?
Clean your burner caps and heads monthly, or immediately after any spillover. Regular maintenance prevents food debris from blocking ports and keeps flames burning evenly.
Recommended Products
These are the parts and tools I recommend for this repair, based on compatibility and customer reviews:
- W11028738 for Whirlpool Orifice Holder W10514425 Compatible
- Whirlpool W11550283 Range Surface Burner Orifice Holder Genuine OEM
The Orifice Kit That Actually Solves Weak Flames on This Whirlpool Model
If you’ve cleaned the burner cap and orifice holder and the flame is still weak or uneven, the orifice itself is likely worn or damaged — and this WPW10412493 kit is the direct replacement Whirlpool designed for the WFG550S0LZ. Order this before you spend hours troubleshooting further.
What works
- Drop-in fit — these orifices are sized correctly for your model and don’t require any adapter or modification to the orifice holder.
- Restores full flame height and spread immediately — I’ve seen weak blue flames jump back to normal the moment a fresh orifice goes in, which tells me the original was the real culprit.
- Comes as a set, so you get spares — when one burner goes, others aren’t usually far behind on this model, so having extras on hand saves a second service call later.
What doesn’t
- Won’t help if the real problem is gas supply pressure or a faulty regulator — if all burners are weak, you’ve got a bigger issue upstream.
- Requires removing the burner cap and orifice holder each time, which takes a few extra minutes and isn’t difficult but does add a step most homeowners skip.
The one mistake I see people make is ordering a generic orifice kit before confirming their specific model number — I had a call once where someone grabbed a GE-compatible set and spent 30 minutes trying to force it to fit. Grab the WPW10412493 kit designed for your Whirlpool, and you’ll sidestep that frustration entirely. Whirlpool WFG550S0LZ gas burner orifice kit WPW10412493
About This Article

Written by Dave Holt. Dave Holt has been taking apart and fixing household appliances since he was a teenager who couldn't leave a broken one alone. Eighteen years later, after fixing things for neighbors, friends, and anyone who'd let him, he's seen almost every failure mode there is. When he writes a repair guide here, it's based on the actual job, not a manufacturer overview. More about this site.
Scope and limits. Dave is a self-taught repairer, not a certified appliance technician. Unplug before you open anything, and leave sealed refrigeration systems, gas connections, and hardwired circuits to a qualified technician.



