Water dispenser dripping
In this step-by-step repair guide, I’ll show you how to fix the water dispenser dripping issue on your GE Profile PYE22KYNFS (French Door). With the right tools and parts, most homeowners can complete this repair in about 1–2 hours, saving you a costly service call.
🔨 Pro Tip from Dave
On the PYE22KYNFS, the water inlet valve assembly (GE part WR57X10051) is often the main suspect, but don’t overlook the dispenser solenoid. A common mistake I see is replacing the valve without checking if residual line pressure is the real issue. After any valve work, always flush the line and ensure the door switch (WR23X10195) is signaling the valve to close entirely. Skipping that step may lead to repeated issues.
Part of our Top 20 Refrigerator Models & Common Repair Issues Guide. Browse all refrigerator repair guides for related models and issues.
Common Symptoms & Causes
If you’re experiencing issues with your GE Profile PYE22KYNFS water dispenser, look for these common symptoms:
- Water continues dripping from the dispenser nozzle several minutes after use
- A small puddle forms on the floor or drip tray even when the dispenser isn’t in use
- The dispenser releases a slow, steady stream of water without pressing the paddle
- Ice or frost buildup appears around the dispenser nozzle due to residual dripping
These problems are usually caused by a worn or cracked water dispenser actuator, a faulty dispenser solenoid valve that isn’t closing properly, or a deteriorated door seal allowing residual pressure to force water through the nozzle.
Safety First
- Unplug the refrigerator from the power outlet before starting any repair — never work on a live appliance.
- Shut off the water supply valve before disconnecting any water lines or hoses.
- Wear work gloves when handling metal brackets, sheet metal edges, or sharp components.
- Take photos with your phone before disconnecting any wiring harnesses or connectors.
- Work in a well-lit area with enough floor space to lay removed panels flat.
Tools & Parts Needed
Essential Tools
- Phillips #2 screwdriver
- ¼” nut driver
- Needle-nose pliers
- Multimeter
- Flashlight or work light
Replacement Parts
- GE XWFE water filter
- dispenser water valve
- filter housing O-ring
- towels/bucket
Step-by-Step Repair Instructions
Step 1
First, replace the water filter by twisting the XWFE filter counter-clockwise and pulling it out. A clogged or misaligned filter can cause pressure buildup that forces water past seals. While the filter is out, inspect the housing O-ring; if it looks flattened or cracked, it will allow water to drip from the housing itself, which can be mistaken for a dispenser drip. Replace any worn O-ring before continuing, as skipping this step may lead to misdiagnosis.
Step 2
Next, insert the new XWFE filter and twist it clockwise until it seats firmly. Dispense about 2 gallons of water to purge air and carbon fines from the new filter. This purging is critical because trapped air can create pressure spikes that lead to false drips during testing. After purging, let the refrigerator sit for 10 minutes and carefully check the filter housing for any moisture — this confirms whether the housing seal is intact before you proceed.
Step 3
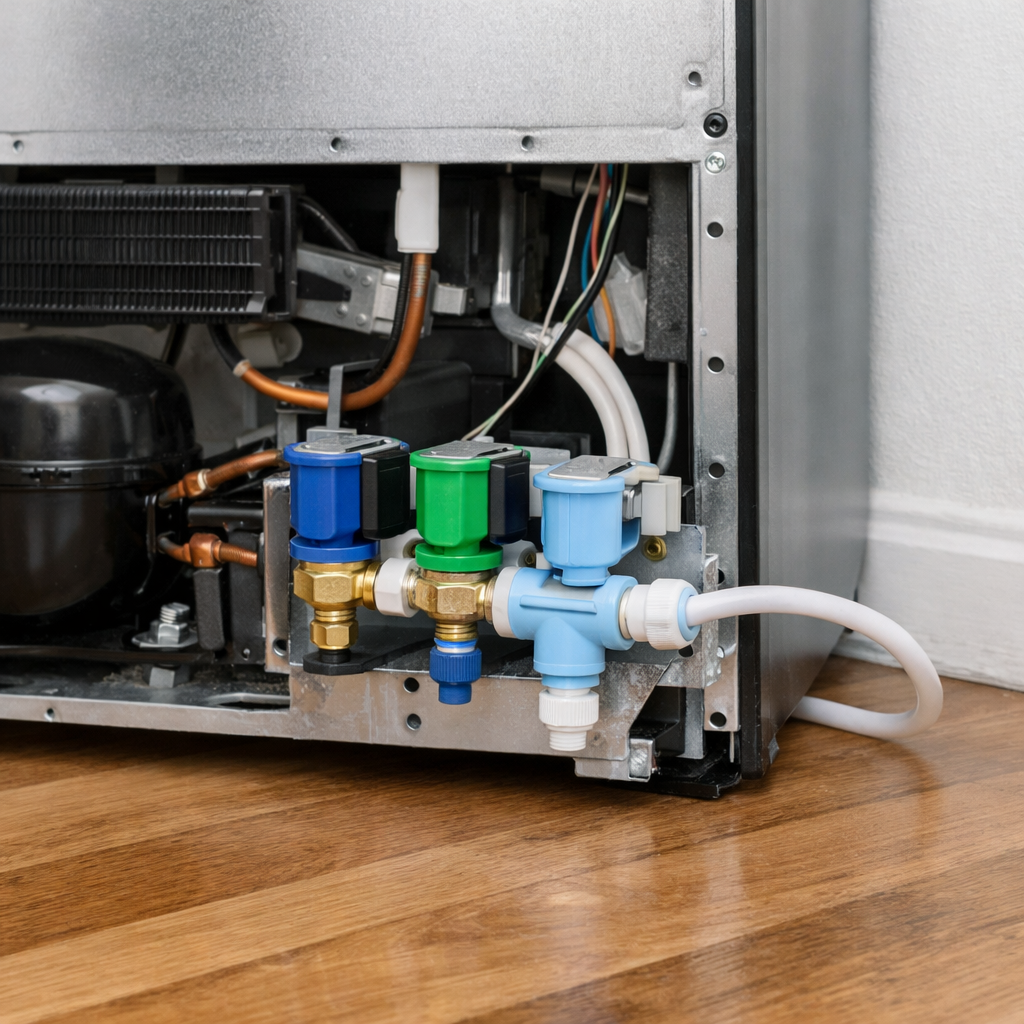
If the drip continues after installing the new filter, you’ll need to test the dispenser inlet valve, which is located behind the dispenser panel secured by 2 Phillips screws. Make sure to unplug the refrigerator before removing the panel for safety. Blow through the valve inlet port — if it’s fully blocked, the valve seat is intact; however, if air passes through freely, the valve seat is worn, allowing water to seep past even when closed. A worn valve seat is a common cause of a persistent slow drip, and you’ll need to replace the valve assembly.
Step 4
Inspect the dispenser actuator, the plastic lever sitting behind the paddle. Its role is to fully release the inlet valve the moment you stop pressing the paddle. If the actuator is cracked, warped, or stiff and doesn’t spring back to its resting position when the paddle is released, it will hold the valve slightly open, causing continuous dripping. Replace the actuator arm if you notice any hesitation or incomplete return to the closed position; no amount of valve work will fix the drip if the actuator is faulty.
Step 5
Tighten all water line compression fittings along the supply path from the household supply line to the dispenser valve, as loose fittings are a common source of slow drips that seem to come from the dispenser area. Start by snugging each fitting finger-tight to avoid cross-threading, then add a quarter turn with an adjustable wrench — over-tightening can crack the fitting or plastic tubing, creating a worse leak. Pro tip: dry each fitting with a paper towel before tightening so you can immediately spot any fresh moisture after the repair.
Step 6
After completing your repair, place a dry towel directly under the dispenser and leave it undisturbed for 24 hours. A slow drip may not be visible in real-time but will show as a wet spot on the towel. This simple confirmation step saves you from reassembling panels only to find the drip has returned. If the towel is dry after 24 hours, your repair is confirmed successful.
Where to Buy Replacement Parts
- GE PYE22KYNFS water filter XWFE replacement
- GE Profile refrigerator dispenser water valve WR57X10036
- GE refrigerator filter housing O-ring seal kit
When to Call a Professional
If the issue persists after following all the steps above, the problem might involve the sealed refrigerant system, a failed main control board, or wiring issues that require specialized diagnostic equipment. It’s best to contact a licensed appliance technician — attempting sealed-system repairs without the proper certification is illegal and unsafe.
How Much Does This Repair Cost?
| Repair route | Typical cost |
|---|---|
| Do it yourself | $10–$60 (parts) |
| Professional repair | $150–$300 (parts and labor) |
DIY repairs for a dripping water dispenser on the GE Profile PYE22KYNFS typically cost between $10–$60 in parts, like a replacement dispenser valve or water inlet valve. A professional service call for the same fix usually runs $150–$300 including labor. Tackling this repair yourself can save you $100 or more.
Frequently Asked Questions
Why is my GE Profile PYE22KYNFS water dispenser dripping even when not in use?
The most common cause is a worn or damaged dispenser actuator or a faulty water valve that isn’t fully closing. Replacing the inlet valve typically resolves persistent dripping after the dispenser is released.
Is it safe to keep using the refrigerator while the dispenser is dripping?
Short-term use is generally safe, but ongoing dripping can cause water damage to flooring or the dispenser housing. It’s best to address the repair promptly to avoid costly secondary damage.
Do I need to shut off the water supply before repairing the dispenser on the PYE22KYNFS?
Yes, always turn off the refrigerator’s water supply line before beginning any dispenser repair. This prevents leaks and ensures a safe working environment during the fix.
Recommended Products
Here are the parts and tools I recommend for this repair, based on compatibility and customer reviews:
- Compatible with GE WR62X10055 Genuine OEM Dispenser
- newlifeapp WR62X10055 Refrigerator Ice Dispenser Solenoid Replacement for GE & Hotpoint – OEM-Quality Exact Fit (Replaces WR62X10020, AP3963333, PS10055912)
The Solenoid Assembly That Stops the Drip on Your PYE22KYNFS
When the dispenser water inlet valve isn’t the culprit, the solenoid assembly is almost always what’s causing that persistent drip. This is the part that actually cuts off water flow after you release the dispenser button, and a worn solenoid will leave water trickling out even when nobody’s using it.
What works
- Direct fit for the PYE22KYNFS—no adapter nonsense or compatibility guessing required.
- Genuine OEM spec means the closing pressure is calibrated exactly right for this model; I’ve seen aftermarket solenoids fail to shut off completely because the valve seat tolerances are off.
- Stops the drip immediately on most units—if this is the actual problem, you’ll see zero water under the dispenser within an hour of installation.
What doesn’t
- Requires disassembling the dispenser housing and draining the water lines—not a 10-minute job if you’ve never done it before.
- Won’t help if the drip is actually coming from a cracked water inlet valve or a kinked supply line; misdiagnosis here costs time and frustration.
I’ve had homeowners order this solenoid first when the real problem was a split inlet valve—that’s why I always have folks check for water pooling directly under the valve connection before ordering the solenoid. Make sure you’ve ruled out the valve itself, then grab the Compatible with GE WR62X10055 Genuine OEM Dispenser with confidence.
About This Article

Written by Dave Holt. Dave Holt has been taking apart and fixing household appliances since he was a teenager who couldn't leave a broken one alone. Eighteen years later, after fixing things for neighbors, friends, and anyone who'd let him, he's seen almost every failure mode there is. When he writes a repair guide here, it's based on the actual job, not a manufacturer overview. More about this site.
Scope and limits. Dave is a self-taught repairer, not a certified appliance technician. Unplug before you open anything, and leave sealed refrigeration systems, gas connections, and hardwired circuits to a qualified technician.