
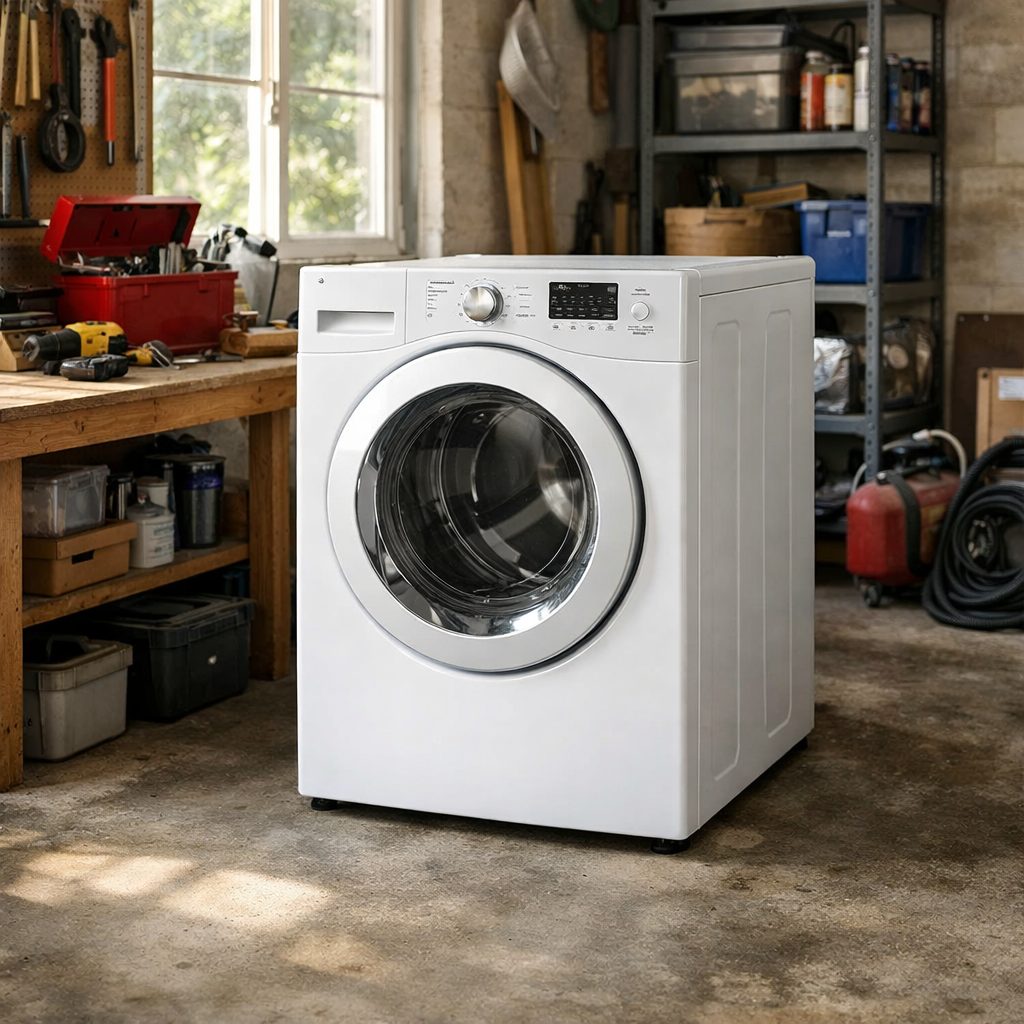
TurboWash not activating
In this step-by-step repair guide, I’m going to walk you through fixing the TurboWash not activating issue on your LG WM4500HBA (Front Load). With the right tools and parts, most homeowners can complete this repair in 1–2 hours and save themselves from a costly service call.
🔨 Pro Tip from Dave
On the WM4500HBA, many technicians overlook the dual water inlet valve assembly (part number ACU72950101) and head straight for the control board — that’s a costly mistake. TurboWash requires a minimum water pressure of 14.5 PSI to trigger properly, so always check your home’s incoming pressure and inspect the valve screens for sediment buildup before replacing anything electronic.
Part of our Top 20 Washing Machine Models & Common Repair Issues Guide. Browse all washing machine repair guides for related models and issues.
Common Symptoms & Causes
If TurboWash is not activating on your LG WM4500HBA, you may notice one or more of the following signs during your wash cycle.
- The TurboWash indicator light on the control panel fails to illuminate when selected
- Cycle times remain unchanged at the standard duration instead of the shortened TurboWash runtime
- The washer completes the full cycle without the high-pressure nozzle spray activating
- Selecting TurboWash causes the control panel to beep and revert to the default wash setting
These issues are most commonly caused by a faulty control board, a worn or unresponsive membrane touchpad, or a failed water inlet valve preventing the TurboWash nozzles from receiving adequate water pressure.
Safety First
- Unplug the washing machine from the power outlet before starting any repair — never work on a live appliance.
- Shut off the water supply valve before disconnecting any water lines or hoses.
- Wear work gloves when handling metal brackets, sheet metal edges, or sharp components.
- Take photos with your phone before disconnecting any wiring harnesses or connectors.
- Work in a well-lit area with enough floor space to lay removed panels flat.
Tools & Parts Needed
Essential Tools
- Phillips #2 screwdriver
- ¼” nut driver
- Torx T20 screwdriver
- Multimeter
- Bucket and towels
Replacement Parts
- TurboWash spray nozzles (2)
- water inlet valve
- control board
- descaling solution
Step-by-Step Repair Instructions
Step 1
First off, confirm that TurboWash is actually enabled. The feature must be activated by holding the TurboWash button for 3 seconds — many ‘failures’ are simply the mode being off. Press and hold the button until the indicator lights; if the display acknowledges the selection but the wash cycle still shows no change in behavior, then it’s time to move on to a physical inspection.
Step 2
TurboWash relies on two dedicated spray nozzles mounted at the top of the drum that inject a high-pressure water stream to accelerate saturation. If these nozzles are scaled with calcium deposits, water flow is blocked, and the function effectively does nothing, even when electrically active. Open the washer door and look up into the top of the drum opening to visually inspect both nozzles. If you see white mineral buildup or the openings appear restricted, remove the nozzles and soak them in undiluted white vinegar for one hour to dissolve the scale. Pro tip: in hard-water areas, run a monthly tub-clean cycle with a citric acid cleaner to prevent this buildup from recurring.
Step 3
To remove the nozzles for cleaning or replacement, first unplug the machine — you don’t want to deal with any accidental sprays while working. Remove the two rear screws on the top panel and lift it free, exposing the water inlet line running across the top of the tub where the nozzles thread in. Use an adjustable wrench to unscrew them, then clear any remaining calcium deposits from the inlet ports with a small pick or brush before reinstalling.
Step 4
If the nozzles are clear, the next suspect is the dedicated TurboWash solenoid branch on the water inlet valve, located behind the rear access panel. A failed solenoid means the valve cannot open to supply water to the nozzles regardless of what the control board commands. Unplug the machine, disconnect the solenoid terminals, and test resistance across the TurboWash valve coil with a multimeter set to Rx1. A healthy coil should read 200–500 ohms, and an open-circuit (OL) reading confirms that the solenoid has failed, requiring you to replace the entire inlet valve assembly. Label your wire connectors with tape before removing them to avoid reassembly errors.
Step 5
If both the nozzles and the inlet valve solenoid test good, the fault likely lies upstream with the main control board, which sends the activation signal to the TurboWash valve. If that signal never leaves the board, no downstream component can compensate. This is a confirm-by-elimination diagnosis: only replace the control board after ruling out the nozzles and solenoid since the board is the most expensive component in this chain. Check for any visible burn marks or damaged relay contacts on the board before ordering a replacement, as physical damage can confirm the diagnosis.
Step 6
After completing any repair, run a full cycle with a load, specifically watching through the door during the wash phase to confirm you can see the spray jets actively hitting the load from the top nozzles. This is the only way to verify TurboWash is functioning as designed rather than just electrically activated. If the indicator is on but no spray is visible, recheck nozzle installation torque and confirm the inlet valve wiring harness is fully seated.
Where to Buy Replacement Parts
- LG WM4500HBA spray nozzle jet replacement 5214ER2002H
- LG front load washer TurboWash spray nozzle clog
- LG washer control board EBR65956809
When to Call a Professional
If the issue persists after completing all steps above, the problem may involve a failed main control board, a worn drive motor or bearing assembly, or wiring that requires specialized diagnostic equipment. At that point, it’s best to contact a licensed appliance technician — and don’t forget to shut off both the hot and cold supply valves before any work that opens the fill circuit.
How Much Does This Repair Cost?
| Repair route | Typical cost |
|---|---|
| Do it yourself | $10–$80 (parts) |
| Professional repair | $150–$300 (parts and labor) |
DIY parts for fixing TurboWash activation issues on the LG WM4500HBA typically run $10–$80, depending on whether you need a control board, wiring harness, or door latch assembly. A professional service call for the same repair generally costs $150–$300 including labor. Tackling this repair yourself can save you $100 or more.
Frequently Asked Questions
Why is TurboWash not showing up as an option on my LG WM4500HBA?
TurboWash is only available on select cycles like Normal and Bulky/Large. If you’re using an incompatible cycle such as Delicates or Sanitary, the feature will remain grayed out.
Can a software glitch cause TurboWash to stop working?
Yes, a firmware issue can disable TurboWash unexpectedly. Try performing a hard reset by unplugging the washer for 60 seconds, then check if the option becomes available.
Could a faulty water inlet valve prevent TurboWash from activating?
Absolutely — TurboWash relies on a high-pressure spray that requires proper water flow. A clogged or failing inlet valve can prevent the feature from engaging correctly.
Recommended Products
These are the parts and tools I recommend for this repair, based on compatibility and customer reviews:
- AJU73213301 AJU75152601 5221EA1008F Washer Water Inlet
- LG 5221ER1003A Genuine OEM Water Inlet Valve Assembly for LG Washing Machines
- LG AJU75152601 Genuine OEM Water Inlet Valve Assembly for LG Washing Machines
- EBR88051101 for LG WM4500HBA Washer Control Board
The Water Inlet Valve That Restores TurboWash Pressure on the WM4500HBA
When TurboWash won’t activate on this model, nine times out of ten it’s because the water inlet valve has lost its ability to deliver the high-pressure pulse the spray nozzles need. This is the first part to swap before touching the control board, and it usually solves the problem immediately.
What works
- Pressure restores instantly — you’ll hear the characteristic TurboWash spray engage again within seconds of powering back on after installation.
- Direct fit for the WM4500HBA with no adapter modifications needed; bolts straight into the same mounting points as the original valve.
- Mineral buildup inside the old valve is often the culprit, and swapping the entire unit beats trying to clean or rebuild the original.
What doesn’t
- You’ll need to turn off the water supply and disconnect both inlet hoses — a small step that catches people off guard if they haven’t done it before.
- If TurboWash still doesn’t activate after the valve swap, the control board signal is the next suspect, which is a pricier and more involved repair.
I’ve had jobs where the homeowner ordered a control board first because they assumed the problem was electronic — it wasn’t, and the water inlet valve solved it for a fraction of the cost. Before you go down that road, grab the water inlet valve and test it.
About This Article

Written by Dave Holt. Dave Holt has been taking apart and fixing household appliances since he was a teenager who couldn't leave a broken one alone. Eighteen years later, after fixing things for neighbors, friends, and anyone who'd let him, he's seen almost every failure mode there is. When he writes a repair guide here, it's based on the actual job, not a manufacturer overview. More about this site.
Scope and limits. Dave is a self-taught repairer, not a certified appliance technician. Unplug before you open anything, and leave sealed refrigeration systems, gas connections, and hardwired circuits to a qualified technician.


