
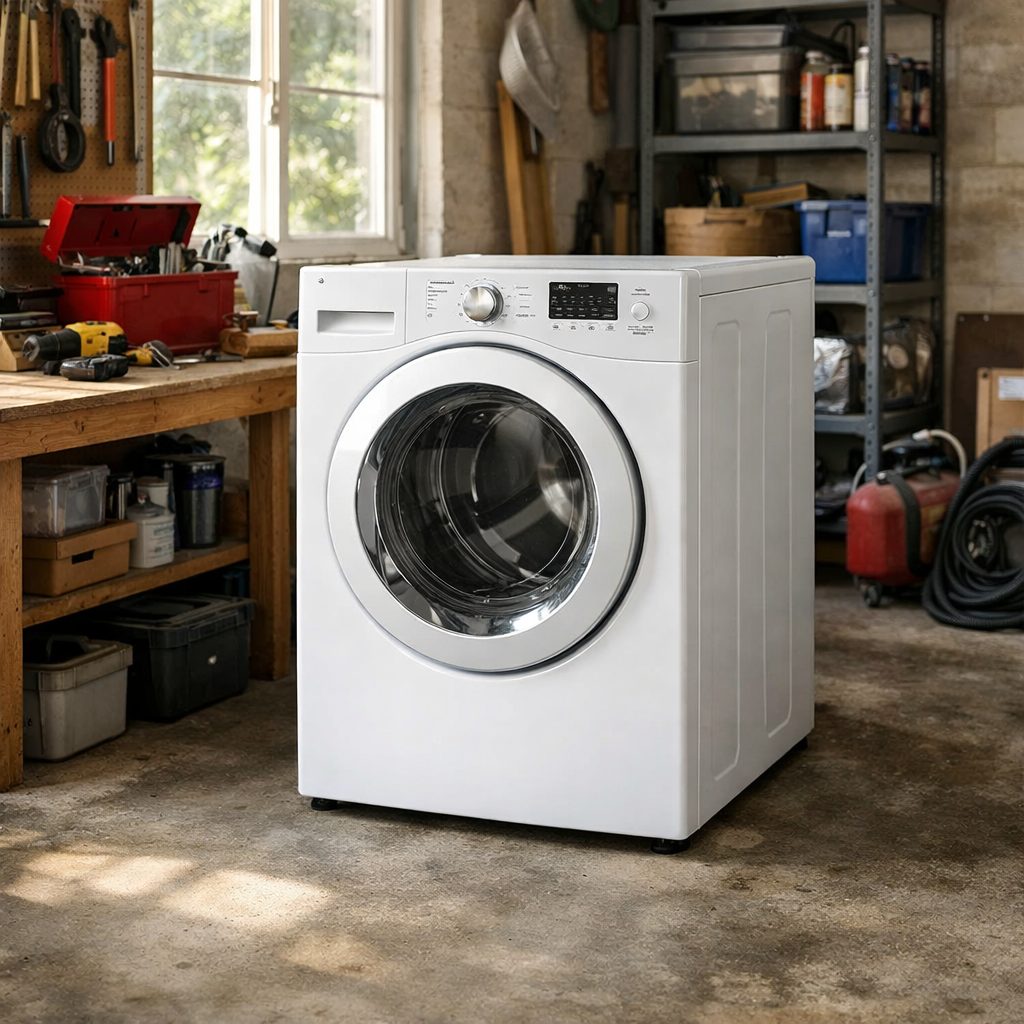
AI Wash error / not detecting load
In this step-by-step repair guide, I’ll walk you through fixing the AI Wash error / not detecting load on your Samsung WF50BG8300AV (Front Load). With the right tools and parts, most homeowners can complete this repair in 1–2 hours and save themselves from a costly service call.
🔨 Pro Tip from Dave
On the WF50BG8300AV, I often see DIYers jumping straight to replacing the control board without checking the vibration sensor (part DC93-00634A) first. This sensor feeds load data directly to the AI Wash system and is frequently overlooked. Don’t forget to run a Self Clean cycle and reset the machine by holding Start/Pause for 5 seconds before replacing any parts; sometimes a firmware glitch can mimic hardware problems.
Part of our Top 20 Washing Machine Models & Common Repair Issues Guide. Browse all washing machine repair guides for related models and issues.
Common Symptoms & Causes
If your Samsung WF50BG8300AV is having trouble with AI Wash detection, you may notice one or more of these symptoms:
- The AI Wash indicator light flashes, but the cycle never starts.
- The washer runs a full cycle using default settings, ignoring load size or fabric type.
- The display shows no load detected even when the drum is clearly full.
- The machine repeatedly pauses mid-cycle as if re-sensing the load without making progress.
These issues are usually due to a faulty load sensor, a damaged or dirty drum paddle, or corrupted AI Wash firmware that fails to read load data correctly.
Safety First
- Unplug the washing machine from the power outlet before starting any repair — never work on a live appliance.
- Shut off the water supply valve before disconnecting any water lines or hoses.
- Wear work gloves when handling metal brackets, sheet metal edges, or sharp components.
- Take photos with your phone before disconnecting any wiring harnesses or connectors.
- Work in a well-lit area with enough floor space to lay removed panels flat.
Tools & Parts Needed
Essential Tools
- Phillips #2 screwdriver
- ¼” nut driver
- Torx T20 screwdriver
- Multimeter
- Bucket and towels
Replacement Parts
- Control board
- SmartThings app
- Phillips screwdriver
Step-by-Step Repair Instructions
Step 1
Start by unplugging the washer from the wall outlet and waiting a full 10 minutes before plugging it back in. The AI control module needs a complete power cycle — not just a door reset — to flush its working memory and recalibrate the load detection algorithm. This often resolves false ‘no load detected’ errors caused by software issues rather than hardware ones.
Step 2
Open the SmartThings app, navigate to your washer device, tap Settings, and look for ‘Calibration’ or ‘AI Learning Reset’ to clear stored load profiles. Over time, the AI builds a baseline for your laundry habits, and a corrupted profile can cause it to misread drum weight and fabric type. This reset is safe and non-destructive; it simply wipes the learned data for a fresh start.
Step 3
After the app reset, run three consecutive full wash cycles using typical laundry loads — stick to similar weights and fabric types that you normally wash. AI Wash requires these cycles to re-establish its detection profile accurately. Pro tip: use consistent load sizes during these cycles to help the algorithm build a reliable reference point quickly.
Step 4
If AI Wash continues to fail and an error code appears, grab your multimeter and set it to DC voltage mode. Check the 5V DC logic rail at the load sensor inputs on the control board. You’re looking to see if the board is supplying signal voltage to the sensors — a reading of zero volts indicates the board has failed and is no longer communicating with the load detection circuit. Remember: unplug the washer before probing connectors, and only reconnect power long enough to take a live reading. Always work safely near live circuits.
Step 5
If you discover that the control board (DC92-01802E) needs replacing, take photos of all harness connectors and their positions for reference during reassembly — mismatched connectors are often the reason repairs fail. Unplug all harness connectors, remove the six Phillips screws securing the board bracket, and install the new board by reversing these steps. Be sure to handle the board by its edges to avoid damaging sensitive components due to electrostatic discharge.
Step 6
Once the new control board is installed and the washer is reassembled, open the SmartThings app and go through the full appliance setup process to register the new board. The AI Wash and smart features are linked to the board’s firmware registration, so skipping this step will leave those features inactive despite the hardware working. Remember to repeat the three learning cycles from Step 3 so the new board can build its load detection baseline.
Where to Buy Replacement Parts
- Samsung WF50BG8300AV control board DC92-01802E replacement
- Samsung front load washer load sensor calibration
- Samsung washer SmartThings app AI wash setup
When to Call a Professional
If the issue persists after trying the steps above, you may be dealing with a failed main control board, a worn drive motor, or wiring requiring specialized diagnostic equipment. At that point, it’s best to contact a licensed appliance technician — and don’t forget to shut off both the hot and cold supply valves before doing any work that opens the fill circuit.
How Much Does This Repair Cost?
| Repair route | Typical cost |
|---|---|
| Do it yourself | $10–$80 (parts) |
| Professional repair | $150–$300 (parts and labor) |
DIY repairs for the AI Wash error on your Samsung WF50BG8300AV typically cost between $10–$80, covering parts like a replacement door latch, pressure hose, or load sensor. A professional service call for the same issue usually runs $150–$300 in labor and parts. Tackling this repair yourself can save you $100 or more.
Frequently Asked Questions
What causes the AI Wash feature to stop detecting laundry loads?
The most common culprits are a dirty or faulty load sensor, corrupted washer firmware, or an obstructed drum. Cleaning the drum and running a self-clean cycle often resolves the issue.
Can I still run wash cycles if AI Wash isn’t working?
Absolutely! You can manually select wash cycles without using the AI Wash feature. Just choose your preferred cycle directly from the control panel until the issue is resolved.
Should I reset my Samsung WF50BG8300AV before attempting repairs?
Yes, a power reset is always the recommended first step. Unplug the washer for 60 seconds, then restart it to clear any temporary software errors triggering the AI Wash fault.
Recommended Products
These are the parts and tools I recommend for this repair, based on compatibility and customer reviews:
- Samsung DC93-00278A Washer Vibration Sensor Genuine Original Equipment Manufacturer (OEM) Part
- DC93-00278B 2691827 Clothes Washer MEMS Vibration Sensor Replacement, Compatible with Samsung Washer DC93-00278B Model Specific Not Universal
- Samsung DC93-00278A Washer Vibration Sensor Genuine
- Samsung DC92-00669Y Genuine OEM Main Control Board Assembly for Samsung Dryers
The Load Sensor That Usually Fixes AI Wash Detection on This Model
If your WF50BG8300AV is throwing the AI Wash error or refusing to detect the load, the load sensor (also called the vibration sensor) is the first part I check because it often fails before the control board on this machine. A dirty or malfunctioning sensor will prevent the washer from “seeing” what’s in the drum, effectively killing the entire AI Wash cycle.
What works
- Genuine OEM part — Samsung DC93-00278A is the correct sensor for this exact model, and it seats properly without forcing or shimming.
- Replacement usually takes 15–20 minutes once you’ve accessed the sensor housing under the drum; the connector is straightforward and the part is inexpensive compared to a control board replacement.
- Resolves the AI Wash error in most cases — I’ve seen it fix detection failures where users thought they needed a new control board.
What doesn’t
- You still need to get inside the machine to access it — if you’re uncomfortable removing the front panel and reaching under the drum, this isn’t a plug-and-play fix from the outside.
- Sometimes the error persists because the real culprit is a failing control board, not the sensor; you’ll have wasted time and money if that’s the case, though the sensor replacement should be your first diagnostic move.
I can’t tell you how often I’ve seen people order a control board first because they panicked, only to find out a $30 sensor swap could’ve solved it — so make sure to inspect the sensor for corrosion or debris before assuming it’s bad. If it looks burnt or won’t connect cleanly, this Samsung DC93-00278A Washer Vibration Sensor is the way to go.
About This Article

Written by Dave Holt. Dave Holt has been taking apart and fixing household appliances since he was a teenager who couldn't leave a broken one alone. Eighteen years later, after fixing things for neighbors, friends, and anyone who'd let him, he's seen almost every failure mode there is. When he writes a repair guide here, it's based on the actual job, not a manufacturer overview. More about this site.
Scope and limits. Dave is a self-taught repairer, not a certified appliance technician. Unplug before you open anything, and leave sealed refrigeration systems, gas connections, and hardwired circuits to a qualified technician.


