
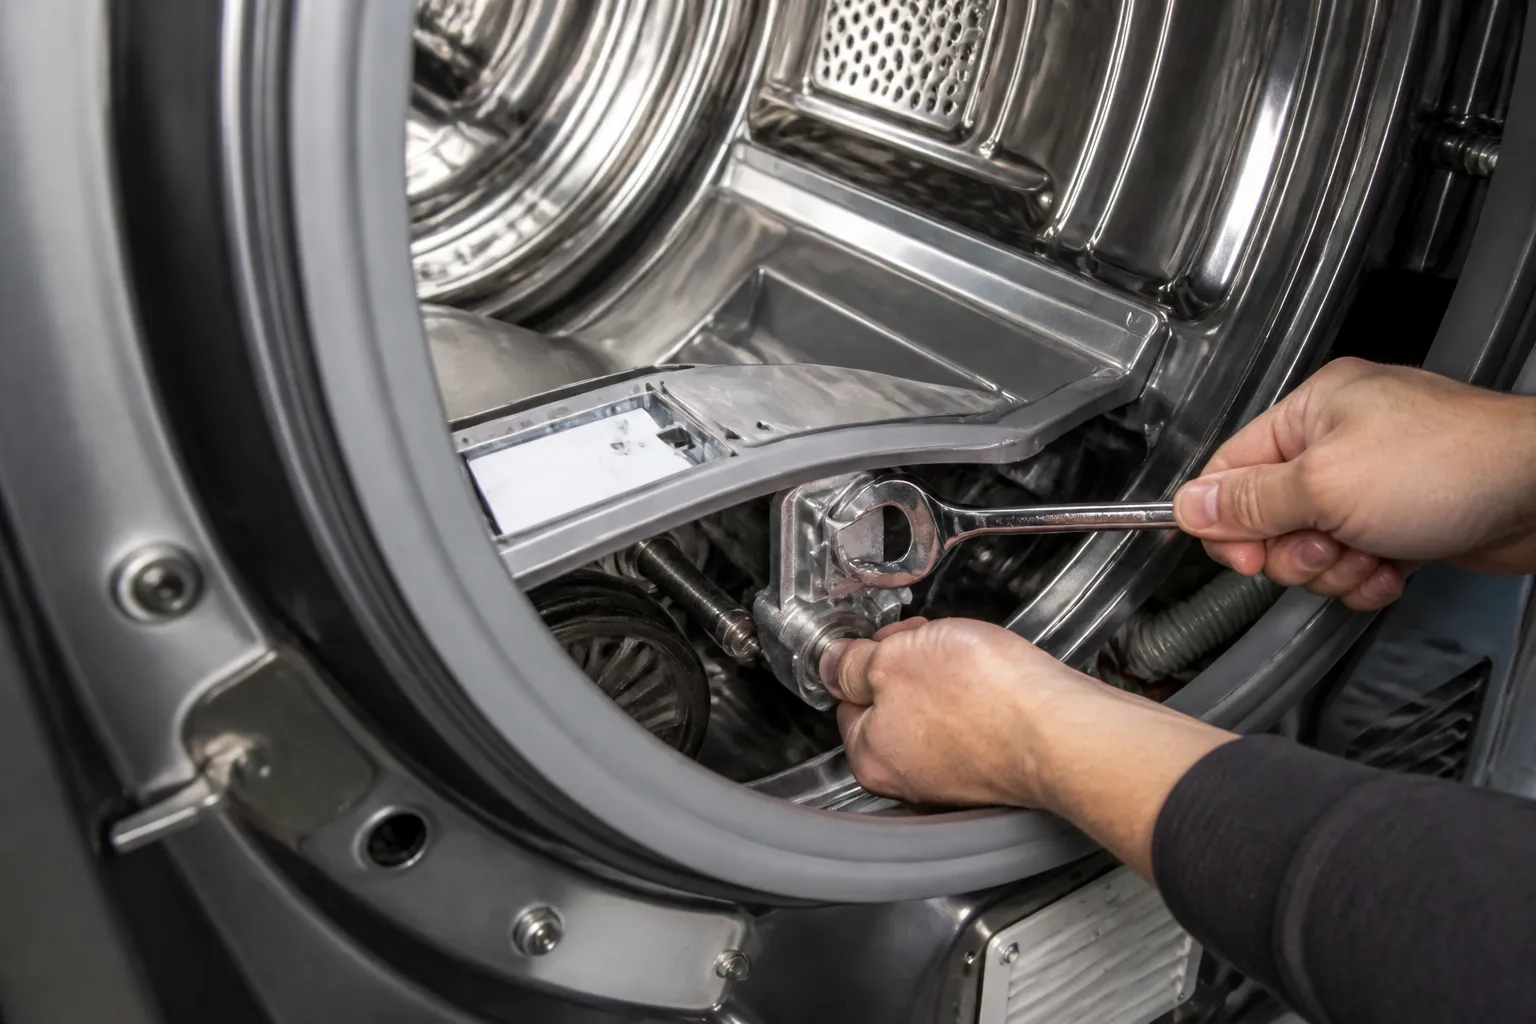
Squeaking Noise
In this guide, I’ll walk you through diagnosing and fixing a squeaking noise on the LG DLEC888V ventless heat pump dryer. I’ll cover the most common mechanical causes, the precise steps to access and replace worn components, and how to verify that the repair is successful. Most homeowners with basic mechanical skills can complete this repair in 1 to 2 hours using common household tools.
Common Symptoms & Causes
When I hear a squeaking noise from the LG DLEC888V, it typically indicates friction between moving parts inside the drum assembly. Look for these specific symptoms:
- High-pitched squeaking that starts shortly after the cycle begins and continues throughout drying
- Squeaking that intensifies as the drum speed increases or the load size grows
- Intermittent squealing that stops when the drum is empty but returns with a full load
- A rhythmic squeaking sound that pulses in time with the drum rotation
In my experience, the most common root cause is worn drum support rollers or a deteriorated drum glide bearing. Both lose their lubrication over time, leading to metal-on-plastic or plastic-on-drum friction.
Safety First
- Unplug the dryer from the electrical outlet before removing any panels or touching internal components
- Wear work gloves to protect your hands from sharp sheet metal edges inside the cabinet
- Photograph all wire harness connections before disconnecting them so you can reassemble correctly
- Work in a well-lit space so you can clearly see small components, fasteners, and wiring routes
Tools & Parts Needed
Essential Tools
- Phillips head screwdriver (#2)
- Flat-head screwdriver for prying panels
- Putty knife or plastic trim pry tool
- Needle-nose pliers
- Flashlight or headlamp
Replacement Parts
- Drum support rollers (LG part 4581EL2002C)
- Drum glide bearing / front drum slide (LG part 4036EL2003A)
- Drum drive belt (LG part 4400EL2001A)
Step-by-Step Repair Instructions
🔨 Pro Tip from Dave
On the DLEC888V specifically, the front drum glides sit in plastic retainer clips that become brittle over time. I’ve seen technicians rush the disassembly and crack them while trying to pry the drum forward. Take your time releasing those clips before applying any lateral pressure on the drum. And if you’re already in there replacing glides, always replace the rear bearing at the same time—this model wears both at nearly the same rate, and a follow-up call costs you double the labor.
Step 1: Unplug and Prepare the Dryer
Start by disconnecting the dryer from power and pulling it away from the wall to create some working space. Remove any lint from the filter housing and take a few photos of the back and sides for reference during reassembly. If your unit is stacked, you’ll need to unstack it before proceeding.
Step 2: Remove the Top Panel
Using a putty knife, insert it about two inches from each front corner of the top panel to release the spring clips. Slide the panel backward and lift it off. On the LG DLEC888V, there are typically two Phillips screws at the rear of the top panel that must be removed first. Store the panel in a safe location to avoid scratches.
Step 3: Remove the Front Panel
Open the dryer door and remove the screws around the inside of the door opening that secure the front panel. Disconnect the door switch wire harness using needle-nose pliers, taking a photo of the connector orientation beforehand. Carefully pull the front panel away and set it aside—now the drum will be partially exposed.
Step 4: Inspect the Drum Glide Bearings
With the front panel removed, examine the plastic glide bearings seated around the front drum ring. Run your finger along each glide — worn glides will feel rough, grooved, or have visible flat spots. If any glide is cracked or deeply worn, it’s best to replace the full set rather than just the damaged piece.
Step 5: Inspect and Replace the Drum Support Rollers
Lift the drum slightly to locate the rear drum support rollers mounted on the rear bulkhead. Spin each roller by hand—a healthy roller spins freely and silently, while a worn roller will feel stiff, wobble, or produce a grinding squeak. Remove the roller shaft retaining clip with needle-nose pliers, slide off the old roller, and press the new roller firmly onto the shaft before reattaching the clip.
Step 6: Inspect the Drive Belt
While you have the drum accessible, take a look at the drive belt for fraying, cracking, or glazing on the inner surface. A worn or misaligned belt can contact the cabinet and cause a rhythmic squeaking noise under load. If the belt shows any visible wear or doesn’t sit evenly on the drum, replace it before reassembling.
Step 7: Reassemble and Test
Reinstall the front panel, reconnect the door switch harness, and secure the top panel. Plug the dryer back in and run a short timed dry cycle with a small load of towels. Listen carefully during the first five minutes—if the squeaking is gone, the repair is complete; if the noise persists, reopen the cabinet and recheck the roller and glide seating.
How Much Does This Repair Cost?
| Repair route | Typical cost |
|---|---|
| Do it yourself | $15–$55 (parts) |
| Professional repair | $150–$300 (parts and labor) |
Taking on this repair yourself usually costs between $15 and $55 in parts, depending on whether you replace just the drum rollers, the glides, or both along with the belt. A professional service call for the same repair on the LG DLEC888V typically ranges from $150 to $300, including labor and parts markup. By handling this repair yourself, most homeowners save $100 to $250 and gain a better understanding of how their dryer operates.
Where to Buy Replacement Parts
You can quickly find genuine and compatible replacement parts for the LG DLEC888V through Amazon. Use the links below to compare prices and check availability with fast shipping:
- LG DLEC888V drum roller replacement
- LG DLEC888V drum glide bearing replacement
- LG DLEC888V drum drive belt replacement
Frequently Asked Questions
The Complete Roller and Belt Kit That Covers Both Common Culprits on the DLEC888V
When you’ve narrowed the squeak down to either worn drum rollers or a fraying belt—and honestly, both often need replacement on these units—grabbing a kit that includes both parts saves you a second order and a second teardown. I’ve learned the hard way that replacing just one rarely solves it completely on this model.
What works
- The roller assembly (4581EL2002C) sits exactly where the squeaking peaks during rotation on the DLEC888V, and swapping both rollers at once eliminates the need to guess which one’s actually worn.
- The belt included (4400EL2001A) is the correct profile for this ventless model—I’ve had kits from other suppliers show up with universal belts that slip under load, but this one doesn’t.
- The idler pulley keeps tension consistent after the belt goes in, and pairing all three parts together means the drum runs quieter and more balanced than if you mix older parts with new ones.
What doesn’t
- You don’t get the drum glide bearing (front seal) in this kit, so if your squeak is coming from the front—less common, but it happens—you’ll be ordering again.
- Installation still requires a full drum removal on this model; the kit doesn’t speed up the labor, only saves you from hunting down individual part numbers.
I once replaced just the rollers on a DLEC888V thinking the belt looked fine, only for the squeak to come back two weeks later—turned out the belt was already fraying on the underside where you can’t see it until the drum’s out. Having this kit on hand means I catch both problems in one visit. Upgraded Dryer Repair Kit Dryer Roller Kit for LG Kenmore Dryers Includes 4581EL2002C Dryer Drum Roller Assembly 4400EL2001A Dryer Belt and 4561EL3002A Dryer Idler Pulley, Pictures 6, 7 are Fit Models
About This Article

Written by Dave Holt. Dave Holt has been taking apart and fixing household appliances since he was a teenager who couldn't leave a broken one alone. Eighteen years later, after fixing things for neighbors, friends, and anyone who'd let him, he's seen almost every failure mode there is. When he writes a repair guide here, it's based on the actual job, not a manufacturer overview. More about this site.
Scope and limits. Dave is a self-taught repairer, not a certified appliance technician. Unplug before you open anything, and leave sealed refrigeration systems, gas connections, and hardwired circuits to a qualified technician.

