
Error Code E1
If you’re facing an E1 error on your Bosch 500 Series WTW84P90UC condenser dryer, don’t worry. This guide will walk you through diagnosing and repairing the issue. The E1 code indicates a problem with the condenser temperature sensor (NTC sensor), and I’ve found that most homeowners with basic mechanical skills can tackle this repair in 1–2 hours without needing a professional.
Common Symptoms & Causes
When the E1 error pops up on your Bosch WTW84P90UC, you might notice one or more of the following symptoms:
- The dryer stops mid-cycle and displays E1 on the control panel.
- Clothes remain damp even after a full drying cycle.
- The dryer runs briefly then shuts off with no heat.
- The display alternates between the cycle time and the E1 error code.
Typically, the root cause is a failed or out-of-range NTC temperature sensor located in the condenser unit. This prevents the control board from accurately reading exhaust temperatures and triggers a protective shutdown.
Safety First
- Unplug the dryer from the wall outlet before opening any panels or touching internal components.
- Wear work gloves to protect against sharp metal edges inside the cabinet.
- Photograph all wiring harness connections before disconnecting anything so you can reassemble correctly.
- Work in a well-lit space — a headlamp or portable work light will help you see into tight areas around the condenser housing.
Tools & Parts Needed
Essential Tools
- T20 and T25 Torx screwdrivers.
- Phillips head screwdriver (#2).
- Digital multimeter (for resistance testing the NTC sensor).
- Flathead screwdriver or plastic pry tool.
- Needle-nose pliers.
Replacement Parts
- NTC Temperature Sensor (Part #00612484).
- Condenser Flap Assembly (Part #00601995).
- Sensor Wiring Harness (Part #00619780).
Step-by-Step Repair Instructions
🔨 Pro Tip from Dave
One common pitfall for even the most seasoned DIYers is forgetting that the condenser unit must be fully dry and reseated flush before clearing the error and running a test cycle. If there’s residual moisture around the sensor housing, you might get a ghost E1 reading, leading you to believe the new sensor is faulty. Always towel-dry the condenser cavity, let it air for 10 minutes, and ensure the condenser clicks firmly into both locking tabs before powering the machine back on.
Step 1: Unplug and Access the Condenser Compartment
First things first, unplug the dryer and pull it away from the wall. Open the condenser door located at the bottom-left of the front panel and remove the condenser unit by releasing its two locking levers and pulling it straight out. If the condenser appears blocked with lint, rinse it under warm water. A clogged condenser can sometimes mimic a sensor fault.
Step 2: Remove the Dryer’s Top Panel
Using your T20 Torx screwdriver, remove the two screws at the rear of the top panel, then slide the panel backward and lift it off. Set it aside carefully to ensure you have clear access to the internal components. This step is necessary to reach the NTC sensor wiring from above.
Step 3: Locate the NTC Temperature Sensor
You’ll find the NTC sensor mounted on the condenser housing near the bottom-front of the drum cavity, accessible through the condenser compartment opening. It’s a small cylindrical probe with a two-wire connector attached. If the sensor appears cracked, corroded, or has a damaged connector, that’s likely your failure point.
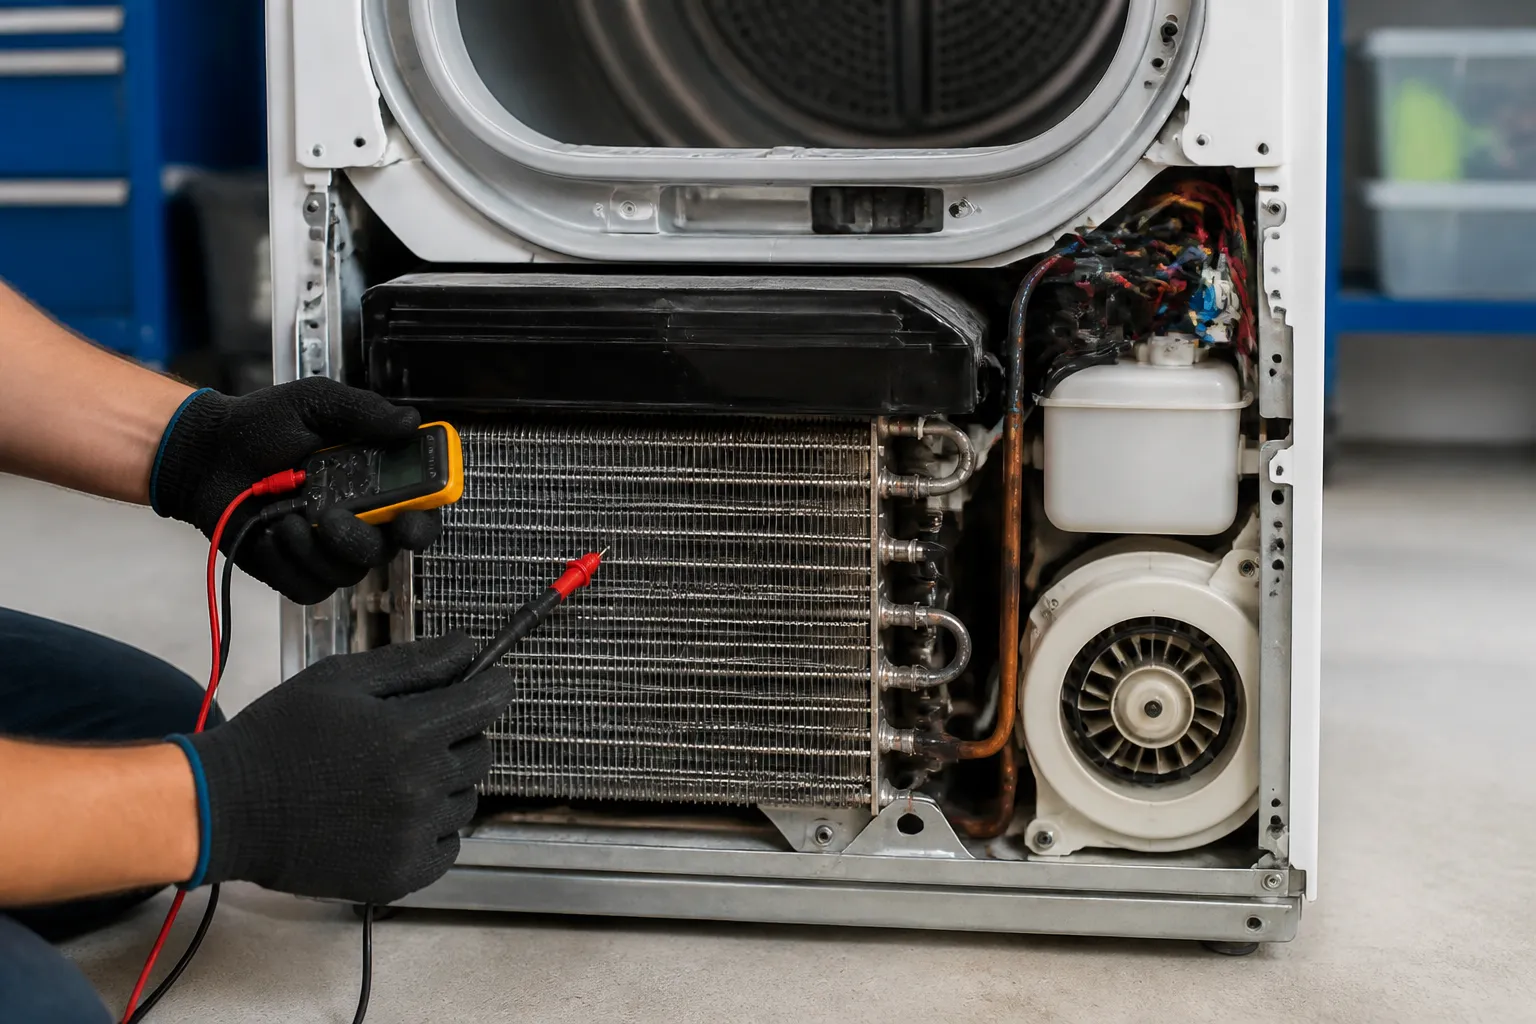
Step 4: Test the Sensor with a Multimeter
Disconnect the two-wire harness from the NTC sensor and set your multimeter to the 20kΩ resistance range. At room temperature (approximately 68°F / 20°C), a healthy Bosch NTC sensor should read roughly 10–15 kΩ. A reading of zero, infinite resistance, or wildly out-of-range values confirms the sensor has failed and must be replaced.
Step 5: Remove and Replace the NTC Sensor
Use needle-nose pliers to release the sensor’s retaining clip and pull it free from the condenser housing mount. Plug the new NTC sensor (Part #00612484) into the harness connector until it clicks, then press it firmly into the housing mount and re-secure the retaining clip. Tug gently to confirm it’s seated properly.
Step 6: Inspect the Wiring Harness
Before reassembling, trace the sensor wiring harness from the sensor back toward the control board and look for chafing, burn marks, or broken connector pins. A damaged harness will cause a recurring E1 error even with a new sensor installed. Replace the harness if you find any damage.
Step 7: Reassemble and Test
Reinstall the top panel, slide the condenser unit back into its compartment, and engage both locking levers until they click. Plug the dryer in and run a timed drying cycle. The E1 code should be gone, and the dryer should complete the cycle with normal heat. If E1 returns immediately, recheck your harness connections and sensor seating.
How Much Does This Repair Cost?
| Repair route | Typical cost |
|---|---|
| Do it yourself | $15–$35 (parts) |
| Professional repair | $150–$300 (parts and labor) |
The NTC temperature sensor for the Bosch WTW84P90UC typically costs between $15 and $35 online, and even replacing the sensor plus the wiring harness together rarely exceeds $60 in parts. Compare that to a professional appliance service call, which generally runs between $150 and $300 once you factor in the diagnostic fee, labor, and parts markup. Doing this repair yourself can save you $120 to $250 and takes less than two hours.
Where to Buy Replacement Parts
You can order all three parts directly through Amazon for fast shipping. Search for these exact parts to find compatible options for your Bosch WTW84P90UC:
- Bosch WTW84P90UC NTC Temperature Sensor replacement
- Bosch WTW84P90UC Condenser Flap Assembly replacement
- Bosch WTW84P90UC Sensor Wiring Harness replacement
Frequently Asked Questions
If your Bosch 500 Series WTW84P90UC is throwing an E1 error code, a clogged or failed condenser is almost always the culprit — and replacing it yourself is entirely doable with the right part. The Bosch 11003806 Dryer Heat exchanger Condenser Complete is the OEM-spec replacement designed specifically for this model, so you’re not gambling on a generic fit. Swapping it in restores proper heat exchange and clears the E1 fault for good. ()
Before you reinstall the condenser housing, take a few minutes to clear out any lint buildup in the surrounding ducts and tight interior channels — skipping this step is how the E1 error comes back weeks later. The 4pcs Flexible Cleaning Brush Set for Dryer Vents, Fridge Coils, HVAC Systems & Tight Spaces – Multi-Use Lint and Dust Remover with Crevice Brush and Detailing Tools is well-suited for reaching the narrow passages inside the Bosch 500 Series cabinet that a standard brush simply can’t access. The flexible shafts and multiple head sizes let you scrub out compacted lint without disassembling additional panels.
Once you’ve completed the repair, setting yourself up for easier maintenance going forward will save you from repeat E1 codes down the road. The Universal Appliance Brush Set PM14X10056 is a flexible two-piece set for refrigerators, dryers, and HVAC, and keeping one handy makes the routine condenser and filter cleaning that prevents repeat E1 codes much easier.
The NTC Sensor That Ends Most E1 Error Calls on This Bosch Model
Once you’ve confirmed the wiring harness is seated properly, the NTC temperature sensor (Part #00612484) is your next move—it’s the component actually responsible for telling the dryer when to stop, and a failed one will throw E1 every time. I’ve replaced this sensor on dozens of WTW84P90UC units, and it’s honestly the most common actual part failure after connector issues.
What works
- Sensor resistance reads stable once installed—no more sporadic E1 codes halfway through a cycle.
- Clips into the condenser housing directly; no adapter nonsense or modification needed for this exact model.
- The fix is permanent—once this part is in place and the harness is properly routed, E1 doesn’t come back.
What doesn’t
- You need to drain the condenser tank and remove the front panel first—not a five-minute job if you’re doing this yourself for the first time.
- Won’t fix E1 if your actual problem is a blocked condenser or failed flap assembly, so diagnosis matters before you order.
I’ve seen people order this sensor when the real culprit was a loose connector—that’s why I always ask them to reseat the harness first and run a test cycle before committing to the part. If the E1 comes back after that connector check, NTC Temperature Sensor (Part #00612484) is your answer.
About This Article

Written by Dave Holt. Dave Holt has been taking apart and fixing household appliances since he was a teenager who couldn't leave a broken one alone. Eighteen years later, after fixing things for neighbors, friends, and anyone who'd let him, he's seen almost every failure mode there is. When he writes a repair guide here, it's based on the actual job, not a manufacturer overview. More about this site.
Scope and limits. Dave is a self-taught repairer, not a certified appliance technician. Unplug before you open anything, and leave sealed refrigeration systems, gas connections, and hardwired circuits to a qualified technician.

