
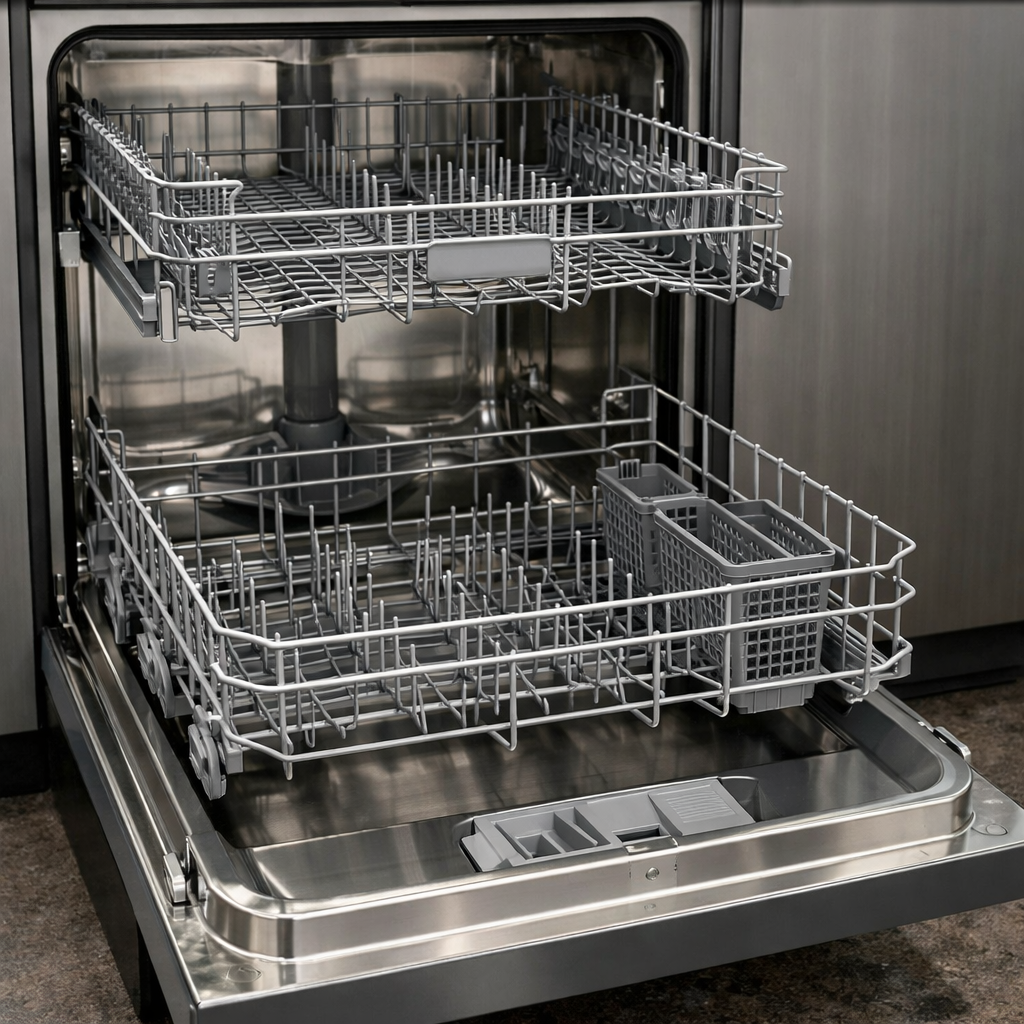
Spray arm bearing worn
In this step-by-step guide, I’ll walk you through fixing a worn spray arm bearing on your Whirlpool WDF520PADM. With the right tools and parts, you can often complete this repair in 1–2 hours and save yourself from a costly service call.
🔨 Pro Tip from Dave
On the WDF520PADM, the lower spray arm bearing ring (part number W10350376) is usually the culprit. However, don’t overlook the spray arm support underneath it; I’ve seen technicians replace just the bearing and miss hairline cracks in the support that can cause the same wobble to return within months. Also, remember to hand-tighten only when reinstalling; over-torquing the retaining nut can crack the plastic hub on this model.
Part of our Top 20 Dishwasher Models & Common Repair Issues Guide. Browse all dishwasher repair guides for related models and issues.
Common Symptoms & Causes
If your Whirlpool WDF520PADM has a worn spray arm bearing, you might notice several signs during the wash cycle.
- Spray arm wobbles or spins unevenly during the wash cycle
- Dishes come out poorly cleaned, especially on the lower rack
- A grinding or rattling noise occurs while the dishwasher is running
- The spray arm drags or catches against the filter assembly below
This issue usually stems from normal wear over time on the plastic bearing hub, which degrades with repeated heat exposure and high-pressure water cycles.
Safety First
- Unplug the dishwasher from the power outlet before starting any repair — never work on a live appliance.
- Shut off the water supply valve before disconnecting any water lines or hoses.
- Wear work gloves when handling metal brackets, sheet metal edges, or sharp components.
- Take photos with your phone before disconnecting any wiring harnesses or connectors.
- Work in a well-lit area with enough floor space to lay removed panels flat.
Tools & Parts Needed
Essential Tools
- Phillips #2 screwdriver
- Torx T20 screwdriver
- Needle-nose pliers
- Multimeter
- Flashlight
Replacement Parts
- Lower spray arm
- spray arm hub/bearing
- toothpick
- white vinegar
Step-by-Step Repair Instructions
Step 1
Start by pulling out the lower dish rack completely and setting it aside, then lift the lower spray arm straight up off the center post to remove it. This gives you access to inspect the bearing and clean the arm without obstructions. Pro tip: note how the arm seats on the post before removal so you can confirm correct reinstallation later.
Step 2
Next, examine the hub bearing ring, the small plastic ring that sits on the center post beneath the spray arm. A worn bearing ring causes the arm to sit too low, wobble side to side, and distribute water unevenly, leading to dirty dishes. If the ring looks cracked, flattened, or visibly degraded, replace it before reassembling, as no amount of cleaning will fix spin issues caused by a bad bearing.
Step 3
Use a toothpick to clear every nozzle hole on the spray arm, since even a single blocked hole disrupts spray coverage and leaves a dead zone in the wash pattern. Soak the entire arm in undiluted white vinegar for 30 minutes to dissolve hard water mineral deposits, then rinse thoroughly under running water. Avoid using a metal pin or drill bit to clear holes, as this can enlarge them and permanently alter spray pressure.
Step 4
If your WDF520PADM is equipped with a vertical center spray tower, locate it in the middle of the tub and inspect each hole along its length for clogs. Mineral buildup or food debris in these holes reduces water flow to the upper portions of the lower rack zone. Run a pipe cleaner through each hole to clear blockages, working from top to bottom so debris falls downward and can be wiped away.
Step 5
Reinstall the spray arm by pressing it firmly down onto the center post until you feel and hear it snap into place, confirming it is fully seated. An arm that is not locked down will dislodge during the wash cycle and can block the lower rack from draining properly. Spin the arm by hand after seating it — it should rotate smoothly and freely with no wobble, which confirms the bearing ring is in good condition and the arm is correctly installed.
Step 6
Finally, run a Heavy wash cycle with the dishwasher empty to evaluate performance without dishes interfering with the spray pattern. Watch through the door at the start of the cycle if possible, or open it briefly after a few minutes to check that the arm is spinning and water marks appear evenly across the entire lower rack area. Uneven water distribution after this test points to a remaining clog, a still-worn bearing ring, or low water pressure entering the machine.
Where to Buy Replacement Parts
- Whirlpool WDF520PADM lower spray arm WPW10594686 replacement
- Whirlpool dishwasher spray arm hub bearing ring replacement
- Whirlpool dishwasher spray tower replacement W10350392
When to Call a Professional
If the issue persists after completing all the steps above, the problem may involve a failed main control board, a seized circulation or drain pump, or wiring that requires specialized diagnostic equipment. If that’s the case, it’s best to contact a licensed appliance technician — and shut off the water supply valve before any work that opens the fill or drain circuit.
How Much Does This Repair Cost?
| Repair route | Typical cost |
|---|---|
| Do it yourself | $10–$35 (parts) |
| Professional repair | $150–$300 (parts and labor) |
Replacing a worn spray arm bearing on the Whirlpool WDF520PADM typically costs $10–$35 in parts if you handle it yourself. A professional service call for the same repair usually runs $150–$300 once labor and fees are included. Tackling this repair yourself can save you over $100 while restoring your dishwasher’s full cleaning performance.
Frequently Asked Questions
How do I know if the spray arm bearing is worn on my Whirlpool WDF520PADM?
A worn spray arm bearing typically causes the spray arm to wobble, spin unevenly, or stop rotating altogether during a wash cycle. You might also notice dirty dishes due to poor water distribution.
Can I replace the spray arm bearing myself without professional help?
Absolutely, this is a manageable DIY repair that doesn’t require any special tools. Simply remove the spray arm by unscrewing the retaining nut and snap the new bearing into place.
Where can I find a replacement spray arm bearing for the Whirlpool WDF520PADM?
You can find replacement bearings through Whirlpool’s official parts site, appliance parts retailers like RepairClinic or PartSelect, and sometimes at local appliance stores. Just make sure to confirm compatibility using your model number before ordering.
Recommended Products
Here are the parts and tools I recommend for this repair based on compatibility and customer reviews:
- Dishwasher Middle Spray Arm WPW10498900 W10498900 Dishwasher Center Wash Arm Assembly compatible with Amana Maytag Whirlpool Dishwasher Parts Replaces W10448645 AP6022331 2312929 PS11755664
- Upgraded W10837249 Dishwasher Lower Spray Arm Replacement for Whirlpool Dishwasher, Lower Wash Arm Fits WDT750SAHZ0 WDTA50SAHZ0 WDT970SAHZ0, Replaces W10629546 AP5988717 PS11727921 W10838302
The Middle Spray Arm Assembly That Fixes Most WDF520PADM Bearing Wear Issues
On this model, the middle spray arm bearing wears out faster than the lower arm, and replacing the entire assembly is almost always the right move—you avoid the gamble of just swapping the bearing hub and risking a repeat failure in a few months. This is the part that gets you back to reliable spray coverage without guesswork.
What works
- The bearing assembly comes pre-installed, so you’re not fumbling with a tiny hub; you just unbolt the old arm and snap in the new one in under five minutes.
- Cross-compatible across Whirlpool, Amana, and Maytag models using the same spray arm platform, so even if you grab this part for a similar model, it works.
- The wear pattern stops immediately—no grinding noise, no dead zones in wash coverage, and your detergent dispenser gets proper water spray again.
What doesn’t
- Costs more than buying just a hub bearing, but you’re paying for the assembly labor you don’t have to do yourself and avoiding a second teardown.
- Some listings show multiple part numbers (W10498900, AP6022331, PS11755664)—make sure you’re ordering the middle arm, not the lower one, or you’ll have to return it.
I’ve seen people order just the bearing hub thinking they’d save money, only to find out the plastic hub socket itself was also cracked from years of lateral play—then they’re back ordering the whole arm anyway. Skip that round trip and grab the middle spray arm assembly from the start.
About This Article

Written by Dave Holt. Dave Holt has been taking apart and fixing household appliances since he was a teenager who couldn't leave a broken one alone. Eighteen years later, after fixing things for neighbors, friends, and anyone who'd let him, he's seen almost every failure mode there is. When he writes a repair guide here, it's based on the actual job, not a manufacturer overview. More about this site.
Scope and limits. Dave is a self-taught repairer, not a certified appliance technician. Unplug before you open anything, and leave sealed refrigeration systems, gas connections, and hardwired circuits to a qualified technician.



