Control lock stuck
This step-by-step repair guide walks you through fixing control lock stuck on your Maytag MDB8959SKZ. With the right tools and parts, most homeowners can complete this repair in 1–2 hours and avoid a costly service call.
🔨 Pro Tip from Dave
On the MDB8959SKZ, the control lock is tied directly to the main control board (part W10854215), and a lot of techs mistakenly replace the entire door latch assembly first — that’s a waste of money. The real gotcha here is that a prolonged power fluctuation can corrupt the board’s memory, making the lock appear stuck even after a standard 3-second hold reset; always do a full hard reset by cutting power at the breaker for 5 minutes before assuming the board is dead.
Part of our Top 20 Dishwasher Models & Common Repair Issues Guide. Browse all dishwasher repair guides for related models and issues.
“`html
Common Symptoms & Causes
These symptoms typically indicate the control lock is stuck or malfunctioning on your Maytag MDB8959SKZ dishwasher.
- The control panel displays “LOC” or a padlock icon that won’t clear
- Buttons on the control panel are completely unresponsive when pressed
- Holding the “Heated Dry” button for 3 seconds does not deactivate the lock
- The dishwasher powers on but no cycle can be selected or started
This issue is most commonly caused by a stuck button, a corrupted control board signal, or a failed user interface control panel that requires resetting or replacement.
“`
Safety First
- Unplug the dishwasher from the power outlet before starting any repair — never work on a live appliance.
- Shut off the water supply valve before disconnecting any water lines or hoses.
- Wear work gloves when handling metal brackets, sheet metal edges, or sharp components.
- Take photos with your phone before disconnecting any wiring harnesses or connectors.
- Work in a well-lit area with enough floor space to lay removed panels flat.
Tools & Parts Needed
Essential Tools
- Phillips #2 screwdriver
- Torx T20 screwdriver
- Needle-nose pliers
- Multimeter
- Flashlight
Replacement Parts
Step-by-Step Repair Instructions
Step 1
Press and hold the Control Lock button for a full 3 seconds, which is the factory-designed exit sequence that signals the control board to release the lock state. Watch the display for the lock icon to disappear — if it clears, the issue was a simple user reset. Pro tip: the hold must be continuous, so a brief or interrupted press will not register and the lock will stay active.
Step 2
Disconnect power to the dishwasher at the breaker or by unplugging it and leave it off for 10 minutes to force a full control board memory reset. Restore power and immediately watch whether the control lock icon re-engages on its own without any button press — if it does, the board is erroneously storing and re-applying the lock state, pointing to a firmware or hardware fault rather than a button issue. Safety note: confirm power is fully off before proceeding to any physical steps.
Step 3
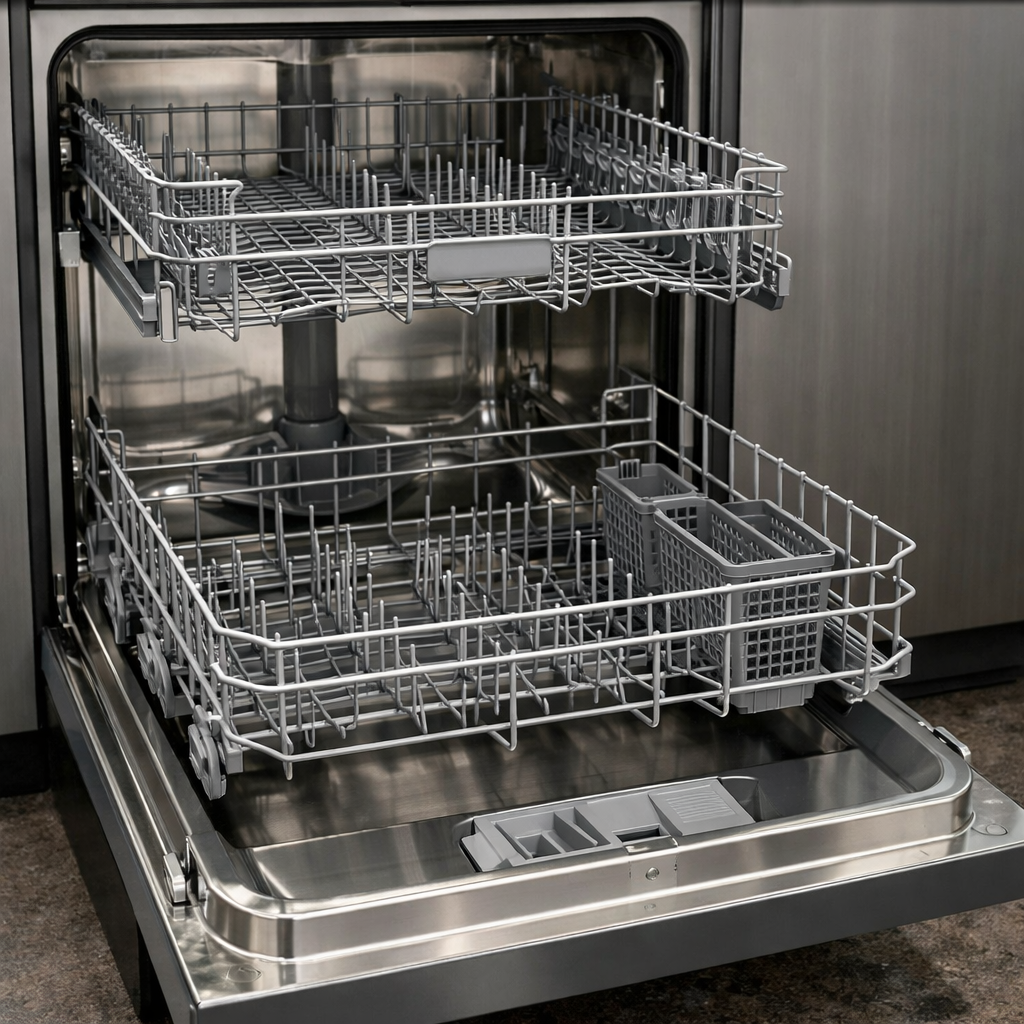
Remove the 4 T20 Torx screws along the inner door panel edge to access the control assembly, where you are looking for a loose or partially seated ribbon cable connecting the touchpad to the control board. A poor ribbon connection causes intermittent or stuck signal states, including a lock command that never releases. Reseat the ribbon firmly and evenly on both ends, as even a slightly cocked connector can cause persistent faults.
Step 4
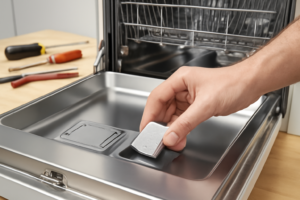
With the control assembly accessible, spray a small amount of electrical contact cleaner directly onto the Control Lock button membrane pad, then press the button rapidly about 15 times to work the cleaner into the contact. Oxidized or contaminated contacts can cause the button to send a continuous or stuck signal to the board, mimicking a held press. Pro tip: allow the cleaner to evaporate fully for 2–3 minutes before restoring power to avoid any short-circuit risk.
Step 5
If the touchpad contacts are confirmed failed and cleaning did not resolve the issue, replace the control board (part number W11025157), which integrates the lock logic. Before disconnecting anything, photograph all harness connections to ensure correct reassembly, then disconnect each harness, remove the 2 mounting screws securing the board, and install the new board reversing those steps. Safety note: double-check that power is off at the breaker before handling the board, as capacitors on the board can retain a charge briefly after disconnection.
Step 6
Restore power and test the control lock function by pressing and holding the Control Lock button to engage the lock, confirming the icon appears, then holding again to release it and confirming the icon clears. Successful toggling in both directions confirms the repair is complete and the control board is correctly processing the button input. If the lock still sticks after a board replacement, verify the new board is seated fully and all harness connectors are clicked in securely.
Where to Buy Replacement Parts
Find genuine OEM and aftermarket replacement parts for your Maytag MDB8959SKZ on Amazon:
- Maytag MDB8959SKZ control board W11025157 replacement
- Maytag dishwasher control lock reset hold cancel button
- Maytag dishwasher ribbon cable control touchpad
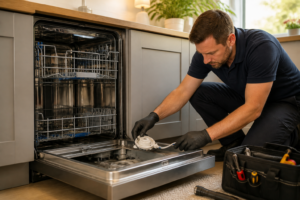
When to Call a Professional
If the issue persists after completing all steps above, the problem may involve the sealed refrigerant system, a failed main control board, or wiring that requires specialized diagnostic equipment. Contact a licensed appliance technician — attempting sealed-system repairs without EPA 608 certification is illegal and unsafe.
How Much Does This Repair Cost?
DIY repairs for a stuck control lock on the Maytag MDB8959SKZ typically cost between $10–$50, covering replacement parts like a new control board or keypad. A professional service call usually runs $150–$300 once you factor in labor and parts. Tackling this repair yourself can save you $100 or more.
Frequently Asked Questions
Why is the control lock stuck on my Maytag MDB8959SKZ?
The control lock can get stuck due to a software glitch or a held button press. Try holding the Control Lock button for 3 seconds to reset it.
Will resetting the dishwasher clear the stuck control lock?
Yes, disconnecting power for one minute often clears the lock. Restore power and check if the control panel responds normally.
Do I need a technician to fix a stuck control lock?
Most stuck control lock issues are resolved with a simple reset and require no professional help. If the problem persists, the control board may need replacement.