
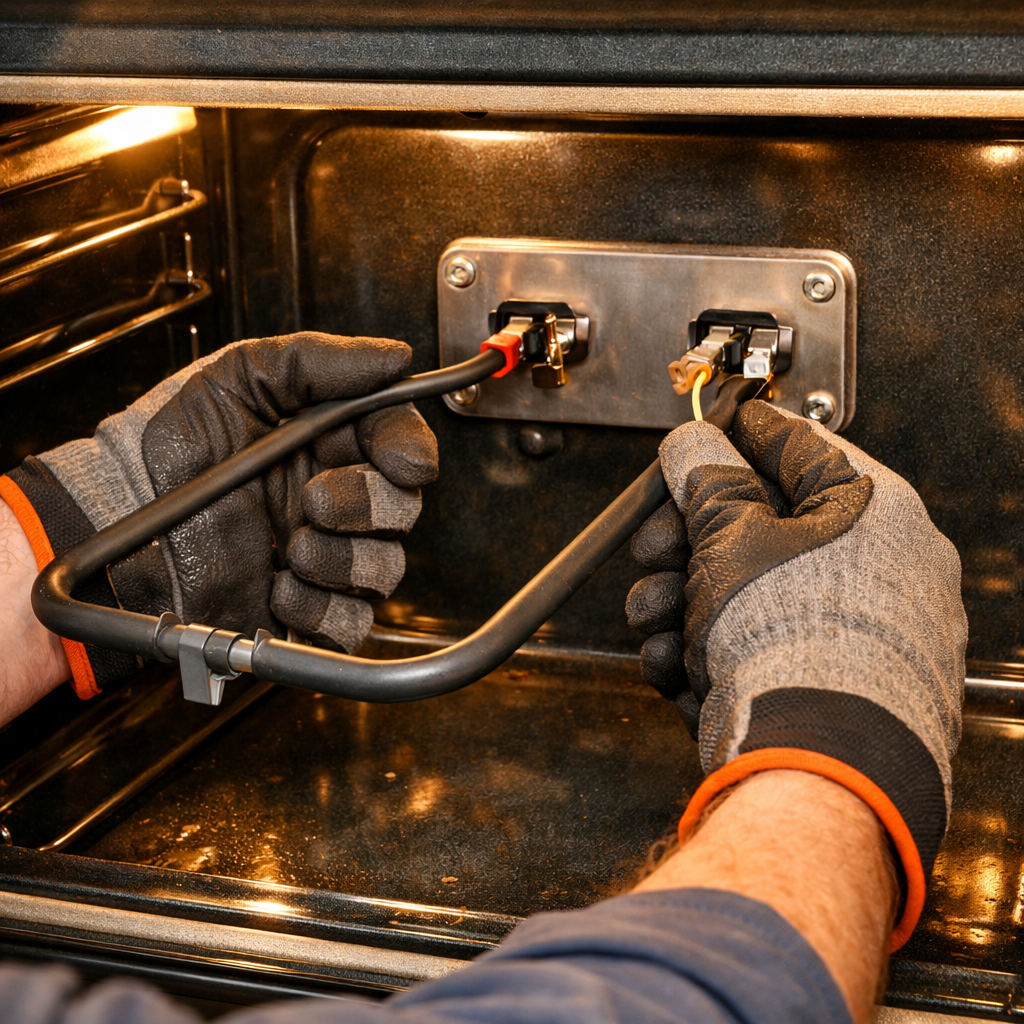
Oven igniter replacement
In this guide, I’ll walk you through the process of fixing the oven igniter replacement on your GE JGBS66REKSS (Gas Range). With the right tools and parts, you can complete this repair in 1–2 hours and save yourself a costly service call.
🔨 Pro Tip from Dave
For the GE JGBS66REKSS, I recommend using the OEM igniter part number WB13K21. Avoid universal igniters for this model because the amperage draw tolerance is tight. An off-brand igniter may glow but never draw enough current to open the gas valve. In my experience, I’ve seen technicians reinstall the oven bottom and forget to reseat the igniter bracket flush against the burner tube, leading to uneven ignition and repeat failures within weeks.
Part of our Top 20 Oven Models & Common Repair Issues Guide. Browse all oven repair guides for related models and issues.
Common Symptoms & Causes
The following symptoms on your GE JGBS66REKSS gas range often indicate a failing oven igniter.
- The oven igniter glows orange but the burner never ignites after 90 seconds
- The oven takes 5–10 minutes to light instead of the usual 30–60 seconds
- The oven produces no heat at all despite the gas supply being active
- You notice a faint gas smell near the oven without any ignition occurring
These issues are typically caused by a worn-out igniter that has lost electrical resistance over time, drawing insufficient current to open the gas valve and produce a reliable flame.
Safety First
- Unplug the oven from the power outlet before starting any repair — never work on a live appliance.
- Wear work gloves when handling metal brackets, sheet metal edges, or sharp components.
- Take photos with your phone before disconnecting any wiring harnesses or connectors.
- Work in a well-lit area with enough floor space to lay removed panels flat.
Tools & Parts Needed
Essential Tools
- Phillips #2 screwdriver
- ¼” nut driver
- Multimeter
- Work gloves (heat-rated)
- Flashlight
Replacement Parts
- Oven bake igniter
- Phillips screwdriver
- multimeter
Step-by-Step Repair Instructions
Step 1
First, unplug the range from the wall outlet and shut off the gas supply valve behind the unit to eliminate both electrical and gas hazards before you start working on any internal components. Next, remove the oven floor by backing out the 1–2 Phillips screws at the rear and lifting the panel straight up and out — this exposes the bake burner assembly and igniter underneath. Pro tip: photograph the wire routing before disturbing anything, so reassembly is straightforward.
Step 2
Now, locate the igniter — it’s the flat silicon-carbide glow bar clipped to the bake burner tube near the orifice end. Set your multimeter to Rx1 and probe the igniter terminals: a reading of 0–100Ω means the igniter is healthy, above 100Ω means it’s weakening and won’t draw enough current to open the gas valve, and an open (OL) reading indicates it has failed completely. This test is crucial because a visually intact igniter can still be electrically weak — glowing orange but never reaching the 3.2–3.6 amp threshold required to open the gas valve.
Step 3
To remove the igniter, back out its 2 Phillips mounting screws and unplug the 2-pin harness connector — the connector simply pulls apart, no tools needed. Be careful when handling the new and old igniters; the silicon-carbide element is extremely brittle and will crack from finger grease or even a minor knock, leading to immediate open-circuit failure. Safety note: do not energize the range with the igniter removed, as an exposed open burner tube is a gas hazard.
Step 4
Connect the 2-pin harness to the new igniter first, then seat the igniter on its bracket and snugly drive in the 2 Phillips screws — overtightening can crack the element. Ensure the wire harness maintains at least 1 inch of clearance from the burner flame path; routing the wire too close will melt the insulation and create a short-circuit fault during the first cooking cycle. Double-check that the igniter tip sits close to — but not touching — the burner orifice, which is designed to light the gas stream reliably.
Step 5
Reinstall the oven floor and secure its rear screws, then restore the gas supply valve and plug the range back in. Run a Bake cycle set to 350°F and watch through the oven window: the igniter should glow bright orange within 45 seconds, and the burner should ignite within 90 seconds — a longer glow with no ignition indicates the new igniter isn’t drawing sufficient current, which could point to a faulty valve or an incorrect replacement part number. Pro tip: confirm your replacement igniter matches the OEM part number for the JGBS66REKSS, as physically similar igniters from other models may have different resistance profiles.
Step 6
If the oven lights but the burner flame appears low, uneven, or lifts off the ports, the bake orifice is likely partially blocked with grease or debris — this is not an igniter problem. A restricted orifice can starve the burner of gas volume, which can also confuse diagnosis, making a good igniter appear weak because the flame never stabilizes. Clean the orifice following the burner orifice guide on this site before concluding any further igniter or valve work is needed.
Where to Buy Replacement Parts
- GE JGBS66REKSS oven igniter WB13T10045 replacement
- GE gas range bake igniter glow bar replacement procedure
- GE gas oven igniter test resistance multimeter
When to Call a Professional
If the issue persists after completing all steps above, the problem may involve a failed main control board, a defective temperature sensor, or high-limit thermostat, or wiring that requires specialized diagnostic equipment. It’s time to contact a licensed appliance technician. On gas models, do not attempt work on the gas valve, burner orifices, or supply line — that work should be left to a licensed gas fitter in most jurisdictions.
How Much Does This Repair Cost?
| Repair route | Typical cost |
|---|---|
| Do it yourself | $20–$60 (parts) |
| Professional repair | $150–$300 (parts and labor) |
A replacement oven igniter for the GE JGBS66REKSS typically costs between $20 and $60 in parts alone. A professional repair technician will usually charge $150 to $300 once you factor in the service call and labor fees. By tackling this repair yourself, you can save over $100 while restoring your oven to full working order.
Frequently Asked Questions
How do I know if the igniter on my GE JGBS66REKSS needs to be replaced?
If your oven igniter glows but the burner doesn’t light or takes more than 90 seconds to ignite, the igniter is likely too weak and needs replacement. A completely dark igniter confirms it has failed entirely.
Do I need to shut off the gas before replacing the igniter?
Yes, always turn off the gas supply valve behind the range before starting this repair. Also, unplug the appliance to eliminate any electrical hazard during the replacement.
What igniter part is compatible with the GE JGBS66REKSS?
This model typically uses the WB13K21 flat-style igniter, but always verify using your full model number before ordering. Cross-reference the part number inside the oven door frame to confirm compatibility.
Recommended Products
These are the parts and tools I recommend for this repair, based on compatibility and customer reviews:
- WB13K21 Oven Igniter for Gas Stove
- WB13K21 Oven Igniter Replacement for G-E Sam-sung Hot-point Ken-more Gas Range Oven, Replaces 5303935066 IG9998 WB13T10045 WB13K10026 Norton 501a dg94 00520a Universal Model By Improvedhand
- WB13K21 Oven Igniter for Gas Stove
- WB13K21 5303935066 WB13T10045 Gas Range Oven Igniter Replacement for GE Kenmore Hotpoint Samsung Gas Oven Igniter, Replaces WB2X9998 IG9998 WB13K10026 Norton 501a by APPLIANCEMATES
The OEM Igniter That Actually Fixes Slow-Light Problems on This GE Model
Before you order a third-party replacement, I highly recommend grabbing the genuine GE WB13K21—this is the part that came from the factory on your JGBS66REKSS, and it’s worth the few extra dollars because compatibility and fit are guaranteed. I’ve seen too many DIYers order cheap knockoffs only to find they don’t seat properly in the igniter bracket or fail after a few months.
What works
- Drop-in fit with zero guessing—the bracket holes line up perfectly, and you won’t spend an hour troubleshooting why the connector doesn’t sit flush.
- Consistent ignition timing and reliability; this part is spec’d for your exact model, so you get predictable performance without the “will it last three months?” worry that comes with universal replacements.
- Genuine OEM quality control means the ceramic insulator won’t crack under thermal stress, which I’ve seen happen on budget alternatives after repeated heating cycles.
What doesn’t
- Cost is higher than third-party options, though the difference usually pays for itself in avoided callbacks and the peace of mind that comes with a factory part.
- Availability can be spotty at big-box retailers; you’ll need to order online, which adds a day or two to your repair timeline if you’re in a hurry.
I once had a homeowner call me back two weeks after installing a knockoff igniter because it kept clicking without lighting—turned out the ceramic wasn’t making full contact in the bracket, a problem that never would’ve happened with the genuine part. If you want to skip the troubleshooting call and get it right the first time, WB13K21 Oven Igniter for Gas Stove is the move.
About This Article

Written by Dave Holt. Dave Holt has been taking apart and fixing household appliances since he was a teenager who couldn't leave a broken one alone. Eighteen years later, after fixing things for neighbors, friends, and anyone who'd let him, he's seen almost every failure mode there is. When he writes a repair guide here, it's based on the actual job, not a manufacturer overview. More about this site.
Scope and limits. Dave is a self-taught repairer, not a certified appliance technician. Unplug before you open anything, and leave sealed refrigeration systems, gas connections, and hardwired circuits to a qualified technician.



