
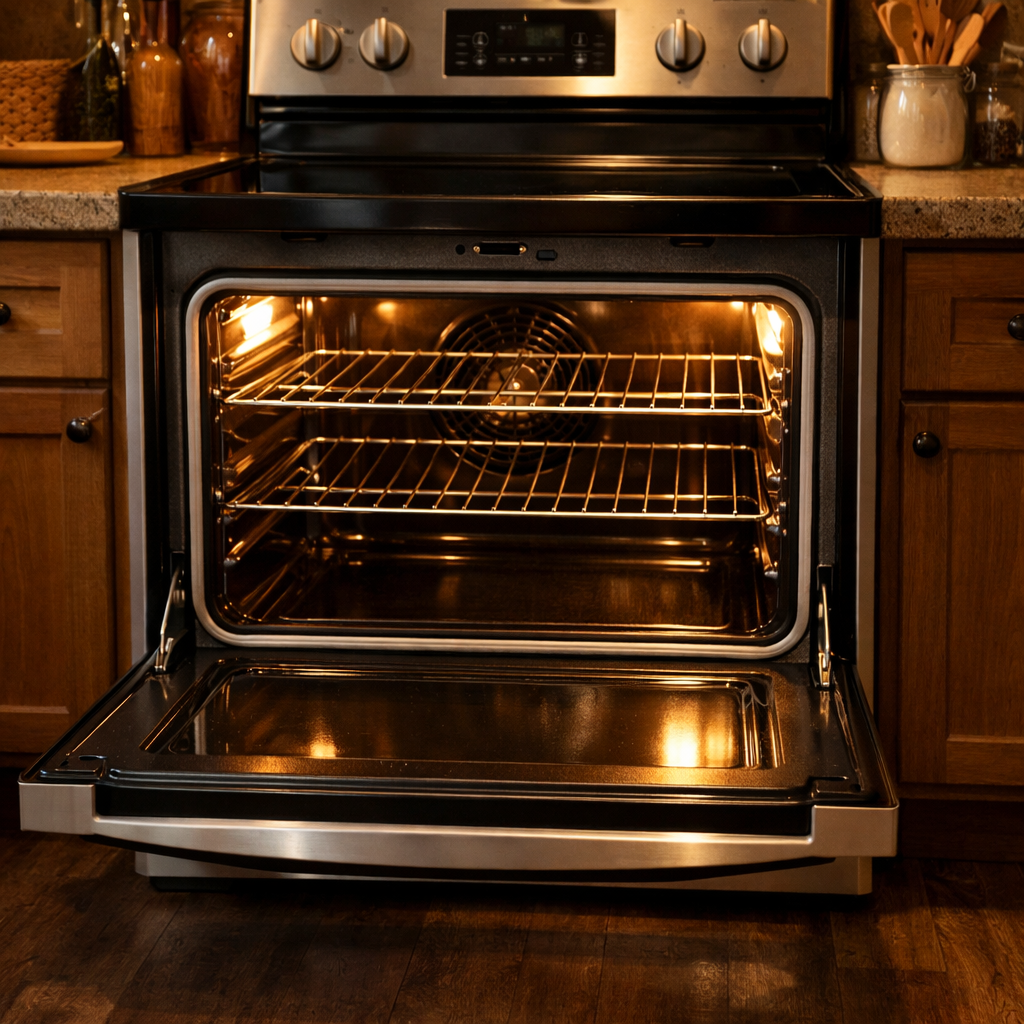
Oven door hinge
In this step-by-step repair guide, I’ll walk you through fixing the oven door hinge on your Whirlpool WFE550S0LZ (Electric Range). With the right tools and parts, you can complete this repair in about 1–2 hours and save yourself a costly service call.
🔨 Pro Tip from Dave
When working on the WFE550S0LZ, always replace both hinges at the same time using part number W10909409—even if only one appears damaged. A common mistake is leaving the old hinge in the locked position when reinstalling the door, which can crack the hinge receiver bracket. Also, make sure the hinge arms are fully seated in the slots before lowering the door to avoid bending the frame.
Part of our Top 20 Oven Models & Common Repair Issues Guide. Browse all oven repair guides for related models and issues.
Common Symptoms & Causes
If your Whirlpool WFE550S0LZ oven door is acting up, these symptoms usually point to a faulty or worn door hinge.
- The oven door hangs unevenly or sits visibly crooked when closed
- The door drops open suddenly instead of staying in the broil stop position
- You feel grinding or resistance when opening or closing the door
- Hot air escapes around the door seal due to the door not closing flush
These issues are often caused by a bent, cracked, or spring-worn hinge arm, typically the result of normal wear over time or damage from forcing the door open beyond its intended range of motion.
Safety First
- Unplug the oven from the power outlet before starting any repair — never work on a live appliance.
- Wear work gloves when handling metal brackets, sheet metal edges, or sharp components.
- Take photos with your phone before disconnecting any wiring harnesses or connectors.
- Work in a well-lit area with enough floor space to lay removed panels flat.
Tools & Parts Needed
Essential Tools
- Phillips #2 screwdriver
- ¼” nut driver
- Multimeter
- Work gloves (heat-rated)
- Flashlight
Replacement Parts
- Oven door hinge kit (pair)
- oven door spring clips
- flat-head screwdriver
Step-by-Step Repair Instructions
Step 1
Before touching any components, unplug the range to eliminate shock risk, since electric ranges can retain voltage at the terminal block even when off. Open the oven door to the broil position—about 3 inches, not fully open—so the hinge arms and hinge locks are accessible. Locate the small lever or clip at the base of each hinge arm; these locks allow the door to be removed safely without the spring tension launching it off unexpectedly.
Step 2
Flip both hinge locks to the locked position, which compresses the hinge springs so the door can be lifted off without resistance—skipping this step risks the door snapping free and causing injury. With locks engaged, grasp the door firmly on both sides and lift straight up until the hinge ears clear their slots in the oven frame. Consult the WFE550S0LZ manual if you’re unsure of lock orientation, as the lever direction varies slightly across Whirlpool models.
Step 3
Lay the door face-down on a folded blanket or padded workbench to protect the glass. Remove the T20 Torx screws around the perimeter of the outer door panel—usually 6 to 8 screws—and lift the panel away to expose the hinge mounting points and internal door components. This is also a good time to inspect the door gasket and inner glass for damage while everything is accessible.
Step 4
Remove the two Phillips screws securing each old hinge, then disengage the spring clip, noting exactly how the spring seats on the pivot pin before pulling it free—a photo here will save frustration during reassembly. Install the new hinge in reverse order, making sure the spring is fully and evenly seated on the pivot pin, as a partially seated spring will cause the door to sag or fail to hold position. Use only OEM or manufacturer-approved replacement hinges for the WFE550S0LZ, as aftermarket hinges often have slightly different spring tensions that affect door alignment.
Step 5
Reassemble the outer door panel and reinstall all Torx screws snugly but without over-torquing, which can crack the inner glass panel. Carry the door back to the oven and insert the hinge ears squarely into the frame slots, then open the door to the broil position to reach the hinge locks. Flip both locks back to the open or operating position—this re-engages the spring tension and is an easy step to forget, but leaving locks engaged will prevent the door from opening or closing correctly.
Step 6
Open and close the door several times to confirm smooth, even movement with no binding, grinding, or side-to-side wobble, which would indicate a hinge ear is not fully seated. Close the door fully and check that it seals flush against the oven frame with no visible gaps, as a poor seal causes heat loss and can trip thermal runaway errors on electronic controls. Finally, hold the door at a 45-degree angle and release it—a properly tensioned hinge will hold the door in place instead of letting it flop down.
Where to Buy Replacement Parts
- Whirlpool WFE550S0LZ oven door hinge WP9759462 replacement
- Whirlpool electric range oven door removal procedure
- oven door hinge spring repair kit
When to Call a Professional
If the issue persists after completing all these steps, the problem may involve a failed main control board, a defective temperature sensor or high-limit thermostat, or wiring that requires specialized diagnostic equipment. It’s time to reach out to a licensed appliance technician. And remember, on gas models, do not attempt work on the gas valve, burner orifices, or supply line—those tasks are best left to a licensed gas fitter in most areas.
How Much Does This Repair Cost?
| Repair route | Typical cost |
|---|---|
| Do it yourself | $20–$60 (parts) |
| Professional repair | $150–$300 (parts and labor) |
Replacement oven door hinges for the Whirlpool WFE550S0LZ typically cost $20–$60 for the parts alone. A professional appliance repair service call usually runs $150–$300, including labor. By tackling this repair yourself, you’ll save over $100 while restoring your oven door to perfect working condition.
Frequently Asked Questions
How do I know if my Whirlpool WFE550S0LZ oven door hinge needs replacing?
If your oven door sags, won’t stay open at a 45-degree angle, or feels loose when opening and closing, the hinge is likely worn or broken. Visible cracks or bent metal on the hinge arm are also clear signs it needs replacement.
Do I need to remove the oven door to replace the hinge?
Yes, you’ll need to fully remove the door by unlocking the hinge latches and lifting it off the frame. This makes the repair safer and provides clear access to both hinge assemblies.
What replacement hinge part do I need for the Whirlpool WFE550S0LZ?
You’ll need Whirlpool oven door hinge part number W10861366, which is compatible with the WFE550S0LZ model. Always verify the part number against your model sticker before ordering.
Recommended Products
These are the parts and tools I recommend for this repair, based on compatibility and customer reviews:
- Whirlpool WPW10299224 Genuine OEM Electric Range Oven Door Hinge Replacement Part – Replaces W10299224
- WPW10299224 Range Oven Door Hinge (Active with Spring) W10299224 Genuine OEM
The Genuine OEM Hinge That Stops the Sag on Your WFE550S0LZ
When that door starts dropping or won’t stay open, you’re almost always looking at worn hinge springs on this model. The Whirlpool WPW10299224 is the exact OEM part engineered for your range, and ordering the right one from the start saves you from the frustration of swapping out aftermarket hinges that don’t quite fit the mounting bracket.
What works
- The spring tension matches the factory spec — your door will stay exactly where you position it, not slowly creep closed or sag over time like worn hinges do.
- Bolt pattern is dead-on with the existing bracket holes on your range; no drilling, no adapter plates, just swap and tighten.
- The OEM construction means the hinge pin won’t wear flat after six months like some cheaper replacements I’ve seen fail.
What doesn’t
- OEM parts cost more upfront than generic hinges, though you won’t be buying again in two years like you would with a cheap knockoff.
- You need to order both hinges if both are worn — a single replacement won’t balance correctly and you’ll end up replacing the second one within months anyway.
I’ve seen people order aftermarket hinges first because they’re cheaper, only to find out they don’t hold tension the same way — then they’re ordering the OEM part anyway and asking me out. Get the genuine Whirlpool WPW10299224 OEM hinge from the start and you’re done with this problem.
About This Article

Written by Dave Holt. Dave Holt has been taking apart and fixing household appliances since he was a teenager who couldn't leave a broken one alone. Eighteen years later, after fixing things for neighbors, friends, and anyone who'd let him, he's seen almost every failure mode there is. When he writes a repair guide here, it's based on the actual job, not a manufacturer overview. More about this site.
Scope and limits. Dave is a self-taught repairer, not a certified appliance technician. Unplug before you open anything, and leave sealed refrigeration systems, gas connections, and hardwired circuits to a qualified technician.



