
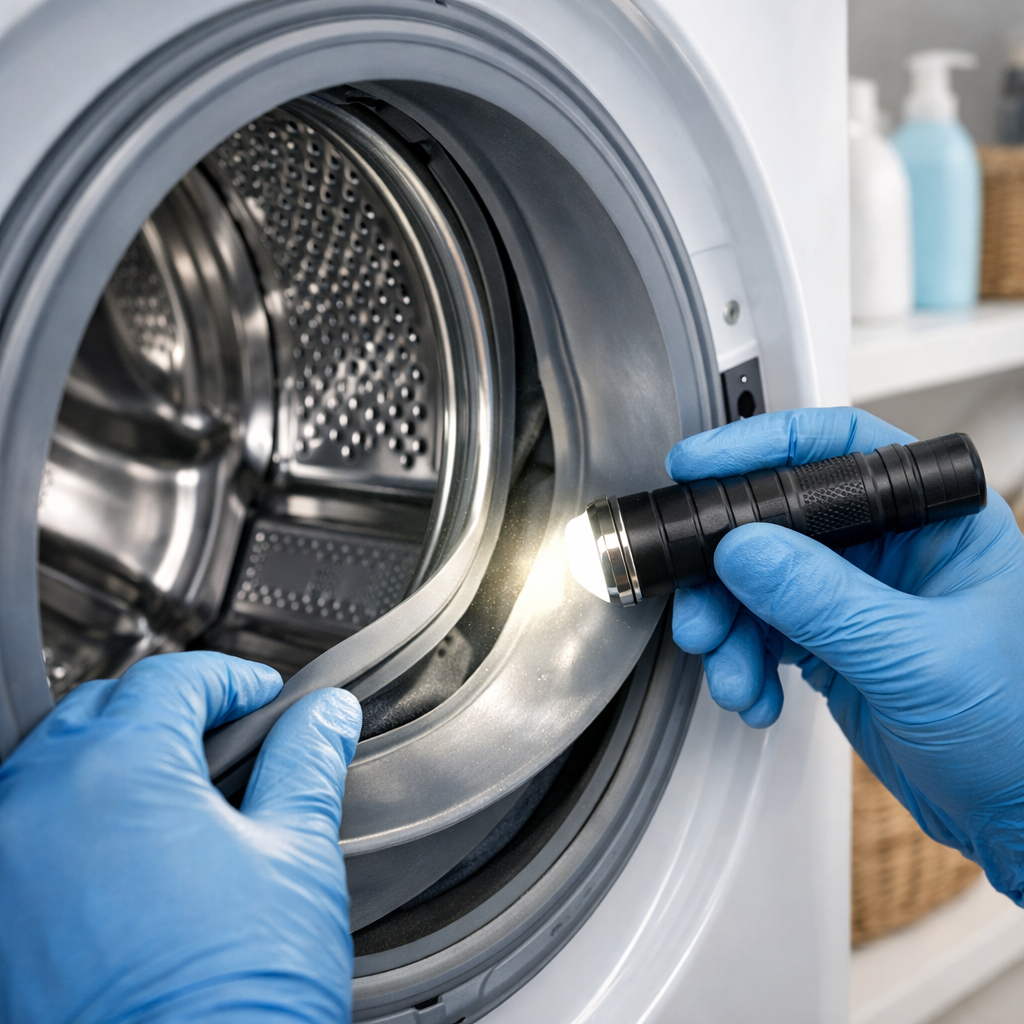
Machine walking / vibration
In this step-by-step guide, I’ll show you how to fix machine walking / vibration on your Bosch WAW285H2UC (Front Load). With the right tools and parts, most homeowners can complete this repair in 1–2 hours and save themselves a costly service call.
🔨 Pro Tip from Dave
When it comes to the WAW285H2UC, I often see DIYers overlook the rear leveling feet and only adjust the front two — a big mistake. This model uses part 00754869 for the adjustable feet assembly. If those rear feet aren’t locked down tight with the jam nut after leveling, the machine will start creeping forward during cycles. And don’t forget to check that the floor isn’t flexing; this washer’s high-speed 1400 RPM spin can exploit any soft subfloor.
Part of our Top 20 Washing machine Models & Common Repair Issues Guide. Browse all washing machine repair guides for related models and issues.
Common Symptoms & Causes
If you’re experiencing these symptoms on your Bosch WAW285H2UC, you’re likely dealing with a machine walking or excessive vibration issue during operation.
- The washer visibly shifts or “walks” across the floor during the spin cycle.
- Loud banging or thumping sounds occur when the drum reaches high spin speeds.
- The machine shakes violently, causing nearby cabinets or walls to rattle.
- The wash cycle completes but leaves clothes excessively wet due to an unbalanced load stopping full spin.
Most often, this issue arises from worn or damaged shock absorbers, failed drum bearings, uneven leveling feet, or a faulty suspension spring that can no longer stabilize drum movement effectively.
Safety First
- Unplug the washing machine from the power outlet before starting any repair — never work on a live appliance.
- Shut off the water supply valve before disconnecting any water lines or hoses.
- Wear work gloves when handling metal brackets, sheet metal edges, or sharp components.
- Take photos with your phone before disconnecting any wiring harnesses or connectors.
- Work in a well-lit area with enough floor space to lay removed panels flat.
Tools & Parts Needed
Essential Tools
- Phillips #2 screwdriver
- ¼” nut driver
- Torx T20 screwdriver
- Multimeter
- Bucket and towels
Replacement Parts
- Anti-vibration rubber feet kit
- shock absorbers (pair)
- torpedo level
- 22mm wrench
Step-by-Step Repair Instructions
Step 1
Start by checking the rear of the machine for four shipping bolts with plastic spacers. Use a 13mm socket to remove them if they’re present — these bolts lock the drum rigidly during transport and are the most common cause of severe vibration in new or recently moved installations. Leaving them in can damage the drum bearings over time, so make sure all four are removed and store them just in case the unit needs to be moved again.
Step 2
Next, place a bubble level on top of the washer and adjust all four anti-vibration feet until the bubble is centered in both directions. Lock each foot’s jam nut with a 22mm wrench to prevent drifting during spin cycles. An unlevel washer causes the drum to swing unevenly, generating rhythmic banging and walking — even a few millimeters of tilt can create significant imbalance at high RPM.
Step 3
Fit anti-vibration pads under all four feet to absorb any residual vibration that the feet alone can’t dampen, especially on hard floors where vibration transmits easily. If your floor is floating or suspended, place a 16”×16”×¾” concrete board under the unit first. The added mass helps break the resonance between the machine’s spin frequency and the floor’s natural flex frequency, which is often what causes it to walk.
Step 4
Unplug the machine before proceeding. Pull the unit forward and remove the rear panel using a T20 Torx driver on all four screws to access the rear shock absorbers. Compress each shock absorber by hand — a healthy unit will offer firm, consistent resistance throughout the stroke. If a shock compresses with little or no resistance, the internal damper is worn out, and you’ll need to replace both to maintain balanced drum support.
Step 5
To access the front shock absorbers, carefully peel back the door boot seal and remove the front panel. These are often overlooked because they require more disassembly but wear at a similar rate to the rear units. Apply the same hand-compression test: smooth, effortless compression shows a failed damper that can’t absorb drum movement during spin cycles, resulting in vibration and premature bearing wear.
Step 6
Reassemble all panels and seals, ensuring the door boot seal is fully seated in its groove to prevent leaks. Run an empty cycle at the machine’s maximum spin speed and, if you have a vibration meter or smartphone app, check that amplitude stays below 4mm. Anything above that means there’s still a damping or leveling issue, and you should revisit the diagnostic steps before regular use resumes.
Where to Buy Replacement Parts
- Bosch WAW285H2UC anti-vibration feet kit 00751052
- Bosch front load washer shock absorber 00448031
- anti-vibration washing machine pads mat heavy duty
When to Call a Professional
If the issue persists after you’ve completed all the steps above, the problem may involve a failed main control board, a worn drive motor or bearing assembly, or wiring that requires specialized diagnostic equipment. At that point, it’s best to contact a licensed appliance technician. Be sure to shut off both hot and cold supply valves before any work that opens the fill circuit.
How Much Does This Repair Cost?
| Repair route | Typical cost |
|---|---|
| Do it yourself | $10–$80 (parts) |
| Professional repair | $150–$300 (parts and labor) |
DIY parts to fix machine walking or vibration on a Bosch WAW285H2UC typically run $10–$80, depending on whether you need new leveling feet, a drum bearing, or shock absorbers. A professional service call generally costs $150–$300 including labor. Tackling this repair yourself can save you $100 or more while restoring your washer to stable, quiet operation.
Frequently Asked Questions
Why does my Bosch WAW285H2UC walk across the floor during the spin cycle?
Uneven or unlocked leveling feet are the most common cause of walking and vibration on front-load washers. Adjust all four feet until the machine sits firmly on the floor, then tighten the lock nuts to hold them in place.
Could an unbalanced load be causing the excessive vibration?
Yes, overloading or unevenly distributing laundry can force the drum off-balance during high-speed spins. Make sure to redistribute the clothes evenly and avoid washing single heavy items without pairing them with similar garments.
Do I need to remove the shipping bolts before running my Bosch WAW285H2UC?
Absolutely — leaving the shipping bolts installed will cause severe vibration and potential damage to the machine. Check the rear panel and remove all bolts before operating the washer for the first time.
Recommended Products
These are the parts and tools I recommend for this repair, based on compatibility and customer reviews:
- 4Pcs Anti Vibration Pads for Washing Machine, Stops Washer Dryer Moving, Prevents Noise, Vibration Transfer, Antivibration Stabilizer Support Feet (Increase1.8in)
- Anti Vibration Pads for Washing Machine and Dryer (Set of 4) – Washer Anti Vibration Pads with HexiGrip™ – Washing Machine Accessories & Leveling Pads – Vibration Dampening Mat
- Anti Vibration Pads for Washing Machine with HexaGrip – Stops Washer Dryer Moving, Walking – Prevents Noise, Vibration Transfer – Rubber Antivibration Stabilizer Support Feet Mat – VIBRASHIELD 4 Pack
The Anti-Vibration Feet Kit That Stops WAW285H2UC Walking in Its Tracks
If you’ve ruled out shipping bolts and the machine is still dancing across your laundry room, it’s likely that the original rubber feet have hardened and lost their grip. This OEM kit is the direct replacement—it’s what Bosch engineers designed for this exact model, and it’s the first part I pull when walking is the symptom.
What works
- Direct OEM fit—no guessing on compatibility or tolerance issues; these bolt straight into the existing mounts.
- The rubber compound on these feet actually grips the floor instead of sliding; you’ll see an immediate difference on the first spin cycle.
- Installation takes about 10 minutes once you tip the machine forward—no special tools or disassembly required beyond what you’d do to inspect the feet anyway.
What doesn’t
- Slightly harder to source than generic aftermarket pads—availability can vary depending on your region.
- Won’t fix walking if the issue is actually worn drum bearings or an out-of-balance load; it’s a solution for feet, not internal mechanical wear.
I’ve seen someone order universal anti-vibration pads first and waste two weeks before realizing the WAW285H2UC needed its specific OEM kit to mount correctly. Save yourself that headache—grab the Anti-vibration rubber feet kit and confirm part number 00751052 on your machine before ordering.
About This Article

Written by Dave Holt. Dave Holt has been taking apart and fixing household appliances since he was a teenager who couldn't leave a broken one alone. Eighteen years later, after fixing things for neighbors, friends, and anyone who'd let him, he's seen almost every failure mode there is. When he writes a repair guide here, it's based on the actual job, not a manufacturer overview. More about this site.
Scope and limits. Dave is a self-taught repairer, not a certified appliance technician. Unplug before you open anything, and leave sealed refrigeration systems, gas connections, and hardwired circuits to a qualified technician.


