
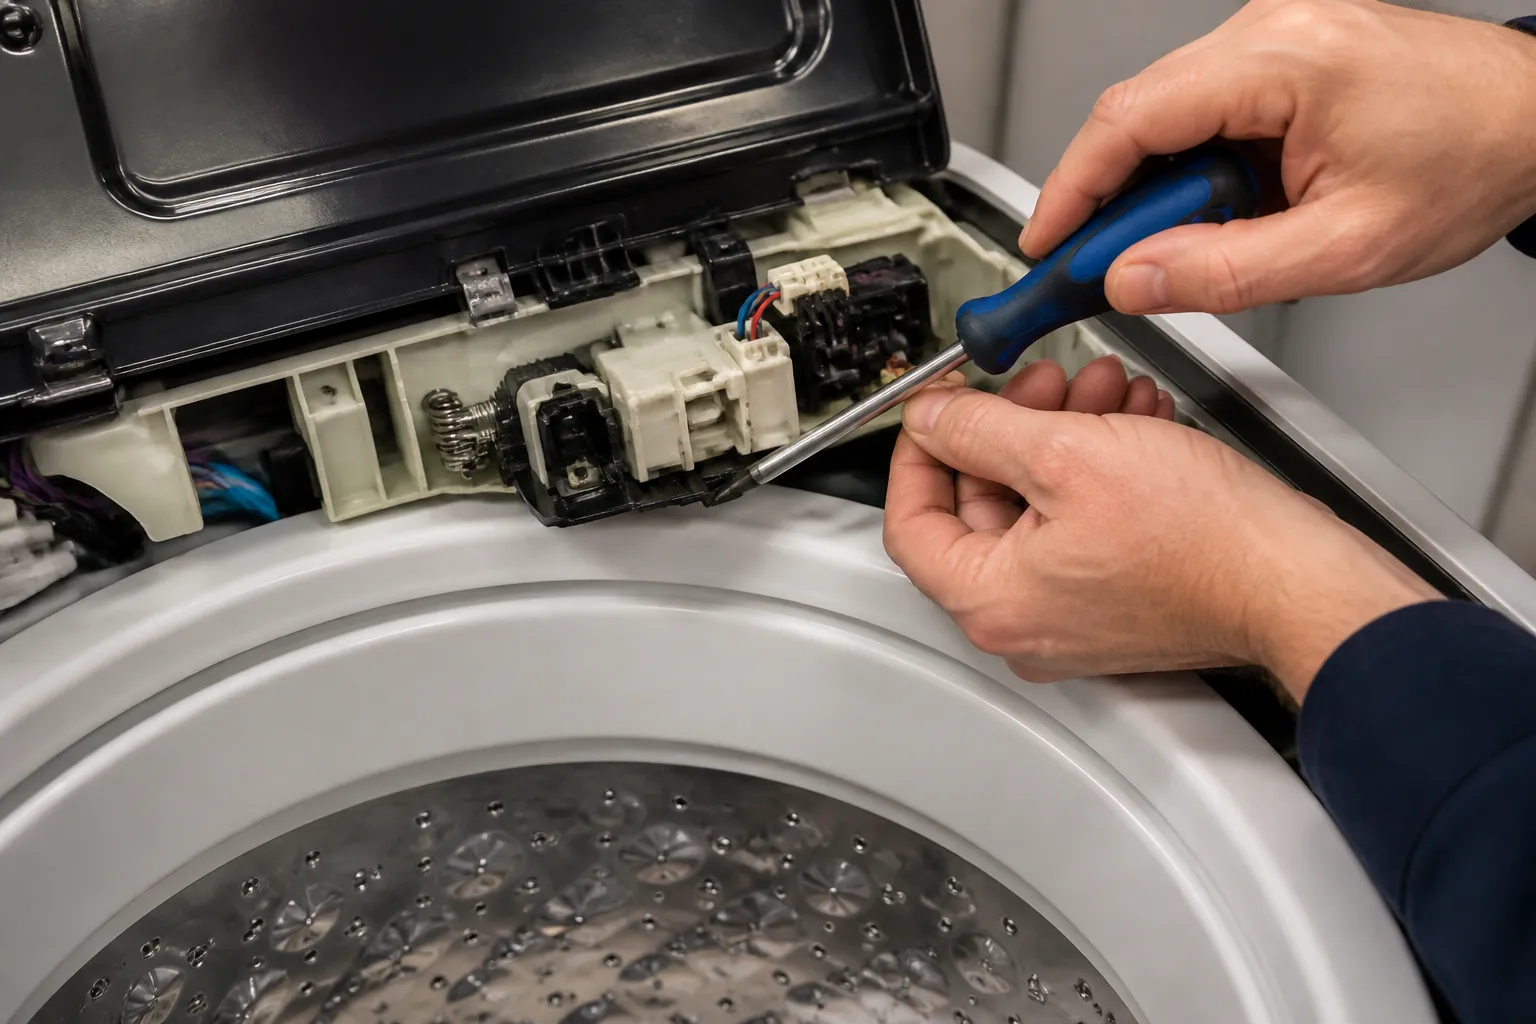
Lid Lock Error
This guide will take you through diagnosing and fixing a lid lock error on the Maytag MVWC465HW top-load washing machine. The lid lock error is a common issue that prevents the washer from starting or advancing through its cycle. I’ve found that most homeowners with a bit of mechanical confidence can tackle this repair in 1–2 hours using standard household tools, saving themselves a decent chunk of change compared to a service call.
Common Symptoms & Causes
The lid lock error on the MVWC465HW usually shows itself in several recognizable ways, often before the washer stops working entirely.
- The control panel shows an “Lid” error code or the lid lock indicator light blinks continuously
- The washer fills with water but halts before agitating or spinning
- You hear a repeated clicking sound as the lid lock tries to engage but fails
- The cycle pauses mid-wash and won’t resume even after opening and closing the lid
From my experience, the most common culprit is a failed lid lock assembly or a broken actuator strike. However, don’t overlook the possibility of a faulty wiring harness connection or a worn door latch strike, which can also trigger the same error code.
Safety First
- Unplug the washer from the wall outlet before removing any panels or touching internal components
- Wear work gloves to protect your hands from sharp metal cabinet edges
- Photograph all wiring connections and harness routing before disconnecting anything
- Work in a well-lit space so you can clearly see connector tabs, screws, and lock alignment
Tools & Parts Needed
Essential Tools
- Phillips head screwdriver (#2)
- Flat-head screwdriver for prying clips
- ¼-inch nut driver or socket set
- Needle-nose pliers
- Multimeter for continuity testing
Replacement Parts
- Lid Lock Assembly (W10404050)
- Lid Lock Actuator Strike (W10328425)
- Lid Lock Wiring Harness Connector
Step-by-Step Repair Instructions
🔨 Pro Tip from Dave
On the MVWC465HW, it’s common for the lid lock connector to develop a micro-corrosion film on the terminals, leading to intermittent lock errors even when the harness appears fine. Before you decide to replace the lock assembly, unplug the connector and give both ends a shot of electrical contact cleaner, then firmly reseat it. I’ve wrapped up more than a few calls without needing to replace a single part by taking this simple step. Skipping it is a common — and expensive — mistake I see DIYers make on this model.
Step 1: Run a Reset
Before disassembling anything, unplug the washer for 60 seconds, then plug it back in and lift and lower the lid six times within 12 seconds to reset the lid lock sensor. Start a new cycle to see if the error clears. If it returns immediately, you’ll need to replace a mechanical or electrical component.
Step 2: Inspect the Lid Strike
Open the lid and visually check the plastic actuator strike attached to the underside of the lid. Look for cracks, breakage, or missing tabs that keep the strike from properly engaging the lock mechanism. If you spot any damage, replace the strike first — it’s a low-cost fix.
Step 3: Access the Lid Lock Assembly
Unplug the washer and remove the two screws holding the control panel in place. Tilt the panel back to expose the cabinet clips. Use a flat-head screwdriver to release the spring clips on the front of the top panel, then lift it off. The lid lock assembly is located at the front-right of the cabinet opening and is secured with two screws.
Step 4: Test the Lid Lock with a Multimeter
Disconnect the wiring harness from the lid lock assembly and set your multimeter to the continuity or Ohms setting. Test across the lock terminals — a working lid lock will show continuity when manually actuated and an open circuit when released. If you don’t get continuity in either position, the lock assembly is likely failed.
Step 5: Check the Wiring Harness
Inspect the connector plug for burned contacts, corrosion, or broken locking tabs that could allow the connector to pull loose during spin cycles. Tug each wire gently at the connector to check for loose crimps. A damaged harness connection can mimic a failed lock assembly and should be repaired or replaced before you consider installing a new lock.
Step 6: Install the Replacement Lid Lock
Position the new lid lock assembly into the bracket opening and secure it with the two mounting screws — don’t overtighten, as the housing is plastic. Reconnect the wiring harness until you hear a firm click. Reinstall the top panel, secure the cabinet clips, and reattach the control panel screws.
Step 7: Test the Repair
Plug the washer back in and run a short cycle like a quick wash or rinse-and-spin. Listen for the audible click of the lid lock engaging within seconds of starting the cycle. If the machine progresses through all stages without showing the error code, your repair is successful.
How Much Does This Repair Cost?
| Repair route | Typical cost |
|---|---|
| Do it yourself | $20–$45 (lid lock assembly) |
| Professional repair | $150–$300 (labor and parts markup) |
Replacing the lid lock assembly on the Maytag MVWC465HW typically runs between $20 and $45 for parts when sourced online. The actuator strike is usually under $10. Compare that to a professional service call, which generally costs $150–$300 including labor and parts markup, and the savings of doing it yourself become clear. Even if you purchase all three replacement parts as a precaution, you’ll probably spend less than $60 total.
The Lid Lock Switch That Actually Stops the Error Code
Once you’ve ruled out a cracked or dirty strike, the lid lock switch itself is your next move — this is the electronic component that tells the washer whether the lid is actually secure. If the switch has worn contacts or internal failure, no amount of cleaning will fix it.
What works
- Direct fit for the MVWC465HW without any modification — the connector matches exactly and the mounting tabs align with the existing holes.
- Swap takes about 10 minutes: disconnect the old harness, remove two clips, slide the new switch in, and reconnect — no need to pull the top panel or cabinet.
- Eliminates the error code immediately after installation because you’re replacing the actual sensor that was failing, not guessing at wiring or software issues.
What doesn’t
- Won’t help if the problem is actually a kinked or corroded wiring harness — you’ll order this, install it, and the error comes right back because the signal can’t reach the control board.
- The connector clips are plastic and can snap if you’re not gentle during removal; I’ve had to use a small flathead screwdriver to lift them carefully instead of pulling hard on the wires.
I once ordered the strike replacement first because that’s the most common fix, but on a MVWC465HW3 the error persisted even after cleaning and realigning — turned out the switch had internal contact wear that looked fine from the outside but wasn’t sending the proper signal to the board. Washer Door Lid Lock Latch Switch Replace For Maytag MVWC415EW1 MVWC415EW2 MVWC416FW0 MVWC416FW1 MVWC465HW0 MVWC465HW1 MVWC465HW2 MVWC465HW3 7MMVWC416FW0 7MMVWC417FW0 MVWC415EW MVWC416FW MVWC465HW
About This Article

Written by Dave Holt. Dave Holt has been taking apart and fixing household appliances since he was a teenager who couldn't leave a broken one alone. Eighteen years later, after fixing things for neighbors, friends, and anyone who'd let him, he's seen almost every failure mode there is. When he writes a repair guide here, it's based on the actual job, not a manufacturer overview. More about this site.
Scope and limits. Dave is a self-taught repairer, not a certified appliance technician. Unplug before you open anything, and leave sealed refrigeration systems, gas connections, and hardwired circuits to a qualified technician.


