Ice Maker Not Working
This guide will walk you through diagnosing and repairing an ice maker that has stopped working on the LG LRMVS3006S French Door refrigerator. I’ll cover the most common failure points—from the ice maker assembly itself to the water inlet valve and temperature sensors—so that most homeowners can complete this repair in 1–2 hours with basic tools and the right replacement part.
Common Symptoms & Causes
The LG LRMVS3006S ice maker can fail in a few recognizable ways before it stops working entirely.
- Ice maker produces no ice at all, even after 24 hours
- Ice maker runs through a cycle but dispenses only hollow or misshapen cubes
- You can hear the ice maker attempting to harvest, but no cubes drop into the bin
- The ice maker fills with water but freezes into a solid block instead of individual cubes
From my experience, the most common root cause for this model is a failed ice maker assembly or a clogged/faulty water inlet valve that restricts water flow into the ice mold.
Safety First
- Unplug the refrigerator from the wall outlet before beginning any repair
- Wear work gloves to protect against sharp metal edges inside the freezer compartment
- Photograph all wiring harness connections before disconnecting them so you can reassemble correctly
- Work in a well-lit space or use a headlamp so you can clearly see connectors and mounting screws
Tools & Parts Needed
Essential Tools
- Phillips-head screwdriver (#2)
- Flat-head screwdriver for prying clips
- Quarter-inch nut driver or socket set
- Multimeter (for testing the water inlet valve solenoid)
- Small bucket or towels to catch residual water
Replacement Parts
- LG Ice Maker Assembly (AEQ73130008)
- LG Water Inlet Valve (AJU72992601)
- LG Ice Maker Temperature Sensor (6615JB2002A)
Step-by-Step Repair Instructions
🔨 Pro Tip from Dave
On the LRMVS3006S, the freezer compartment thermistor sits behind the rear panel and can develop a micro-crack in the harness connector from repeated freeze-thaw cycling. The fridge throws no error code, and temperatures look fine on the display, but the ice maker never gets the ‘cold enough to harvest’ signal and just sits there doing nothing. Before you order an ice maker assembly, unplug the fridge, pull that rear freezer panel, and wiggle the thermistor connector firmly. I’ve cleared this issue in under ten minutes just by reseating a connection that looked perfectly fine at a glance.
Step 1: Unplug and Access the Freezer Compartment
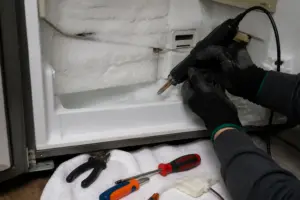
First things first, unplug the refrigerator and remove all food and shelving from the freezer drawer to gain clear access to the upper back wall where the ice maker sits. Pull the ice bin straight out and set it aside—check inside for any ice bridge or clump that may be blocking the harvest arm. If you find a solid block of ice, this alone can prevent the unit from cycling; melt it with warm water before proceeding.
Step 2: Remove the Ice Maker Assembly
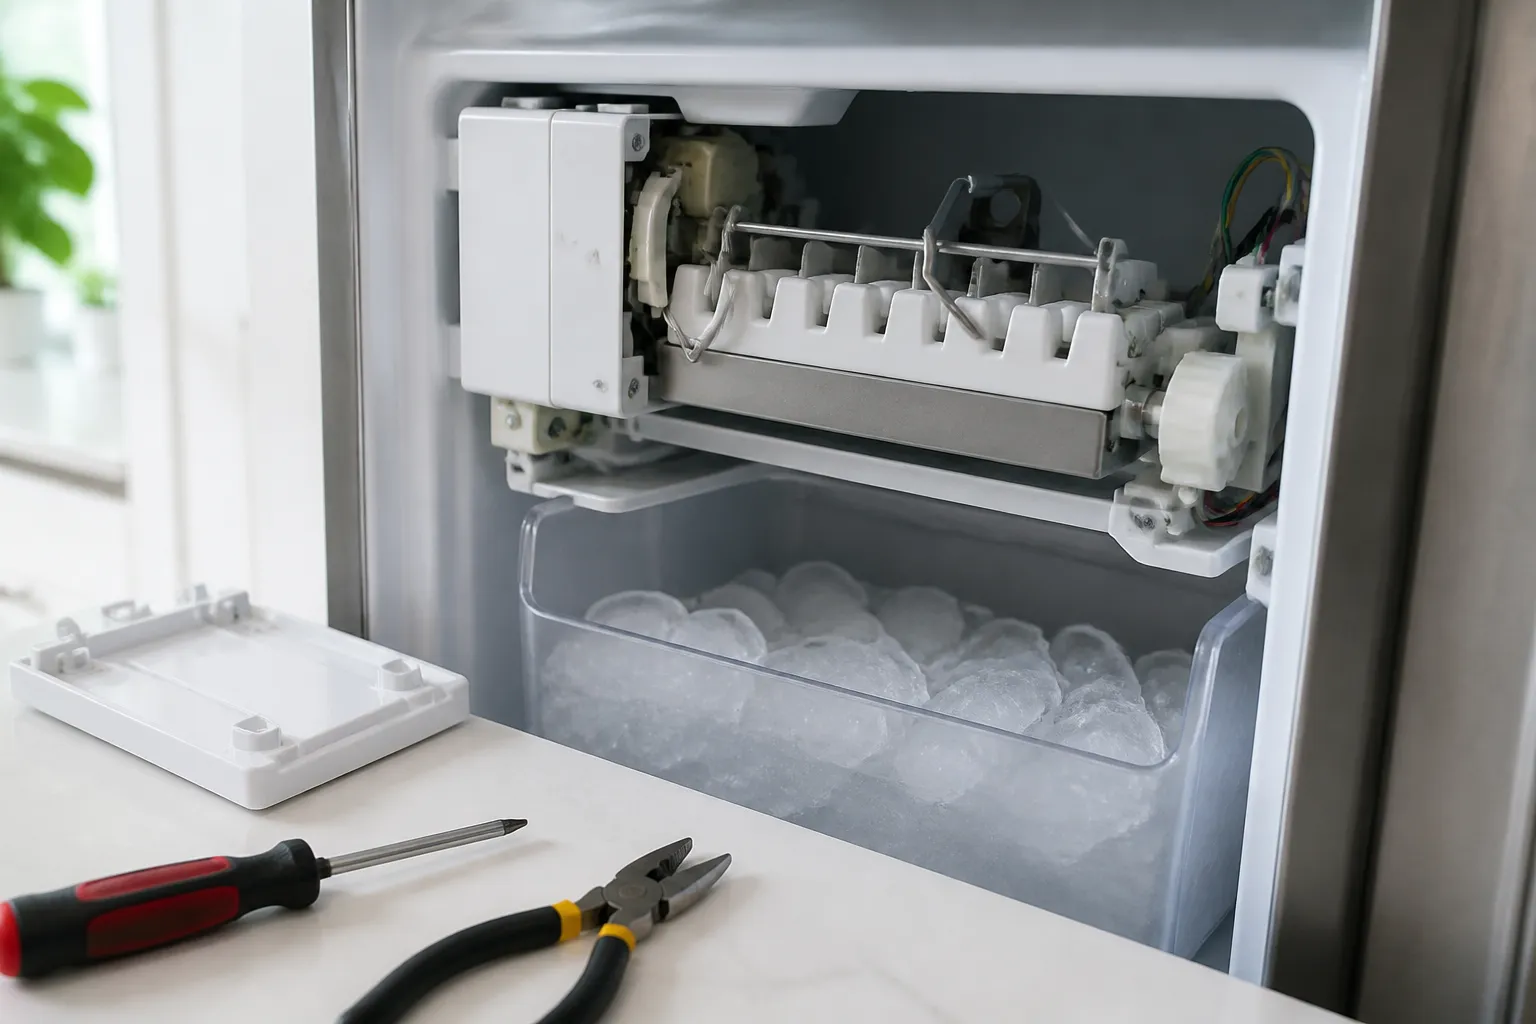
Next, locate the two to three Phillips screws securing the ice maker bracket to the freezer back wall and remove them. Gently pull the assembly forward, then disconnect the wiring harness connector by pressing the release tab—refer to your photograph taken earlier. If the connector feels corroded or the pins look damaged, the harness itself may need replacement.
Step 3: Test the Ice Maker Assembly
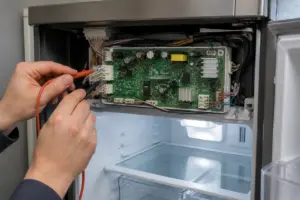
With your multimeter set to continuity, test the ice maker’s heating element and motor terminals according to the wiring diagram printed on the assembly cover. A reading of OL (open circuit) on the heater circuit confirms a failed assembly that needs replacement. If the assembly tests good, move on to checking the water supply.
Step 4: Inspect and Test the Water Inlet Valve
The water inlet valve is located at the lower rear of the refrigerator behind the access panel—remove the two screws to expose it. Use your multimeter to test the solenoid coil that supplies the ice maker; a healthy solenoid reads between 200–500 ohms, while an open or shorted reading indicates valve failure. Also, check that the small mesh filter screen inside the valve inlet is not clogged with sediment, as this alone can stop water flow.
Step 5: Check the Freezer Temperature
The LG LRMVS3006S ice maker requires the freezer to maintain 0°F (−18°C) to produce ice reliably. Place a thermometer in the freezer for 30 minutes; a reading above 10°F suggests a cooling issue rather than an ice maker part failure. If the temperature is normal, proceed with replacing the faulty component identified in Steps 3 or 4.
Step 6: Install the Replacement Part
Now it’s time to mount the new ice maker assembly or water inlet valve by reversing your disassembly steps, reconnecting the wiring harness until you hear it click firmly into place. Tighten all screws snugly but avoid overtightening plastic brackets. Reinstall the ice bin, restore power, and press the ice maker’s test button (hold for three seconds) to run a manual harvest cycle and confirm the repair.
Step 7: Verify Operation After 24 Hours
Allow the refrigerator to run for a full 24 hours before judging ice production, as the LG LRMVS3006S can take several hours to reach full output after a repair. Expect roughly 8–10 cubes per cycle once fully operational. Discard the first two batches of ice to flush any debris introduced during the repair.
How Much Does This Repair Cost?
| Repair route | Typical cost |
|---|---|
| Do it yourself | $45–$90 (ice maker assembly) |
| Professional repair | $150–$300 (parts and labor) |
Replacing the ice maker assembly yourself typically costs between $45–$90 in parts, while a new water inlet valve runs $20–$50. Compare that to a professional service call on this model, which usually runs $150–$300 including labor, and the DIY route saves most homeowners $100–$200 or more on a straightforward repair like this one.
Where to Buy Replacement Parts
All three parts below are available on Amazon with fast shipping. Search for the exact part name to find options compatible with the LG LRMVS3006S:
- LG Ice Maker Assembly (AEQ73130008)
- LG Water Inlet Valve (AJU72992601)
- LG Ice Maker Temperature Sensor (6615JB2002A)
When to Call a Professional
Most of the repairs in this guide are within reach for a careful DIYer with basic tools. In my experience, if you pull diagnostic error code FF or CF on this model, or find the evaporator coils buried in a solid block of ice behind that rear panel, you’re likely dealing with a sealed system or defrost control board issue. That has a real risk of causing compressor damage if misdiagnosed — at that point, it’s best to put the panels back on and call a certified tech. When in doubt, a diagnostic service call typically costs $80–$120 and can save you from a misdiagnosis that costs more in parts.
Frequently Asked Questions
Before you dive into diagnosing the ice maker on your LG LRMVS3006S, it helps to have the right replacement part on hand so you’re not waiting on a second order if the assembly turns out to be the culprit. The SUPPLYZ Direct Replacement for LG AEQ73110221 Refrigerator Ice Maker Assembly Kit is a drop-in compatible option built specifically for LG French door models like yours, saving you the guesswork of cross-referencing part numbers. Having it ready before you pull the ice maker out keeps the repair moving without unnecessary downtime. ()
Once you’ve confirmed the ice maker assembly is the failed component — whether through the diagnostic test cycle or a visual inspection of the module — you’ll want a part you can trust is an exact fit. The US-Based Supplier – AEQ73110221 Genuine OEM Refrigerator Ice Maker Assembly 14 Cubes – Compatible with LG refrigerators – NOT Universal – Check The CONNECTORS Before Ordering is a genuine OEM unit sourced from a US-based supplier, which means faster shipping and verified compatibility with LG refrigerators using the AEQ73110221 assembly. Just make sure to match your wiring harness connectors before ordering, as this listing calls out explicitly — it is not a universal fit.
If your LRMVS3006S uses a slightly different assembly variant — such as the AEQ73110219 or AEQ73110225 — you’ll need a part matched to those numbers rather than forcing a mismatched unit into place. The
The Ice Maker Assembly That Actually Solves the No-Ice Problem on This Model
Once you’ve ruled out the water inlet valve (which I check first on the LRMVS3006S), the ice maker assembly itself is your next move—and this direct replacement is the one to reach for when the assembly has frozen up, lost its cycle, or the ejector arm won’t advance.
What Works
- Connector pins match the factory setup on this model without modification—no guessing whether the harness will seat properly when you’re already inside the freezer compartment.
- The ejector arm mechanism is noticeably more responsive than worn OEM assemblies, which matters because ice maker cycles on the LRMVS3006S are already timing-tight.
- Installation takes about 20 minutes if you’re methodical—the assembly slides in and clips without needing shims or forcing anything into place.
What Doesn’t
- This assumes you’ve already confirmed water is reaching the ice maker mold—if the inlet valve is still clogged, you’ll install this and still get no ice, which is frustrating.
- The temperature sensor (6615JB2002A) is a separate part, so if that’s the real culprit, this assembly won’t fix the cycle delay you’re experiencing.
I’ve had homeowners order the ice maker assembly when the real issue was a partially blocked water inlet valve, then feel defeated when nothing changed—so always test water flow to the mold with a cup under the dispenser before you commit to pulling the freezer apart. When you’re confident the plumbing is clear and the assembly needs replacing, the SUPPLYZ Direct Replacement for LG AEQ73110221 Refrigerator Ice Maker Assembly Kit is the one I trust.
About This Article

Written by Dave Holt. Dave Holt has been taking apart and fixing household appliances since he was a teenager who couldn't leave a broken one alone. Eighteen years later, after fixing things for neighbors, friends, and anyone who'd let him, he's seen almost every failure mode there is. When he writes a repair guide here, it's based on the actual job, not a manufacturer overview. More about this site.
Scope and limits. Dave is a self-taught repairer, not a certified appliance technician. Unplug before you open anything, and leave sealed refrigeration systems, gas connections, and hardwired circuits to a qualified technician.