
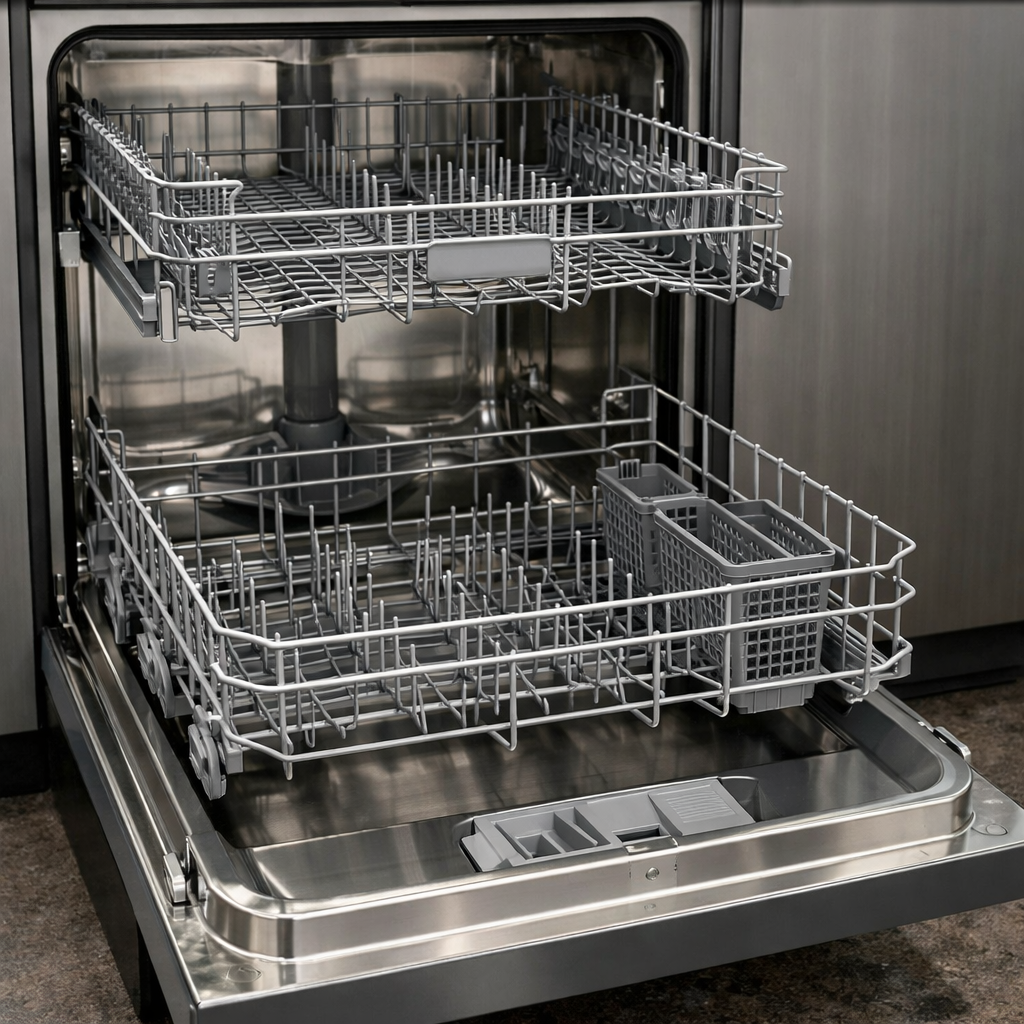
Hard food disposer noise
In this step-by-step guide, I’ll walk you through fixing that annoying hard food disposer noise on your GE Profile PDT755SYRFS. With the right tools and parts, most homeowners can complete this repair in about 1–2 hours, saving you the cost of a service call.
🔨 Pro Tip from Dave
On the PDT755SYRFS, I often see technicians overlook the disposer mounting collar and head straight for a complete assembly replacement. Don’t make that mistake. Check part number WD12X10285 first; the grinding noise is often just debris lodged between the impeller blades. Always inspect the sump area for broken glass or cherry pits before reassembling to avoid damaging your new part.
Part of our Top 20 Dishwasher Models & Common Repair Issues Guide. Browse all dishwasher repair guides for related models and issues.
Common Symptoms & Causes
If your GE Profile PDT755SYRFS is making hard food disposer noise, you might notice a few symptoms during operation:
- A loud grinding or crunching sound during the wash cycle
- Rattling or banging noise from the bottom of the dishwasher
- Dishes coming out dirty even though the cycle completed normally
- The hard food disposer runs continuously without stopping between cycles
These symptoms are usually due to worn or damaged hard food disposer parts, debris trapped in the chopper blade assembly, or a failing disposer motor from regular wear and tear.
Safety First
- Unplug the dishwasher before starting any repair — never work on a live appliance.
- Shut off the water supply valve before disconnecting any hoses or water lines.
- Wear work gloves when handling metal brackets or sharp components.
- Take photos before disconnecting any wiring harnesses for easy reassembly.
- Work in a well-lit area with enough room to lay removed panels flat.
Tools & Parts Needed
Essential Tools
- Phillips #2 screwdriver
- Torx T20 screwdriver
- Needle-nose pliers
- Multimeter
- Flashlight
Replacement Parts
- Hard food disposer assembly (chopper)
- Grinder blade kit
- Phillips screwdriver
Step-by-Step Repair Instructions
Step 1
First, disconnect power to the dishwasher at the breaker. You’ll be reaching into the sump area, so it’s crucial to ensure your safety. Remove the lower rack and filter assembly to expose the sump, then carefully feel around the chopper area for any glass shards, bone chips, or seeds — hard debris trapped in the chopper is the leading cause of grinding noise during the wash cycle.
Step 2
Using needle-nose pliers, gently extract any debris found in the chopper impeller cavity. Take your time; small fragments like glass chips can be easy to overlook but can continue causing noise and damage if left behind. Pro tip: wear cut-resistant gloves to protect your hands from any sharp debris.
Step 3
If the grinding persists after clearing visible debris, the chopper blade itself may be damaged from repeated contact with hard objects. To access the disposer assembly, tilt the unit back to reach under the sump — the chopper is secured with three Phillips screws. Snap a photo before disassembly for reference during reassembly.
Step 4
Remove the chopper assembly and inspect the blade for chips, cracks, or bent vanes. Any of these issues will cause an unbalanced spin and a grinding sound, even if no debris is present. If you find damage, replace the entire chopper blade kit instead of trying to fix bent vanes to avoid premature wear on the pump bearings.
Step 5
Before reassembling, remember that GE hard food disposers are only meant to handle soft food particles. Bones, fruit pits, seeds, and glass can damage the chopper blade and void your warranty. Going forward, be sure to pre-scrape all dishes to remove hard items before loading, which will significantly extend the life of the chopper blade.
Step 6
Reassemble the chopper assembly, reinstall the filter and lower rack, restore power, and run a Normal cycle while listening for any remaining noise during the chopper operation phase. A properly functioning disposer should hum consistently without grinding, rattling, or loud pops — if noise continues, the pump assembly might need a professional inspection.
Where to Buy Replacement Parts
- GE Profile PDT755SYRFS hard food disposer replacement WD35X21021
- GE dishwasher disposer chopper blade grinder replacement
- GE dishwasher grinding noise during wash cycle
When to Call a Professional
If the issue persists after trying all the above steps, you might be dealing with a failed main control board, a seized circulation or drain pump, or wiring issues that need specialized diagnostic equipment. It’s time to contact a licensed appliance technician — make sure to shut off the water supply valve before any work that opens the fill or drain circuit.
How Much Does This Repair Cost?
| Repair route | Typical cost |
|---|---|
| Do it yourself | $10–$50 (parts) |
| Professional repair | $150–$300 (parts and labor) |
DIY parts for fixing hard food disposer noise on the GE Profile PDT755SYRFS typically range from $10 to $50, depending on what you need. A professional service call for the same repair usually costs between $150 and $300, including labor. Tackling this repair yourself can save you $100 to $250 or more.
Frequently Asked Questions
Why is my GE Profile PDT755SYRFS making a loud grinding noise during the wash cycle?
The hard food disposer may have a bone fragment, seed, or small debris caught in the grinding mechanism. Running a cleaning cycle or checking for obstructions typically resolves the noise.
Is it safe to keep running the dishwasher while the disposer is making noise?
It’s best to stop using the appliance until the issue is diagnosed, as continued operation can damage the disposer motor or impeller blades.
How do I access the hard food disposer on the GE Profile PDT755SYRFS for inspection?
To access the disposer, remove the lower dish rack and unscrew the spray arm to expose the disposer cover at the bottom of the tub. Always disconnect power before inspecting any internal parts.
The Hard Food Disposer Assembly That Stops the Grinding Noise on Your GE Profile
If you’re hearing that grinding or rattling noise from the hard food disposer during the wash cycle, the chopper assembly itself is almost certainly worn or has internal damage that simple cleaning won’t fix. This is the part that actually does the work, and when it starts to fail, replacement is your best move.
What works
- Drops straight into the existing housing on the PDT755SYRFS—no modifications needed, and the mounting brackets align perfectly with what’s already in place
- Eliminates the metal-on-metal grinding noise immediately; the new assembly spins smooth and quiet from the first cycle
- Comes with all the necessary hardware and seals, so you’re not hunting for gaskets or fasteners separately
What doesn’t
- This is a full assembly replacement, not a repair—if you were hoping for a quick blade or bearing swap, you’re looking at the whole unit instead
- Removal requires draining the tub and disconnecting the motor coupling, which means you’ll need 30–45 minutes and a bit of space to work comfortably underneath
I’ve seen plenty of owners order just the grinder blades thinking that’s where the noise is coming from, only to find out the whole assembly had play in the rotor shaft. Save yourself the second order—pull the assembly and inspect it first, then grab the hard food disposer assembly (chopper) if replacement is what you need.
About This Article

Written by Dave Holt. Dave Holt has been taking apart and fixing household appliances since he was a teenager who couldn't leave a broken one alone. Eighteen years later, after fixing things for neighbors, friends, and anyone who'd let him, he's seen almost every failure mode there is. When he writes a repair guide here, it's based on the actual job, not a manufacturer overview. More about this site.
Scope and limits. Dave is a self-taught repairer, not a certified appliance technician. Unplug before you open anything, and leave sealed refrigeration systems, gas connections, and hardwired circuits to a qualified technician.



