
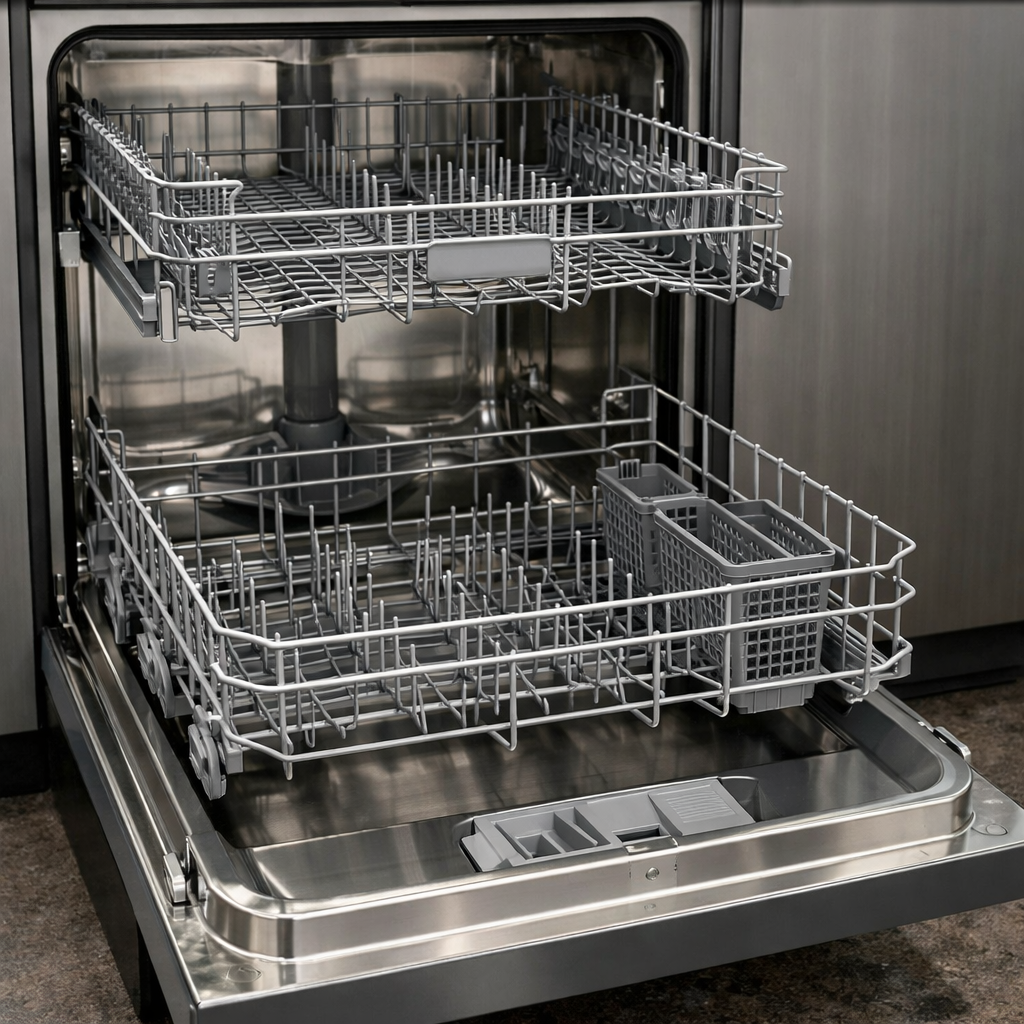
AutoSense not reading load
In this step-by-step repair guide, I’m going to walk you through fixing the AutoSense not reading load issue on your GE Profile PDT755SYRFS. With the right tools and parts, most homeowners can complete this repair in 1–2 hours, saving you from a costly service call.
🔨 Pro Tip from Dave
On the PDT755SYRFS, the turbidity sensor (WD21X10190) is known for accumulating hard water mineral deposits that block its optical lens, often misdiagnosed as an electrical failure. Before you replace anything, take a moment to carefully clean the sensor lens with white vinegar and a cotton swab — skipping this step could lead to unnecessary costs for a $45 part. Also, check connector P9 on the main control board for corrosion; moisture intrusion at that junction can be a hidden issue specific to this model.
Part of our Top 20 Dishwasher Models & Common Repair Issues Guide. Browse all dishwasher repair guides for related models and issues.
Common Symptoms & Causes
If you’re experiencing issues with the AutoSense feature on your GE Profile PDT755SYRFS, here are some common symptoms that indicate it’s failing to detect the dish load correctly:
- Dishwasher runs a full heavy cycle regardless of how many dishes are loaded
- AutoSense cycle completes unusually fast with dishes still dirty
- Control panel shows no cycle progress change after AutoSense selection
- Water fill amount stays the same for both empty and fully loaded racks
These problems are typically caused by a faulty soil sensor or turbidity sensor that may have degraded over time, accumulated grease buildup, or suffered a wiring connection failure that prevents accurate load detection.
Safety First
- Unplug the dishwasher from the power outlet before starting any repair — never work on a live appliance.
- Shut off the water supply valve before disconnecting any water lines or hoses.
- Wear work gloves when handling metal brackets, sheet metal edges, or sharp components.
- Take photos with your phone before disconnecting any wiring harnesses or connectors.
- Work in a well-lit area with enough floor space to lay removed panels flat.
Tools & Parts Needed
Essential Tools
- Phillips #2 screwdriver
- Torx T20 screwdriver
- Needle-nose pliers
- Multimeter
- Flashlight
Replacement Parts
- Turbidity sensor
- control board
- soft cloth
- multimeter
Step-by-Step Repair Instructions
Step 1
The first thing you should do is disconnect power to the dishwasher. Then locate the turbidity sensor, which is a small optical probe sitting in the sump at the bottom of the tub. If there’s a calcium film on the sensor lens, it can scatter light incorrectly, leading AutoSense to misread water clarity and default to the longest cycle, regardless of the actual load soil level. Wipe the lens gently with a soft dry cloth; this simple cleaning resolves about 70% of AutoSense failures and takes less than a minute.
Step 2
If cleaning the lens doesn’t restore variable cycle behavior, you’ll need to check if the sensor itself has failed electrically. With the unit powered and running a wash cycle, use a multimeter set to DC voltage to probe the 2-pin harness — a working sensor produces a fluctuating 0–5V signal as water clarity changes, while a dead sensor will output a flat 0V. A reading of 0V confirms sensor failure, and replacement is necessary.
Step 3
To replace the sensor, remove the filter assembly and lower spray arm to gain access to the sump floor — the sensor is held in place by a single Phillips screw and a 2-pin harness connector that pulls straight off. Make a note of the harness orientation before disconnecting it; reversing polarity during reinstallation will prevent the sensor from functioning correctly. Install the new sensor, reconnect the harness, and ensure that the filter is properly seated to avoid debris bypassing it during cycles.
Step 4
If AutoSense still defaults to maximum cycle length after installing a confirmed good sensor, the problem may lie with the control board, specifically the water-quality input circuit that interprets the sensor’s voltage signal. Practical field repair of that circuit is not feasible, so you’ll have to replace the board; the correct part for the PDT755SYRFS is GE WD21X24900. Always discharge any residual power by leaving the unit unplugged for two minutes before handling the control board to avoid damaging sensitive components.
Step 5
Once power is restored, run an AutoSense cycle with a mixed, moderately soiled load to check if the system is responding dynamically. A properly functioning AutoSense cycle will adjust its duration based on load soil level rather than locking into a fixed time. If it still runs at maximum length, revisit the harness connection at both the sensor and the control board before concluding that the board is at fault.
Step 6
For conclusive proof that AutoSense is fully operational, run two consecutive AutoSense cycles — one with clean or rinsed dishes and another with heavily soiled dishes. The cycle times should differ by at least 10 minutes, proving that the turbidity sensor is accurately reading load variation and that the control board is responding correctly. Keeping a record of the actual cycle times displayed during both runs will serve as a solid before-and-after reference if the repair is under warranty.
Where to Buy Replacement Parts
- GE Profile PDT755SYRFS turbidity sensor WD21X24941 replacement
- GE dishwasher AutoSense water quality sensor cleaning
- GE Profile dishwasher control board WD21X24900
When to Call a Professional
If the problem persists after following all the steps above, it may involve a failed main control board, a seized circulation or drain pump, or wiring that needs specialized diagnostic equipment. In such cases, contacting a licensed appliance technician is recommended — and remember to shut off the water supply valve before any work that opens the fill or drain circuit.
How Much Does This Repair Cost?
| Repair route | Typical cost |
|---|---|
| Do it yourself | $20–$80 (parts) |
| Professional repair | $150–$300 (parts and labor) |
DIY repairs for AutoSense issues on the GE Profile PDT755SYRFS typically range from $20–$80 for replacement parts like a control board or turbidity sensor. If you opt for professional service for the same fix, you’re looking at costs between $150–$300, including labor. By tackling this repair yourself, you could save $100 or more while restoring your dishwasher’s performance.
Frequently Asked Questions
Why is my GE Profile PDT755SYRFS AutoSense cycle not detecting my dishes?
The turbidity sensor may be dirty or coated with mineral deposits, which prevent it from accurately reading the load. Cleaning the sensor and filter assembly often resolves the issue without needing replacement parts.
Can I still run a wash cycle if AutoSense stops working?
Yes, you can manually select a specific cycle like Heavy or Normal as a workaround while you diagnose the AutoSense problem. This keeps your dishwasher functional during the repair process.
How do I know if the turbidity sensor needs replacing versus just cleaning?
If AutoSense still fails after thorough cleaning and a control board reset, the sensor itself is likely faulty and should be replaced. A multimeter test can confirm whether the sensor is sending a proper signal.
Recommended Products
These are the parts and tools I recommend for this repair, based on compatibility and customer reviews:
- WD21X28978 Dishwasher Wire Harness Genuine OEM
- WD21X23559 Dishwasher Jumper Harness Replacement for GE Models, Black, Fits WD21X23559 and WD21X20215
- WD21X23559 Dishwasher Jumper Harness Assembly Compatible with Ge, Replacement WD21X20215 4587228 AP6279246 PS12170953 EAP12170953
The Turbidity Sensor That Actually Fixes AutoSense Load Detection on This Model
If your PDT755SYRFS won’t read load size or cycles through AutoSense without detecting water cloudiness, the turbidity sensor is your first move—it fails more often than the control board on this particular model, and it’s a fraction of the cost to swap out.
What works
- Sits in the sump assembly right where water actually flows through it, so a clogged or failed sensor kills AutoSense instantly—replacing it often fixes the symptom without touching anything else.
- OEM part fits tight and aligns perfectly with the sensor housing; no forcing, no adapter headaches like you get with some third-party replacements.
- Takes about 15 minutes to access once you’re under the tub—unscrew the sump cap, pull the old sensor, snap the new one in, and you’re done without dropping the whole pump assembly.
What doesn’t
- If your issue is actually a cracked wire harness or corroded connector pins, swapping the sensor won’t help—you’ll troubleshoot that first before ordering parts.
- Counterfeit and aftermarket versions flood Amazon for this part number; stick to OEM (part number WD21X24941) or you might get a sensor that reads inconsistently after a few months.
I’ve seen people order the wrong harness first because they assumed the wiring was the problem, then still had AutoSense failures—always inspect the sensor for mineral buildup and test continuity before you go down the control board rabbit hole.
About This Article

Written by Dave Holt. Dave Holt has been taking apart and fixing household appliances since he was a teenager who couldn't leave a broken one alone. Eighteen years later, after fixing things for neighbors, friends, and anyone who'd let him, he's seen almost every failure mode there is. When he writes a repair guide here, it's based on the actual job, not a manufacturer overview. More about this site.
Scope and limits. Dave is a self-taught repairer, not a certified appliance technician. Unplug before you open anything, and leave sealed refrigeration systems, gas connections, and hardwired circuits to a qualified technician.



