
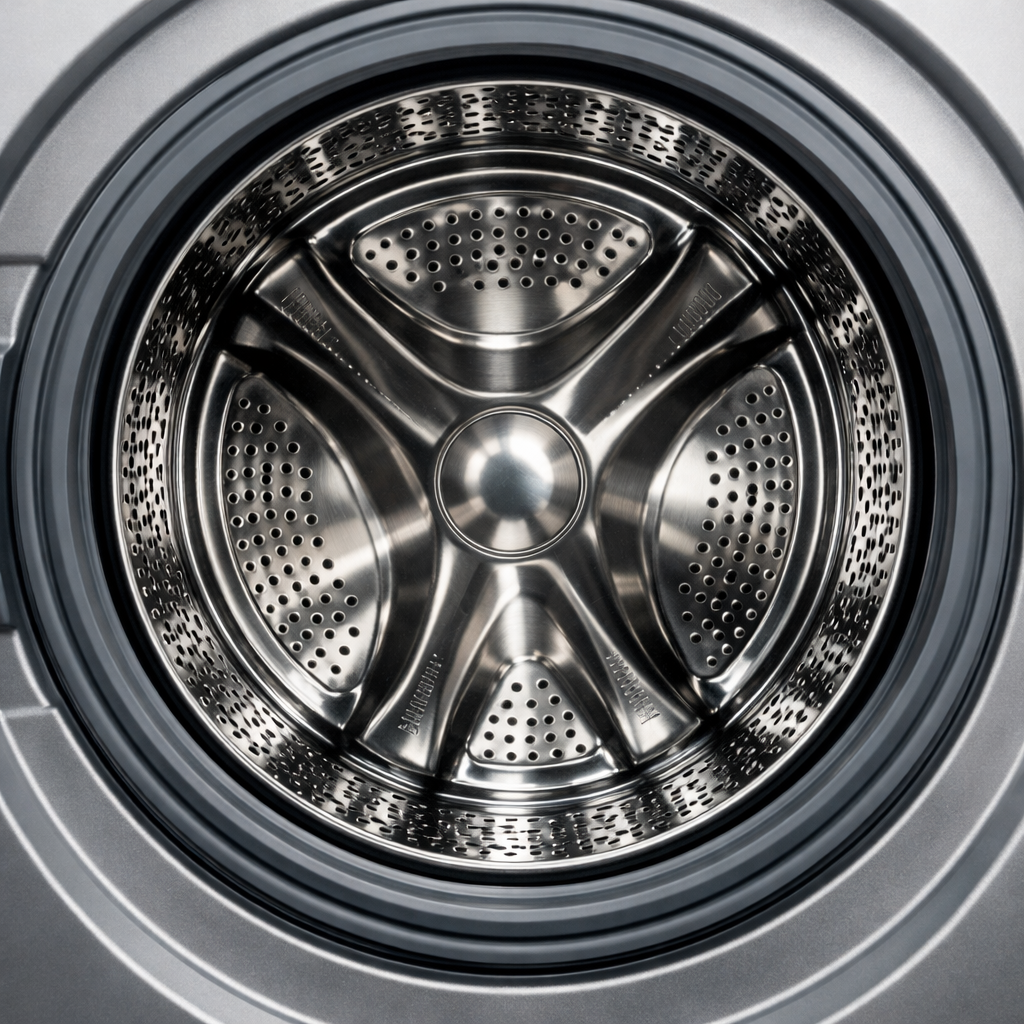
Drum Bearing Squeak
In this step-by-step guide, I’ll walk you through fixing the drum bearing squeak on your Maytag MEDC465HW (Electric). With a few essential tools and parts, most homeowners can complete this repair in about 1–2 hours, saving you from a costly service call.
🔨 Pro Tip from Dave
On the MEDC465HW, the rear drum bearing kit (part number W10314173) contains both the bearing and the felt pad. Avoid the mistake of replacing just one; otherwise, the squeak will return in no time. Additionally, be cautious with the plastic retaining clips on the rear bulkhead—they can be brittle and snap easily if forced. Take your time prying them loose and keep a couple of spares handy.
Part of our Top 20 Dryer Models & Common Repair Issues Guide. Explore all dryer repair guides for related models and issues.
Common Symptoms & Causes
If your Maytag MEDC465HW is giving you a drum bearing squeak, here are some symptoms you might notice during operation:
- A loud squeaking or squealing noise throughout the drying cycle
- The squeaking intensifies as the drum spins faster
- A grinding or scraping sound accompanies the squeak during drum rotation
- The drum feels rough or resists when turned manually
These symptoms are usually caused by a worn or failed rear drum bearing, which deteriorates over time due to heat, friction, and regular use.
Safety First
- Unplug the dryer from the power outlet before starting any repair — never work on a live appliance.
- Wear work gloves when handling metal brackets or sharp components.
- Take photos with your phone before disconnecting any wiring harnesses.
- Work in a well-lit area with enough space to lay removed panels flat.
Tools & Parts Needed
Essential Tools
- Phillips #2 screwdriver
- ¼” nut driver
- Putty knife
- Multimeter
- Work gloves
Replacement Parts
- Drum support rollers (rear set of 2)
- Front drum glide pads
- Drive belt
- Idler pulley
Step-by-Step Repair Instructions
Step 1
Start by unplugging the dryer to ensure safety. Capacitors in the motor can hold a charge for a brief period, so wait a minute. Pull out the lint screen and remove the front panel by unscrewing one Phillips screw inside the lint housing and two screws at the lower edge. Don’t forget to disconnect the door switch wiring harness before completely lifting the panel away; keeping the wire connector intact prevents a broken tab that can be a hassle during reassembly.
Step 2
With the front panel removed, you can clearly see the drum glides—the white plastic pads at the bottom of the front bulkhead that the drum lip rides against. If these wear down to their metal backing, they create a rhythmic metal-on-metal squeak and can damage the drum rim. Inspect all of them and replace the entire set rather than just individual pads to ensure even wear and prevent future issues.
Step 3
Support the drum from the front and lift it straight out to expose the two rear drum support rollers. Spin each roller by hand: a good roller should spin freely and quietly, while a worn one will wobble, feel rough, or be completely seized — indicating that both rollers need replacement as a matched set to avoid imbalanced loads.
Step 4
While the drum is out, locate the idler pulley on the tensioner arm near the motor and spin it by hand. A healthy bearing spins smoothly; if it feels gritty or rough, replace it now since it’s a common but often overlooked source of squeaking.
Step 5
With the drum removed, lay the belt flat and inspect it for cracks, glazing, or fraying. A damaged belt can slip, squeak, or snap unexpectedly, so replace it while you have easy access. Even if it looks borderline, it’s worth swapping out for a few dollars to save you from a full teardown later.
Step 6
Reassemble by lowering the drum onto the rear rollers first, then loop the belt around the drum and route it under the idler pulley and around the motor pulley before securing the front panel. Reconnect the door switch wiring harness — if you miss this, the dryer won’t start. Reinstall the front panel screws and reinsert the lint screen. Plug in the dryer and run a full 20-minute heat cycle to confirm the squeak is gone and that the drum is tracking evenly.
Where to Buy Replacement Parts
- Maytag MEDC465HW drum support roller WP349241T replacement
- Maytag electric dryer front glide slide replacement WP33002028
- Maytag dryer drum bearing kit felt seal
When to Call a Professional
If the squeak persists after following all the steps above, the issue may involve a failed main control board, a defective heating element, or wiring that requires specialized diagnostic equipment. In such cases, it’s best to reach out to a licensed appliance technician. For gas dryers, avoid any work on the gas valve or supply line — that should be left to a licensed gas fitter.
How Much Does This Repair Cost?
| Repair route | Typical cost |
|---|---|
| Do it yourself | $15–$50 (parts) |
| Professional repair | $150–$300 (parts and labor) |
Replacing the drum bearing on a Maytag MEDC465HW generally costs $15–$50 in parts if you do it yourself. A professional service call for the same repair typically runs $150–$300 once you factor in labor and diagnostic fees. Tackling this repair on your own can save you $100–$250 or more.
Frequently Asked Questions
How do I know if the drum bearing is causing the squeak on my Maytag MEDC465HW?
A worn drum bearing usually produces a steady squeaking or grinding noise that gets louder as the drum spins faster. Try rotating the drum by hand with the dryer off; if it feels rough or scratchy, that confirms a failing bearing.
Can I replace the drum bearing myself without special tools?
Absolutely! This repair is DIY-friendly and requires only basic tools like a putty knife and screwdrivers. There’s no need for specialized equipment to access and replace the bearing on the MEDC465HW.
How long does a replacement drum bearing typically last on this model?
A quality replacement bearing should last 10 years or more with normal use, especially if you use OEM or high-quality aftermarket parts to maximize longevity.
Recommended Products
Here are the parts and tools I recommend for this repair based on compatibility and customer reviews:
- Upgraded EngPair (4 Pack) WPW10314173 & W10314173 Dryer Drum Support Roller Kit fits Whirlpool, Kenmore, Maytag, for 3396801, 349241T, 8536973, 8536974, AP6019303, PS11752609, PS347627, W10314171
- 4 Pack W10314173 Dryer Drum Support Roller Kit Compatible with Whirlpool, Kenmore & Maytag Replace W10314171, 3396802, 3401846, WPW10314173, 8536974, AP6019303
- W10612022 Dryer Rear Drum Felt Seal Replacement for Whirlpool Kenmore,Crosley and Amana Maytag Dryer Drum Felt PS8691753,AP5737110,AP3094267,279857,PS334327, W10389561 Dryer Felt
- MOOTVGOO W10612022 Dryer Rear Drum Felt Seal Replacement
The Rear Drum Bearing That Stops the Squeak on Your MEDC465HW
Once you’ve confirmed the squeak is coming from the back of the drum (not the front glides), the rear drum support rollers are almost certainly worn out. This is the most common culprit in this Maytag model, and replacing them will eliminate that squeaking noise for good.
What works
- The rollers come as a matched pair, which is important—replacing just one roller will leave you with uneven wear and the squeak will return within months.
- The fit is tight and exact on this model, so there’s no guesswork once you have the rear drum housing open; they drop in cleanly without forcing.
- After installation, the squeak is gone immediately—you’ll notice the drum spins noticeably quieter on the first test run.
What doesn’t
- You have to remove the drum to access these, which means unplugging, venting the lint trap, and unbolting the front panel—it’s not a five-minute job.
- If your squeaking is actually from worn felt seals (less common but possible), new rollers alone won’t fix it and you’ll need to order the felt seal kit separately.
I’ve had owners tell me they ordered felt seals first because the squeak sounds like it’s coming from everywhere, when really the rollers were the problem all along—listen carefully near the back of the drum to confirm. Drum support rollers (rear set of 2)
About This Article

Written by Dave Holt. Dave Holt has been taking apart and fixing household appliances since he was a teenager who couldn't leave a broken one alone. Eighteen years later, after fixing things for neighbors, friends, and anyone who'd let him, he's seen almost every failure mode there is. When he writes a repair guide here, it's based on the actual job, not a manufacturer overview. More about this site.
Scope and limits. Dave is a self-taught repairer, not a certified appliance technician. Unplug before you open anything, and leave sealed refrigeration systems, gas connections, and hardwired circuits to a qualified technician.

