
High-limit thermostat failure
This step-by-step repair guide walks you through fixing high-limit thermostat failure on your GE GTD33EASKWW (Electric). With the right tools and parts, most homeowners can complete this repair in 1–2 hours and avoid a costly service call.
🔨 Pro Tip from Dave
On the GTD33EASKWW, the high-limit thermostat (part WE4M137) sits on the heater housing and is often misdiagnosed as a failed heating element — always test continuity on the thermostat first before replacing anything else. A common mistake I see is technicians forgetting to also inspect the exhaust vent for blockage, because restricted airflow is usually what caused the thermostat to trip and fail in the first place.
Part of our Top 20 Dryer Models & Common Repair Issues Guide. Browse all dryer repair guides for related models and issues.
“`html
Common Symptoms & Causes
If your GE GTD33EASKWW is experiencing a high-limit thermostat failure, you may notice one or more of the following symptoms:
- The dryer runs but produces no heat during the entire cycle
- Clothes remain completely damp after a full drying cycle
- The dryer shuts off prematurely before the cycle completes
- The drum spins normally but the heating element never activates
These issues are most commonly caused by a blown or failed high-limit thermostat, which typically wears out due to repeated overheating, restricted airflow from a clogged lint trap or vent, or normal age-related component degradation.
“`
Safety First
- Unplug the dryer from the power outlet before starting any repair — never work on a live appliance.
- Wear work gloves when handling metal brackets, sheet metal edges, or sharp components.
- Take photos with your phone before disconnecting any wiring harnesses or connectors.
- Work in a well-lit area with enough floor space to lay removed panels flat.
Tools & Parts Needed
Essential Tools
- Phillips #2 screwdriver
- ¼” nut driver
- Putty knife
- Multimeter
- Work gloves
Replacement Parts
- High-limit thermostat
- thermal fuse
- thermostat kit
- multimeter
Step-by-Step Repair Instructions
Step 1
The high-limit thermostat is a safety cutout that trips when the dryer overheats, so the classic symptom is a dryer that runs but produces no heat, or one that heats briefly then shuts off as the cutout activates. Unlike the cycling thermostat that regulates normal temperature, a tripped high-limit means the dryer reached a dangerously high temperature at some point. Identifying this symptom early prevents you from chasing unrelated components.
Step 2
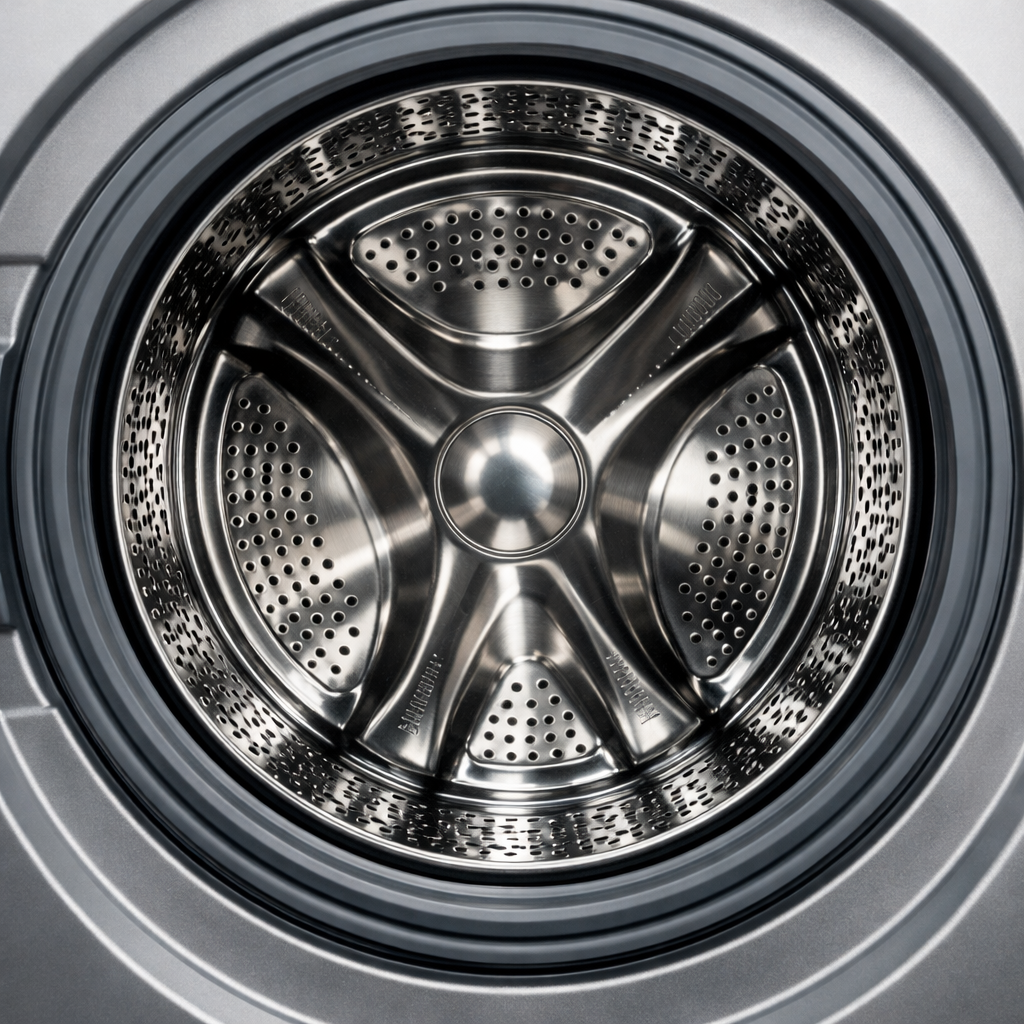
Before accessing any components, unplug the dryer from the wall — the heating element carries 240V and is lethal to touch live. Remove the rear panel and locate the high-limit thermostat on the heater housing near the element outlet; it is a disc-style safety device and sits separately from the cycling thermostat, so confirm you have the right part before testing.
Step 3
Set your multimeter to Rx1 and probe both terminals of the high-limit thermostat — a working thermostat at room temperature should show full continuity (near-zero resistance), while an open reading confirms it has tripped or failed and must be replaced. This test takes 30 seconds and definitively rules out or confirms the component as your fault. Do not skip the meter test and assume failure based on symptoms alone, as wiring faults can produce the same symptoms.
Step 4
Before ordering a replacement, clear and inspect the entire vent duct from the dryer to the exterior exhaust — the high-limit thermostat trips because restricted airflow causes heat to build up beyond safe limits, and replacing the thermostat without fixing the blockage will cause it to fail again within a few cycles. Use a vent brush or compressed air to remove lint buildup, and check that the exterior damper opens freely. This step is the most common reason repairs fail on the first attempt.
Step 5
Replace the high-limit thermostat and the thermal fuse together as a matched pair, because if overheating was severe enough to trip the thermostat it very likely also blew the thermal fuse even if the fuse tests borderline — replacing both now prevents a second disassembly job within weeks. Reconnect all wire terminals firmly and verify each connector is fully seated, as a loose terminal on a high-current circuit can arc and cause a new failure. Pro tip: photograph the wiring before disconnecting anything so you have a reference during reassembly.
Step 6
Plug the dryer back in and run a full timed cycle to verify the repair — the heating element should activate within the first few minutes and you should feel consistent heat at the exhaust vent. A properly functioning dryer heats for roughly 60% of the cycle time and cycles off briefly as the cycling thermostat regulates temperature, so intermittent heat is normal but no heat or constant heat both indicate a remaining fault. If the high-limit trips again quickly, recheck airflow before suspecting a faulty replacement part.
Where to Buy Replacement Parts
Find genuine OEM and aftermarket replacement parts for your GE GTD33EASKWW (Electric) on Amazon:
- GE GTD33EASKWW high limit thermostat WE4M127 replacement
- GE electric dryer thermal fuse WE4M137
- GE dryer thermostat kit WE4M416
When to Call a Professional
If the issue persists after completing all steps above, the problem may involve the sealed refrigerant system, a failed main control board, or wiring that requires specialized diagnostic equipment. Contact a licensed appliance technician — attempting sealed-system repairs without EPA 608 certification is illegal and unsafe.
“`html
How Much Does This Repair Cost?
A replacement high-limit thermostat for the GE GTD33EASKWW typically costs between $10 and $30 in parts. Professional appliance repair services generally charge $150 to $300 once you factor in the service call fee and labor. Tackling this repair yourself can save you $120 to $270, making DIY a smart, budget-friendly choice.
“`
Frequently Asked Questions
How do I know if the high-limit thermostat is the problem on my GE GTD33EASKWW?
If your dryer runs but produces no heat, the high-limit thermostat is a common culprit. Test it with a multimeter for continuity — no continuity confirms it has failed.
Where is the high-limit thermostat located on the GTD33EASKWW?
It is mounted on the exhaust duct near the heating element housing at the back of the dryer. Remove the rear panel to access it directly.
Can a failed high-limit thermostat damage other components?
Yes, continuing to run the dryer with a faulty thermostat can overheat and burn out the heating element. Replace the thermostat promptly to avoid a more costly repair.
Recommended Products
These are the parts and tools we recommend for this repair, based on compatibility and customer reviews:
- WE4M137 Thermostat Hi-Limit for GE Dryer WE03M0026 WE3M20 WE4M457 Replacement For WE4M137 GE Dryer High Limit Thermostat
- WE4M137 Fits GE Dryer High Limit Thermostat Thermal Safety Fuse AP2042565 PS267900 l315-65f
- WE4M137 Thermostat Thermal Safety Fuse AP2042565 PS267900 WE4M137 for GE Dryer Temperature Rated L315-65F
As an Amazon Associate, I earn from qualifying purchases.


