
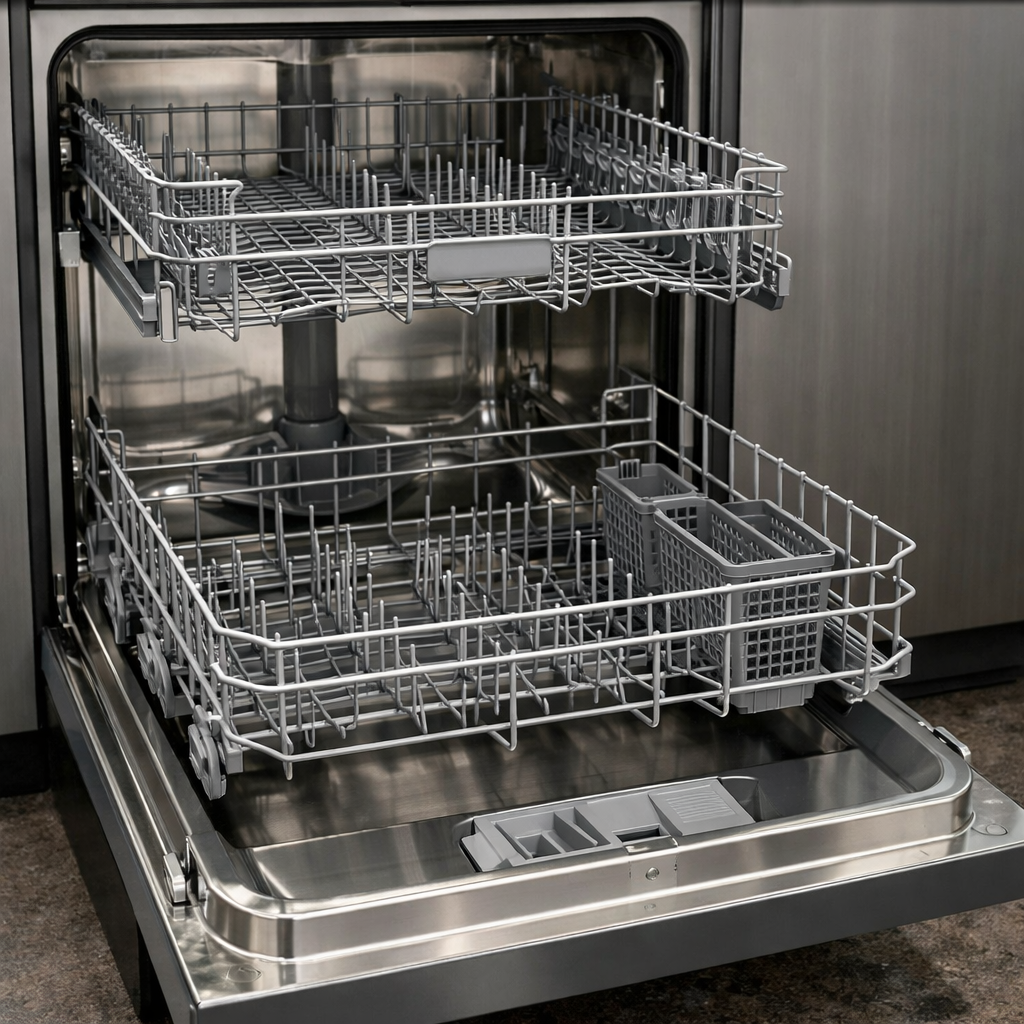
Drawer alignment
In this step-by-step guide, I’m going to walk you through fixing drawer alignment on your Fisher & Paykel DD24DHTX9N. With the right tools and parts, you can complete this repair in just 1–2 hours, saving yourself a costly service call.
🔨 Pro Tip from Dave
On the DD24DHTX9N, the lower drawer is especially prone to misalignment because the nylon glide rail insert (part #524397P) wears unevenly over time and causes the drawer to sit low and rub. A common mistake I see is adjusting the hinge first — don’t make that error until you’ve inspected and replaced those glide inserts, or you’ll be right back where you started in six months.
Part of our Top 20 Dishwasher Models & Common Repair Issues Guide. Browse all dishwasher repair guides for related models and issues.
Common Symptoms & Causes
If your Fisher & Paykel DD24DHTX9N dishwasher drawer is having alignment problems, you may notice the following symptoms:
- The upper or lower drawer refuses to close flush with the front panel
- The drawer scrapes or grinds along the sides when sliding open or shut
- Water leaks from the drawer edges during a wash cycle
- The drawer detects a “door open” fault and fails to start a cycle
These issues typically stem from worn drawer slides or glide rails, loose hinge mounting screws, or debris that prevents the drawer from seating correctly in its track.
Safety First
- Unplug the dishwasher from the power outlet before starting any repair — never work on a live appliance.
- Shut off the water supply valve before disconnecting any water lines or hoses.
- Wear work gloves when handling metal brackets, sheet metal edges, or sharp components.
- Take photos with your phone before disconnecting any wiring harnesses or connectors.
- Work in a well-lit area with enough floor space to lay removed panels flat.
Tools & Parts Needed
Essential Tools
- Phillips #2 screwdriver
- Torx T20 screwdriver
- Needle-nose pliers
- Multimeter
- Flashlight
Replacement Parts
- Drawer hinge spring kit
- drawer seal gasket
- Phillips screwdriver
- torpedo level
Step-by-Step Repair Instructions
Step 1
First things first, disconnect power to the dishwasher. This step eliminates any risk of electric shock. Open both drawers fully and slide them in and out, watching for any side-to-side wobble or uneven resistance. This racking motion is the clearest sign that the hinge arms need adjustment.
Step 2
With the drawers open, locate the spring-loaded hinge arms on each side of the drawer cavity and inspect the springs closely. A broken or fatigued spring will cause the drawer to sag on one side, which throws off alignment and prevents a proper seal. If you find a broken spring, replace it with the Fisher & Paykel spring kit part 524629 before making any alignment adjustments; otherwise, your efforts will be in vain.
Step 3
Loosen the two Phillips-head hinge mounting screws on each hinge arm — don’t remove them fully, just enough to allow the drawer to shift. Nudge the drawer up, down, left, or right until the top edge of the closed drawer sits perfectly flush with the adjacent drawer, then firmly re-tighten the screws. A pro tip: check the gap visually after each small adjustment rather than guessing the position with the drawer open.
Step 4
Examine the rubber door seal that runs along the top and sides of each drawer, pressing it gently to check its resilience. A seal that is compressed flat, cracked, or torn will allow warm air to enter the drawer cavity, reducing wash efficiency and causing condensation issues. If damaged, replace it by pressing a new seal firmly into its retaining channel, starting at the corners to prevent gaps.
Step 5
Place a spirit level on top of the unit and check it both side-to-side and front-to-back. An unlevel dishwasher can cause drawers to drift open under their own weight during operation, which defeats both alignment and sealing. Adjust the front leveling feet — turning clockwise lowers, counter-clockwise raises — until the bubble is centered, then confirm the rear of the unit is stable and not rocking.
Step 6
Close both drawers and run a complete wash cycle, staying nearby for the first few minutes to confirm the drawers remain fully sealed and do not pop open from water pressure. If a drawer still pops open, re-check the hinge screw torque and seal integrity; a properly aligned drawer will sit flush, seal quietly, and show no movement throughout the cycle.
Where to Buy Replacement Parts
- Fisher Paykel DD24DHTX9N drawer alignment adjustment guide
- Fisher Paykel dishwasher drawer hinge spring tension kit 524629
- Fisher Paykel DD24 drawer seal gasket replacement
When to Call a Professional
If you’ve gone through all the steps above and the issue persists, it might be time to call in a pro. The problem could involve a failed main control board, a seized circulation or drain pump, or wiring that requires specialized diagnostic equipment. If you go this route, make sure to shut off the water supply valve before any work that opens the fill or drain circuit.
How Much Does This Repair Cost?
| Repair route | Typical cost |
|---|---|
| Do it yourself | $10–$50 (parts) |
| Professional repair | $150–$300 (parts and labor) |
DIY parts for fixing drawer alignment on the Fisher & Paykel DD24DHTX9N typically cost between $10–$50, depending on whether you need replacement rollers, slides, or mounting hardware. A professional service call for the same repair usually runs $150–$300, including labor. Taking this on yourself can save you $100 or more while restoring your dishwasher’s full functionality.
Frequently Asked Questions
How do I know if my Fisher & Paykel DD24DHTX9N drawer is misaligned?
Look for signs like the drawer not closing flush, rubbing against the frame, or leaving gaps along the edges. You may also notice water leaking or unusual noises during a wash cycle.
Can I fix the drawer alignment myself without a technician?
Absolutely! Most alignment issues on the DD24DHTX9N can be resolved at home. All you typically need is a screwdriver to adjust the drawer glides or mounting brackets.
Will misaligned drawers damage my dishwasher over time?
Yes, leaving drawers misaligned can strain the slides and door seals, potentially causing leaks or premature wear. Addressing the issue promptly helps extend the appliance’s lifespan.
Recommended Products
Here are the parts and tools I recommend for this repair based on compatibility and customer reviews:
- Dishwasher Base Rack with Folding Tines for Fisher & Paykel DishDrawer Dishwashers – 524665 Dishwasher Rack Replacement Part for Models D602, DS602, DD603, DS603, DD605, DS605, DD124C, DD224C
- FISHER & PAYKEL 512487P KIT HDL ASSY PH7 V2 SS BRACKET
- FISHER & PAYKEL 523007 KIT INSTALL TAB DISHDRAWER
The Hinge Bracket That Stops Your DD24DHTX9N Drawer from Sagging
If your drawer is sitting lower on one side or binding at the top corner, a bent or worn hinge bracket is almost always the culprit. This is the part that takes the real stress every time you open and close the drawer, and it’s the first thing I replace when alignment is the problem.
What works
- Restores even drawer height across both sides — you’ll immediately notice the drawer sitting level again once it’s installed.
- Genuine Fisher & Paykel part means the bracket mounting holes line up perfectly with your existing hardware, no drilling or retrofitting required.
- Fixes the binding and resistance you feel when opening and closing — the drawer glides smoothly again without that stubborn drag.
What doesn’t
- Won’t solve your problem if the drawer glide rails themselves are badly worn — you may need both the bracket and new rails depending on what you find during disassembly.
- Installation requires removing the entire drawer and partially disassembling the hinge assembly, so budget 45 minutes to an hour if this is your first time.
I’ve seen plenty of people order just a new gasket or glides when the real issue was a bent bracket hiding out of sight — I caught myself doing that once when I was starting out. Order the hinge bracket assembly and inspect your glide rails while you’re in there to make sure you’re not leaving a second problem behind.
About This Article

Written by Dave Holt. Dave Holt has been taking apart and fixing household appliances since he was a teenager who couldn't leave a broken one alone. Eighteen years later, after fixing things for neighbors, friends, and anyone who'd let him, he's seen almost every failure mode there is. When he writes a repair guide here, it's based on the actual job, not a manufacturer overview. More about this site.
Scope and limits. Dave is a self-taught repairer, not a certified appliance technician. Unplug before you open anything, and leave sealed refrigeration systems, gas connections, and hardwired circuits to a qualified technician.



