Rack adjuster broken
This step-by-step repair guide walks you through fixing rack adjuster broken on your Whirlpool WDT970SAKZ. With the right tools and parts, most homeowners can complete this repair in 1–2 hours and avoid a costly service call.
🔨 Pro Tip from Dave
On the WDT970SAKZ, the upper rack adjuster kit (part number W10712394) is what you’ll almost always need, but here’s what trips people up — don’t just replace the broken side. The opposing adjuster is likely worn down too, and if you skip it, you’ll be back doing this same repair within a few months. Also, make sure the rack is fully extended before snapping the new adjuster into the track rail or it won’t seat correctly.
Part of our Top 20 Dishwasher Models & Common Repair Issues Guide. Browse all dishwasher repair guides for related models and issues.
“`html
Common Symptoms & Causes
If your Whirlpool WDT970SAKZ dishwasher has a broken rack adjuster, you may notice one or more of the following signs during loading or operation.
- The upper dish rack drops unevenly or collapses on one side when loaded
- The rack adjuster button snaps or feels loose and no longer locks into position
- The upper rack slides out unexpectedly during the wash cycle
- One side of the rack sits noticeably lower than the other, causing dishes to shift
This issue is typically caused by normal wear and stress fractures in the plastic adjuster housing, which weaken over time and eventually cause the locking tabs or release buttons to break entirely.
“`
Safety First
- Unplug the dishwasher from the power outlet before starting any repair — never work on a live appliance.
- Shut off the water supply valve before disconnecting any water lines or hoses.
- Wear work gloves when handling metal brackets, sheet metal edges, or sharp components.
- Take photos with your phone before disconnecting any wiring harnesses or connectors.
- Work in a well-lit area with enough floor space to lay removed panels flat.
Tools & Parts Needed
Essential Tools
- Phillips #2 screwdriver
- Torx T20 screwdriver
- Needle-nose pliers
- Multimeter
- Flashlight
Replacement Parts
Step-by-Step Repair Instructions
Step 1
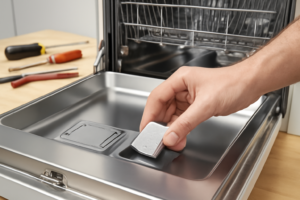
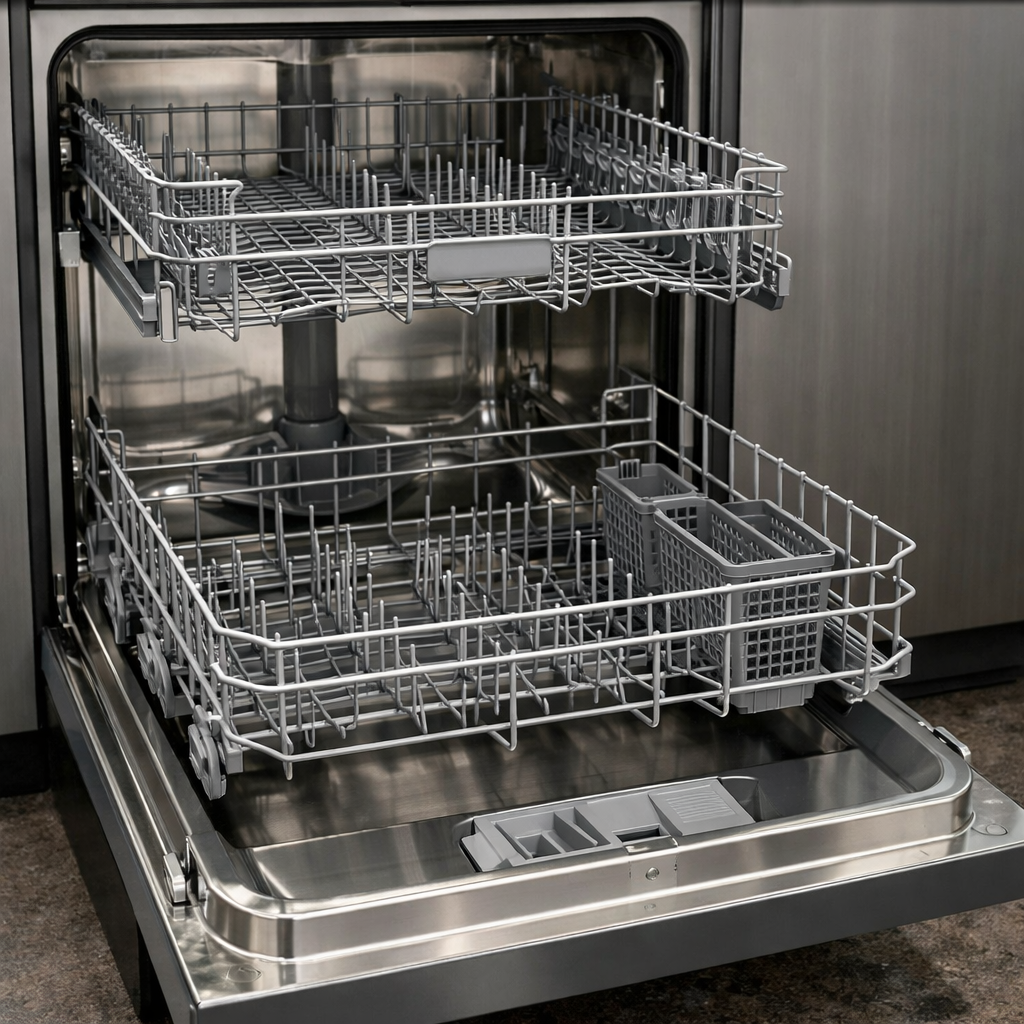
Open the dishwasher and pull the upper rack all the way out so you have clear access to both sides. Locate the height adjuster levers — typically orange or gray plastic tabs mounted on the outside of each rack rail — because these are the components that lock the rack into its three height positions. Look for visible cracks, broken tabs, or a lever that feels loose and no longer snaps decisively, as any of these signs confirm the adjuster is the source of the problem.
Step 2
If an adjuster lever is cracked, warped, or fails to click firmly into position, it needs to be replaced — a damaged lever cannot reliably hold the rack level, which causes poor wash coverage and rattling during the cycle. To replace it, flex the old lever mechanism outward to unclip it from the rail mounting points, then press the new adjuster unit firmly onto those same points until it snaps fully into place. Pro tip: order adjuster assemblies in pairs so both sides match, preventing uneven rack lean.
Step 3
With the rack still pulled out, inspect every wheel along the bottom of the rack for cracks, flat spots, or missing chunks, because damaged wheels cause the rack to bind, wobble, or tip rather than rolling smoothly in the tub rails. Replace any cracked wheels by pressing the old one off its axle pin and snapping the new wheel on — no tools are required. Using genuine OEM wheels is worth the extra cost, as aftermarket versions sometimes have slightly different diameters that cause the same binding problem.
Step 4
Before reinstalling the rack, wipe out the full length of both rack rail channels on the tub side walls using a soft damp cloth. Grease, mineral deposits, and food debris accumulate in these channels and create resistance that can mimic the symptoms of bad wheels or a broken adjuster, so cleaning them first rules out a simple fix. Avoid abrasive pads, which can scratch the channel surface and create rough spots that accelerate future buildup.
Step 5
Slide the upper rack back into both rail channels and test each of the three height positions by pressing the adjuster levers and moving the rack up or down. At each position, the rack should drop in and click firmly with no side-to-side wobble or forward tilt, confirming the adjusters and wheels are seating correctly. If any position still feels soft or fails to hold, re-examine the adjuster on that side — a new part that does not click fully is likely not seated completely on the mounting points.
Step 6
Once the rack operates correctly, set the height to match your current load: raise the upper rack to its highest position when you need the extra clearance on the lower rack for tall pots or casserole dishes, and lower it when you are washing tall glasses or stemware on the upper rack to prevent them from hitting the spray arm or tub ceiling. Taking a moment to adjust before each wash cycle protects your dishes and ensures the spray arms can rotate freely for a thorough clean.
Where to Buy Replacement Parts
Find genuine OEM and aftermarket replacement parts for your Whirlpool WDT970SAKZ on Amazon:
- Whirlpool WDT970SAKZ upper rack adjuster W11165546 replacement
- Whirlpool dishwasher upper rack height adjustment lever replacement
- Whirlpool dishwasher rack wheel W10195417 replacement
When to Call a Professional
If the issue persists after completing all steps above, the problem may involve the sealed refrigerant system, a failed main control board, or wiring that requires specialized diagnostic equipment. Contact a licensed appliance technician — attempting sealed-system repairs without EPA 608 certification is illegal and unsafe.
“`html
How Much Does This Repair Cost?
Replacing a broken rack adjuster on the Whirlpool WDT970SAKZ typically costs $15–$45 in parts when doing it yourself. A professional service call for the same repair runs $150–$300 once you factor in labor and fees. Taking the DIY route can save you over $100, making this a very budget-friendly fix.
“`
Frequently Asked Questions
Can I still use my Whirlpool WDT970SAKZ if the rack adjuster is broken?
You can run the dishwasher, but a broken rack adjuster may cause the upper rack to sit unevenly, leading to poor wash results or dish damage. It’s best to replace it promptly.
What part do I need to fix the rack adjuster on the WDT970SAKZ?
You’ll need a compatible upper rack adjuster kit for the Whirlpool WDT970SAKZ, typically sold as a pair. Check your model number before ordering to ensure the correct fit.
How long does this rack adjuster repair take?
Most homeowners complete this repair in 15 to 30 minutes with no special tools required. The adjuster clips directly onto the rack without any disassembly of the dishwasher itself.
Recommended Products
These are the parts and tools we recommend for this repair, based on compatibility and customer reviews:
- W10712394 Dishwasher Upper Rack Adjuster Metal Kit Compatible with Ken-more Whir-lpool by AMI PARTS – Replaces W10712394VP, AP5956100, W10350376, PS10064063
- W10350376 Dishwasher Top Rack Adjuster Parts by Romalon Compatible with Whirlpool Heavy Duty Wheels Upgraded Metal Screw Replaces W10712394 Ap5956100 Ps10064063 W10238418 W10253546 W10712394Vp
As an Amazon Associate, I earn from qualifying purchases.