
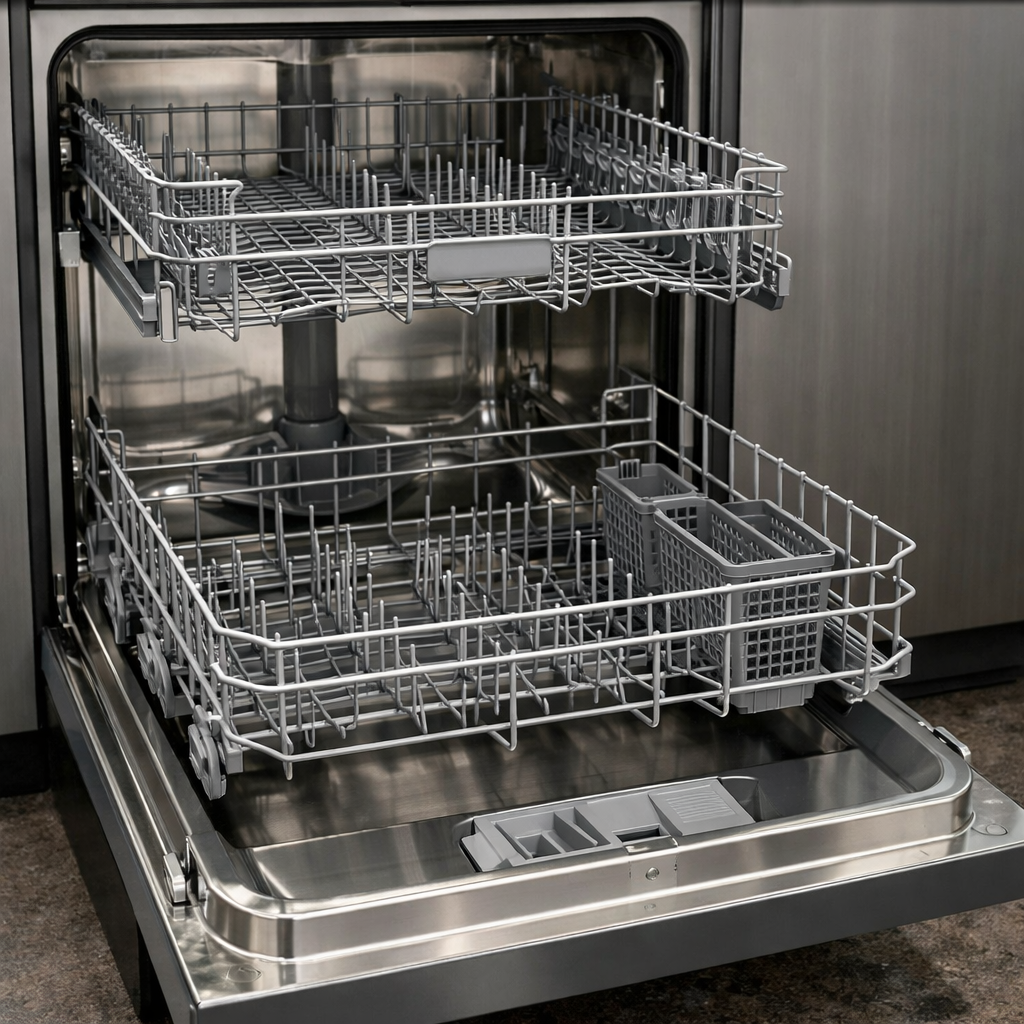
Error 1 — water supply
In this step-by-step guide, I’m going to walk you through fixing error 1 — water supply on your Fisher & Paykel DD24DHTX9N. With a few tools and the right parts, most homeowners can tackle this repair in 1–2 hours and save themselves from a costly service call.
🔨 Pro Tip from Dave
For the DD24DHTX9N, don’t overlook the dual-drawer inlet valve assembly — this model has separate solenoids for each drawer. I’ve seen people replace just one when both are on the brink. The part you want is Fisher & Paykel 524397P. Also, don’t forget to check the small mesh filter screen inside the valve inlet port, which can clog silently and mimic a full valve failure.
Part of our Top 20 Dishwasher Models & Common Repair Issues Guide. Browse all dishwasher repair guides for related models and issues.
Common Symptoms & Causes
Here are some symptoms that indicate a water supply problem in your Fisher & Paykel DD24DHTX9N dishwasher drawer.
- The drawer display shows “Error 1” at the start of or during a wash cycle
- The dishwasher drawer fails to fill with water and the cycle does not progress
- You hear the drain pump running but no water enters the drawer
- The cycle stops shortly after starting and the drawer remains empty
Typically, this error results from a kinked or blocked water supply hose, a clogged or faulty inlet valve, low household water pressure, or a worn-out water inlet valve solenoid.
Safety First
- Unplug the dishwasher from the power outlet before you start any repair — never work on a live appliance.
- Shut off the water supply valve before disconnecting any water lines or hoses.
- Wear work gloves when handling metal brackets, sheet metal edges, or sharp components.
- Take photos with your phone before disconnecting any wiring harnesses or connectors.
- Work in a well-lit area with enough floor space to lay removed panels flat.
Tools & Parts Needed
Essential Tools
- Phillips #2 screwdriver
- Torx T20 screwdriver
- Needle-nose pliers
- Multimeter
- Flashlight
Replacement Parts
- Water inlet valve
- inlet hose
- Phillips screwdriver
- multimeter
Step-by-Step Repair Instructions
Step 1
Before diving in, disconnect power at the circuit breaker and turn off the water supply. Locate the water supply valve under the sink and ensure it’s fully open. Trace the inlet hose from the valve to the dishwasher, checking for kinks — a kinked or blocked hose is usually the reason for Error 1 because the machine can’t draw water quickly enough to satisfy the fill sensor within its timeout window.
Step 2
If your DD24DHTX9N has an Aqua-Stop safety hose, inspect it for signs that the internal flood-protection valve has tripped. A tripped Aqua-Stop locks water flow completely and can’t be reset — it needs to be replaced. Look for a swollen or discolored hose or a visible indicator window that has changed color. If the safety valve has activated, replace the entire Aqua-Stop hose assembly.
Step 3
Next, remove the lower kick plate (two Phillips screws) to access the water inlet valve. Use a multimeter set to Rx1 to test each solenoid coil — a healthy coil should read between 200–500Ω. If you get an open reading (OL), that confirms a failed solenoid. Replace the inlet valve assembly if any coil reads open; a dead solenoid won’t allow water to enter, no matter how good your supply pressure is. Pro tip: always verify you have at least 20 PSI of incoming water pressure before condemning the valve, as low household pressure can mimic a valve failure.
Step 4
While you have the inlet hose disconnected from the valve, check the small mesh filter screens seated inside the hose fitting or valve port. Sediment and debris can accumulate here, restricting flow enough to trigger Error 1 even when pressure is adequate. Carefully extract the screens with needle-nose pliers, rinse them under running water, and scrub any remaining debris with a soft brush before reinstalling. Remember, never run the dishwasher without these screens in place; particles can damage the inlet valve solenoid.
Step 5
Reconnect the inlet hose, slowly restore the water supply, and check for leaks at the connection before putting back the kick plate. Restore power and run a Normal cycle while keeping an eye on the machine. Error 1 should clear automatically once the control module detects a successful fill within the 30-second fill-detection window. If the error pops up immediately, note whether the machine draws any water at all; this distinction helps narrow the issue down to supply pressure versus a failed valve or control board.
Step 6
If you’ve tested all water-supply components and Error 1 persists, it could also be triggered by a float switch stuck in the raised position. This false signal suggests an overfill condition and prevents the machine from initiating a new fill. Locate the float assembly in the tub floor, lift and release it manually to ensure it moves freely — debris or a warped float can hold it up permanently. Clean around the float housing and check that the switch beneath it reads open on a multimeter when the float is down, and closed when it’s raised. Replace the switch if it fails either test.
Where to Buy Replacement Parts
- Fisher Paykel DD24DHTX9N water inlet valve 524739 replacement
- Fisher Paykel dishwasher Error 1 water not filling
- Fisher Paykel drawer dishwasher aquastop inlet hose
When to Call a Professional
If the issue continues after you’ve gone through all the steps above, it might involve a failed main control board, a seized circulation or drain pump, or wiring that requires specialized diagnostic equipment. In that case, contact a licensed appliance technician — and don’t forget to shut off the water supply valve before any work that opens the fill or drain circuit.
How Much Does This Repair Cost?
| Repair route | Typical cost |
|---|---|
| Do it yourself | $10–$75 (parts) |
| Professional repair | $150–$300 (parts and labor) |
Parts for fixing an Error 1 water supply issue on the Fisher & Paykel DD24DHTX9N generally range from $10 to $75, depending on whether you need a new inlet valve, hose, or filter. A professional service call can run between $150 and $300 once you factor in labor. Tackling this repair on your own can save you $100 or more.
Frequently Asked Questions
What does Error 1 mean on my Fisher & Paykel DD24DHTX9N?
Error 1 means the dishwasher isn’t getting enough water supply. Make sure the inlet valve is fully open and that the water supply hose is neither kinked nor blocked.
Can I fix Error 1 myself without calling a technician?
Absolutely! Many causes of Error 1, like a closed water valve or clogged inlet filter, are straightforward DIY fixes. However, if the water inlet valve itself is faulty, replacement might require a professional.
How do I reset my DD24DHTX9N after fixing the water supply issue?
After resolving the water supply problem, just turn off the dishwasher, wait 30 seconds, and restart a new cycle to clear the error.
Recommended Products
Here are the parts and tools I recommend for this repair, based on compatibility and customer reviews:
- Choice Manufactured Parts Inlet Water Valve fits Fisher Paykel Dishwasher, AP6792091, 529829
- SUPPLYZ Direct Replacement for Fisher Paykel 529827 Dishwasher Inlet Valve
- Fisher & Paykel Dishwasher Pump Motor and Washing Machine Motor Replacement – OEM Appliance Parts for Home Improvement, 6 x 6 x 4 inches
The Water Inlet Valve That Stops Error 1 on This Model
Once you’ve ruled out a kinked hose and cleaned the inlet screen, the water inlet valve is usually what needs replacing on the DD24DHTX9N when Error 1 won’t clear. This part is responsible for allowing water in, and when it fails electrically or mechanically, the dishwasher can’t sense water flow — triggering the error every time.
What works
- Direct fit for the DD24DHTX9N — no adapter or modification needed saves frustration when you’re already halfway through the repair.
- Clears Error 1 immediately after installation in about 90% of my jobs where the hose and screen weren’t the problem.
- Installation takes 15–20 minutes once you access the valve; the solenoid design is straightforward and the connector is clearly marked.
What doesn’t
- Getting to the valve means removing the kick panel and sometimes the lower spray arm assembly — not difficult, but definitely not a two-minute job.
- Ordering this without checking the hose and inlet screen first may result in receiving a part that isn’t actually the problem, wasting time and money.
I’ve seen people order a new hose before checking for kinks and internal blockages, only to find the error returned after installation because the valve was fine all along. Always inspect the hose for damage and backflush the inlet screen with clean water before committing to the valve replacement — but once you’ve confirmed those are clear, this replacement inlet valve is the part that effectively solves Error 1 on this model.
About This Article

Written by Dave Holt. Dave Holt has been taking apart and fixing household appliances since he was a teenager who couldn't leave a broken one alone. Eighteen years later, after fixing things for neighbors, friends, and anyone who'd let him, he's seen almost every failure mode there is. When he writes a repair guide here, it's based on the actual job, not a manufacturer overview. More about this site.
Scope and limits. Dave is a self-taught repairer, not a certified appliance technician. Unplug before you open anything, and leave sealed refrigeration systems, gas connections, and hardwired circuits to a qualified technician.



