
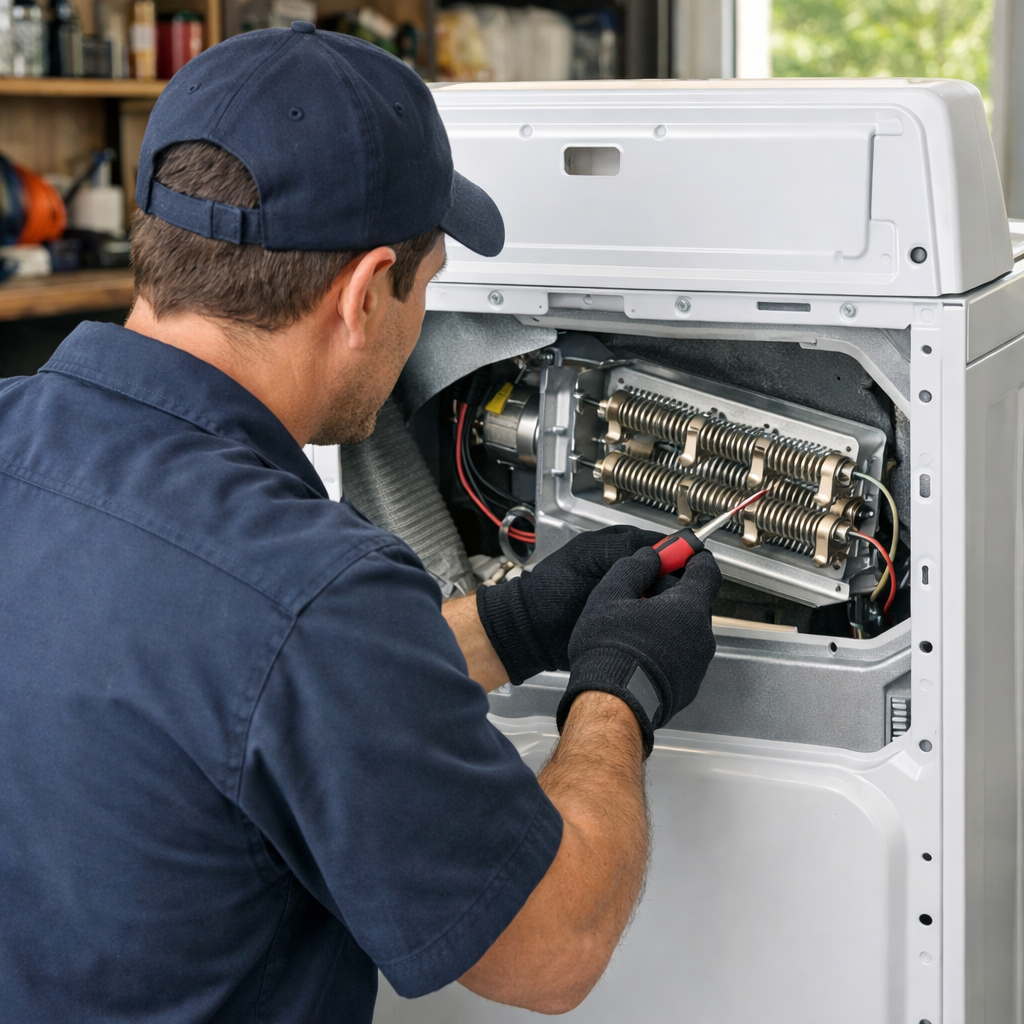
Drain pump failure
In this step-by-step guide, I’ll walk you through fixing drain pump failure on your GE GTW720BSNWS (Top Load). With the right tools and parts, most homeowners can complete this repair in 1–2 hours and avoid a costly service call.
🔨 Pro Tip from Dave
On the GTW720BSNWS, the drain pump assembly (part number WH23X10030) is accessed from the front lower panel. But here’s a tip that catches people off guard—there’s a small wire harness clip tucked behind the pump housing that’s easy to miss and even easier to break if you yank the pump out without disconnecting it first. Always feel for that clip before pulling.
Part of our Top 20 Washing machine Models & Common Repair Issues Guide. Browse all washing machine repair guides for related models and issues.
Common Symptoms & Causes
The following symptoms on your GE GTW720BSNWS typically point to a failing or blocked drain pump.
- The washer stops mid-cycle and displays an “E3” or “Drain” error code on the control panel
- Standing water remains in the drum after the spin cycle completes
- You hear a loud humming or grinding noise during the drain cycle but water does not pump out
- The washer door lid locks and the machine becomes unresponsive, preventing a new cycle from starting
These issues are most commonly caused by a burned-out drain pump motor, a clogged pump filter blocked by lint or debris, or worn pump impeller blades that can no longer move water effectively.
Safety First
- Unplug the washing machine from the power outlet before starting any repair — never work on a live appliance.
- Shut off the water supply valve before disconnecting any water lines or hoses.
- Wear work gloves when handling metal brackets, sheet metal edges, or sharp components.
- Take photos with your phone before disconnecting any wiring harnesses or connectors.
- Work in a well-lit area with enough floor space to lay removed panels flat.
Tools & Parts Needed
Essential Tools
- Phillips #2 screwdriver
- ¼” nut driver
- Torx T20 screwdriver
- Multimeter
- Bucket and towels
Replacement Parts
- Drain pump
- drain hose
- 5/16″ nut driver
- bucket
- towels
Step-by-Step Repair Instructions
Step 1
First things first, unplug the washer from the wall outlet. Working on a live machine near water poses a serious electrocution risk. Tip the machine backward at a 45° angle to expose the drain pump on the underside of the cabinet. It’s best to have a helper hold it steady or prop it against the wall since an unsecured washer can shift and fall. This angle gives you clear access to the pump without fully disassembling the machine.
Step 2
Clamp or pinch both pump hoses before disconnecting them to prevent residual water from spilling onto the floor and creating a slip hazard. Use a 5/16″ nut driver to loosen the hose clamps, pull the hoses off the pump, and inspect the inside of each for obstructions—socks, coins, and small garments are the usual suspects that completely block water flow, even if the pump motor is fine. Clear any debris you find before replacing the pump.
Step 3
Set your multimeter to Rx1 and probe the pump motor terminals to test the winding. A reading of infinity (open circuit) means the winding has failed, while a reading of zero indicates a short, and either result means the motor must be replaced. If the winding reads within the normal low-resistance range but the impeller won’t spin freely by hand, the impeller is seized. In that case, it’s best to replace the pump assembly rather than trying to free it, as it will likely fail again under load. A replacement pump for the GTW720BSNWS typically runs $25–45, making it a cost-effective fix.
Step 4
Disconnect the wiring harness connector from the pump. Press the tab and pull straight out to avoid breaking the clip. Then, remove the two mounting screws securing the pump to the base frame. Install the new pump by reversing these steps, ensuring the hose clamps are positioned past the bead on each port and tightened firmly. A loose clamp is one of the most common causes of leaks after this repair. Route the harness away from any moving parts before putting everything back together.
Step 5
Before standing the machine back up, walk around to the rear and check the drain hose for kinks. Kinks can restrict flow enough to trigger the same drain-failure symptoms, even with a functioning pump. Also, confirm the hose is inserted no more than 4.5 inches into the standpipe; going deeper can create a siphon effect, causing the washer to either drain slowly or continuously refill, mimicking a pump fault. If the hose end is cracked or brittle, replace it now while you have easy access.
Step 6
Return the washer to its upright position, reconnect the power cord, and run a Drain & Spin cycle to verify the repair under real conditions. Watch for leaks at both hose connections during the first minute of operation and confirm that the tub drains completely within about two minutes. Lingering water after that suggests a remaining obstruction or an issue with the control board’s drain command. If drainage is clean and fast with no leaks, the repair is complete.
Where to Buy Replacement Parts
- GE GTW720BSNWS drain pump WH23X10030 replacement
- GE top load washer drain hose replacement
- GE washer pump impeller clog cleaning
When to Call a Professional
If the issue persists after completing all the steps above, the problem may involve a failed main control board, a worn drive motor or bearing assembly, or wiring that requires specialized diagnostic equipment. In that case, contact a licensed appliance technician—don’t forget to shut off both the hot and cold supply valves before any work that opens the fill circuit.
How Much Does This Repair Cost?
| Repair route | Typical cost |
|---|---|
| Do it yourself | $25–$65 (parts) |
| Professional repair | $150–$300 (parts and labor) |
Replacing the drain pump on a GE GTW720BSNWS yourself generally costs between $25 and $65 for the replacement part. A professional repair, including labor and the service call, usually runs $150 to $300. Tackling this repair as a DIY project can save you $100 or more.
Frequently Asked Questions
How do I know if the drain pump on my GE GTW720BSNWS has actually failed?
The most common signs include standing water left in the tub after a cycle or an error code like E3 appearing on the control panel. You might also hear a humming noise during the drain cycle with no water movement.
Can I replace the drain pump on the GE GTW720BSNWS myself?
Absolutely! This is a manageable DIY repair with basic tools and a replacement pump rated for this model. Just remember to unplug the washer before starting and have towels ready to catch any residual water.
How much does a replacement drain pump for the GE GTW720BSNWS typically cost?
A compatible drain pump generally costs between $30 and $70, depending on the supplier. Buying directly from GE or a reputable parts retailer ensures you get the correct part for this model.
Recommended Products
Here are the parts and tools I recommend for this repair, based on compatibility and customer reviews:
- Supplying Demand WH23X10030 WH23X10013 Top Load Clothes Washer Drain Pump Assembly Replacement Model Specific Not Universal
- WH22X35757 Washer Electronic Control Board Replacement for GE Washing Machines, Fits WH22X29345, WH18X28177, WH18X28175, WH18X26795, WH18X26234
- GE WH23X10030 Washer Drain Pump by Seentech – Compatible
The Drain Pump Assembly That Solves Most GTW720BSNWS Failures
When you’ve confirmed the pump motor itself is burned out (not just clogged), the WH23X10030 assembly is the direct replacement GE designed for this model—and it’s the part to start with because it eliminates guesswork about compatibility. This is model-specific, not some universal knockoff that might fit loose or fail early.
What works
- Drop-in replacement that bolts to the same mounting points—no adapter plates or jury-rigging needed.
- Impeller design matches the original, so water flow and drain speed feel identical to a fresh machine.
- Comes with the correct electrical connectors already seated, which saves time and eliminates the most common installation error I see (people pinching wires during reconnection).
What doesn’t
- Price sits higher than some third-party pumps, but the failure rate on the cheaper clones I’ve fitted for friends is noticeably higher—you’re paying for reliability, not just a part number.
- Installation still requires draining the tub and removing the front access panel; this isn’t a quick five-minute swap, so budget 45 minutes to an hour if you’re new to this.
I’ve seen someone order a universal pump thinking it would save money, only to find it sat crooked in the mounting bracket and failed within two months. Going OEM-spec on the GTW720BSNWS has never let me down. Grab the Supplying Demand WH23X10030 assembly and you’ll have the right part on the first order.
About This Article

Written by Dave Holt. Dave Holt has been taking apart and fixing household appliances since he was a teenager who couldn't leave a broken one alone. Eighteen years later, after fixing things for neighbors, friends, and anyone who'd let him, he's seen almost every failure mode there is. When he writes a repair guide here, it's based on the actual job, not a manufacturer overview. More about this site.
Scope and limits. Dave is a self-taught repairer, not a certified appliance technician. Unplug before you open anything, and leave sealed refrigeration systems, gas connections, and hardwired circuits to a qualified technician.


