
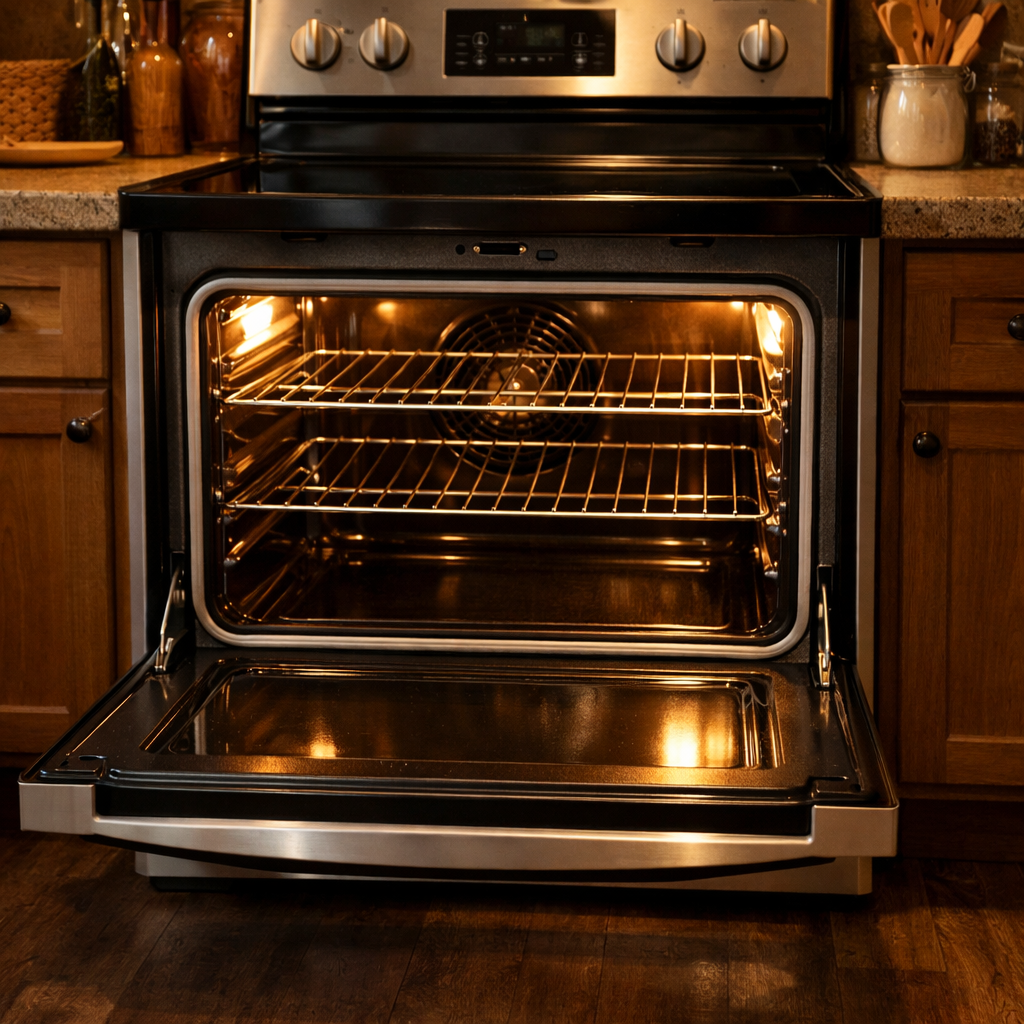
Door sensor failure
In this guide, I’ll walk you through fixing a door sensor failure on your Bosch HBL8651UC (Wall Oven). With some basic tools and the right parts, I believe most homeowners can tackle this repair in about 1–2 hours and avoid a costly service call.
🔨 Pro Tip from Dave
When it comes to the HBL8651UC, many technicians rush to replace the door latch switch (Bosch/Thermador part #00622858) without checking the actuator paddle that actually depresses it. If that plastic paddle is cracked or worn, your new switch will fail just as quickly. Also, be cautious when removing the inner door panel; the ribbon cable connector for the door sensor circuit is tricky to maneuver and can tear easily if you pull straight out instead of angling upward first.
Part of our Top 20 Oven Models & Common Repair Issues Guide. Browse all oven repair guides for related models and issues.
Common Symptoms & Causes
If your Bosch HBL8651UC is showing signs of a door sensor failure, look for these common symptoms:
- The oven display shows an “E118” or “E119” error code at startup or during operation
- The oven door appears fully closed but the display reads “door open”
- The oven refuses to start a bake or broil cycle despite the door being shut
- The cooling fan runs continuously or the oven shuts off unexpectedly mid-cycle
These issues often stem from a worn or misaligned door latch sensor, a damaged door switch, or broken wiring connections that develop gradually over time due to repeated use and heat exposure.
Safety First
- De-energize the circuit at the breaker panel and lock or tag it out, then prove the oven is dead with a contact voltage tester. There is no plug to pull on a hardwired wall oven — never work on a live appliance.
- Wear work gloves when handling metal brackets, sheet metal edges, or sharp components.
- Take photos with your phone before disconnecting any wiring harnesses or connectors.
- Work in a well-lit area with enough floor space to lay removed panels flat.
Tools & Parts Needed
Essential Tools
- Phillips #2 screwdriver
- ¼” nut driver
- Multimeter
- Work gloves (heat-rated)
- Flashlight
Replacement Parts
- Door switch
- door gasket
- door hinge kit — search PartSelect.com or RepairClinic.com by your exact model number (HBL8651UC) for a hinge listed as compatible; do not use a hinge kit sized for Thermador single-oven doors
- T20 Torx driver
Step-by-Step Repair Instructions
Step 1
Before you touch any components, disconnect power to the oven at the circuit breaker. Remember, a wall oven runs on 240V, and contact with live terminals can be lethal. A door sensor failure on the Bosch HBL8651UC usually means the door switch isn’t confirming that the door is fully closed, or the door position sensor is preventing convection or self-clean cycles from engaging. Identifying the issue will help determine which component to test first.
Step 2
Find the pin-type door switch located inside the door frame and test it using a multimeter set to Rx1. The switch should show continuity (closed circuit) when the door is pressed shut. If it shows an open reading, that switch needs replacing. This switch is crucial for signaling that the door is closed; if it doesn’t close electrically, the oven won’t start convection or self-clean modes, no matter how well the door closes physically. As a tip, manually press the switch pin while the door is open to see if the multimeter reacts before you finish reassembling.
Step 3
Take a close look at the fiberglass braid door gasket surrounding the oven cavity for any gaps, compression failures, or missing sections. A damaged gasket will allow heat to escape during operation. The temperature sensor can detect this heat loss at the door perimeter and may interpret it as a door-open condition, triggering a false sensor fault. If you find any areas where the gasket doesn’t create a firm seal against the oven frame, replace it.
Step 4
To inspect the hinges for wear, bending, or play, you’ll need to remove the oven door. Worn hinges can cause the door to hang at an angle, preventing the switch pin from fully depressing. Open the door to the broil-stop position, lock both hinge tabs down, and lift the door straight up off the frame. It’s a good idea to have a second person help, as the door is heavy. Check the hinge slots in the oven frame for any signs of elongation or cracking, which would indicate that the hinge has been under stress.
Step 5
If you find any worn hinges, replace them by removing the two T20 Torx screws securing each hinge on the door, as well as the two screws at the oven frame. Install new hinges in reverse order. Worn hinges are a frequent cause of recurring door sensor faults; even a small amount of misalignment can prevent the switch from registering a closed position. After reinstalling the door, open and close it several times to ensure smooth movement and verify that the switch pin engages correctly when the door is closed.
Step 6
Once everything is back in place, restore power at the breaker and run a Convection Bake cycle to confirm your repair. This mode requires the door sensor to verify closure before activating the convection fan and maintaining the target temperature. If the oven successfully enters convection mode and holds temperature without showing a door fault, you’ve resolved the issue. If the fault continues, double-check the switch alignment and hinge seating before considering the oven control board as a possible culprit.
Where to Buy Replacement Parts
- Bosch HBL8651UC wall oven door switch 00622858 replacement
- Bosch wall oven door gasket WB16K10026 replacement
- Bosch oven door hinge replacement kit — search PartSelect.com or RepairClinic.com by model number HBL8651UC for a compatible hinge
When to Call a Professional
If the problem persists after following all the steps above, it may involve a failed main control board, a defective temperature sensor or high-limit thermostat, or wiring that requires specialized diagnostic tools. At that point, it’s best to contact a licensed appliance technician. For gas models, avoid attempting work on the gas valve, burner orifices, or supply line — that work should be handled by a licensed gas fitter in most jurisdictions.
How Much Does This Repair Cost?
| Repair route | Typical cost |
|---|---|
| Do it yourself | $20–$80 (parts) |
| Professional repair | $150–$300 (parts and labor) |
If you’re doing it yourself, replacing a door sensor on the Bosch HBL8651UC typically costs $20–$80 in parts. A professional service call for the same repair can run $150–$300, including labor and parts. Tackling this repair on your own can save you $100 or more, making it a worthwhile project for those comfortable with home repairs.
Frequently Asked Questions
How do I know if my Bosch HBL8651UC has a faulty door sensor?
Common signs include the oven displaying a door error code, failing to heat up, or the interior light staying on even when the door is closed. You can run a diagnostic cycle through the control panel to confirm if the sensor is the issue.
Can I replace the door sensor on my HBL8651UC myself?
Absolutely, a confident DIYer can replace the door sensor with some basic tools and a compatible replacement part. Just remember to disconnect power at the breaker before starting any repair work on a wall oven.
Where is the door sensor located on the Bosch HBL8651UC?
The door sensor is typically mounted near the oven door frame, behind the front trim panel. You’ll need to remove the inner door panel to access and replace it properly.
Recommended Products
These are the parts and tools I recommend for this repair, based on compatibility and customer reviews:
- Bosch 00425301 Wall Oven Temperature Sensor Genuine Original Equipment Manufacturer (OEM) Part
- Bosch 00440604 Wall Oven Blower Crossflow with Hall Sensor
The Door Switch That Actually Stops the “Door Open” Error on Your HBL8651UC
If your oven’s showing a door sensor fault but the door closes fine and the latch feels solid, the switch itself is usually what’s worn out. This is the part that actually registers when the door makes contact—and on this Bosch model, it fails far more often than the latch assembly itself.
What works
- Direct drop-in replacement—no bracket modification needed, and it clips into the existing latch housing without forcing anything.
- Clears intermittent “door open” codes that come and go, which almost always points to a contact issue rather than a hinge misalignment.
- Costs a fraction of a full latch assembly swap, so it’s worth trying first before you tear into the hinge.
What doesn’t
- Won’t fix errors if your door hinge is actually bent or sagging—you’ll replace the switch and still get faults because the sensor never triggers properly on close.
- Requires you to fully disassemble the latch housing, which means killing power at the breaker and removing the door frame trim—not a quick 10-minute job.
I’ve watched a full latch assembly get ordered when the switch alone was bad—a waste of $120 and a lot of extra work. Always test the door alignment and hinge first, then swap the switch before committing to bigger parts. Grab the door switch and confirm your hinge isn’t the culprit before installation.
About This Article

Written by Dave Holt. Dave Holt has been taking apart and fixing household appliances since he was a teenager who couldn't leave a broken one alone. Eighteen years later, after fixing things for neighbors, friends, and anyone who'd let him, he's seen almost every failure mode there is. When he writes a repair guide here, it's based on the actual job, not a manufacturer overview. More about this site.
Scope and limits. Dave is a self-taught repairer, not a certified appliance technician. Unplug before you open anything, and leave sealed refrigeration systems, gas connections, and hardwired circuits to a qualified technician.



