
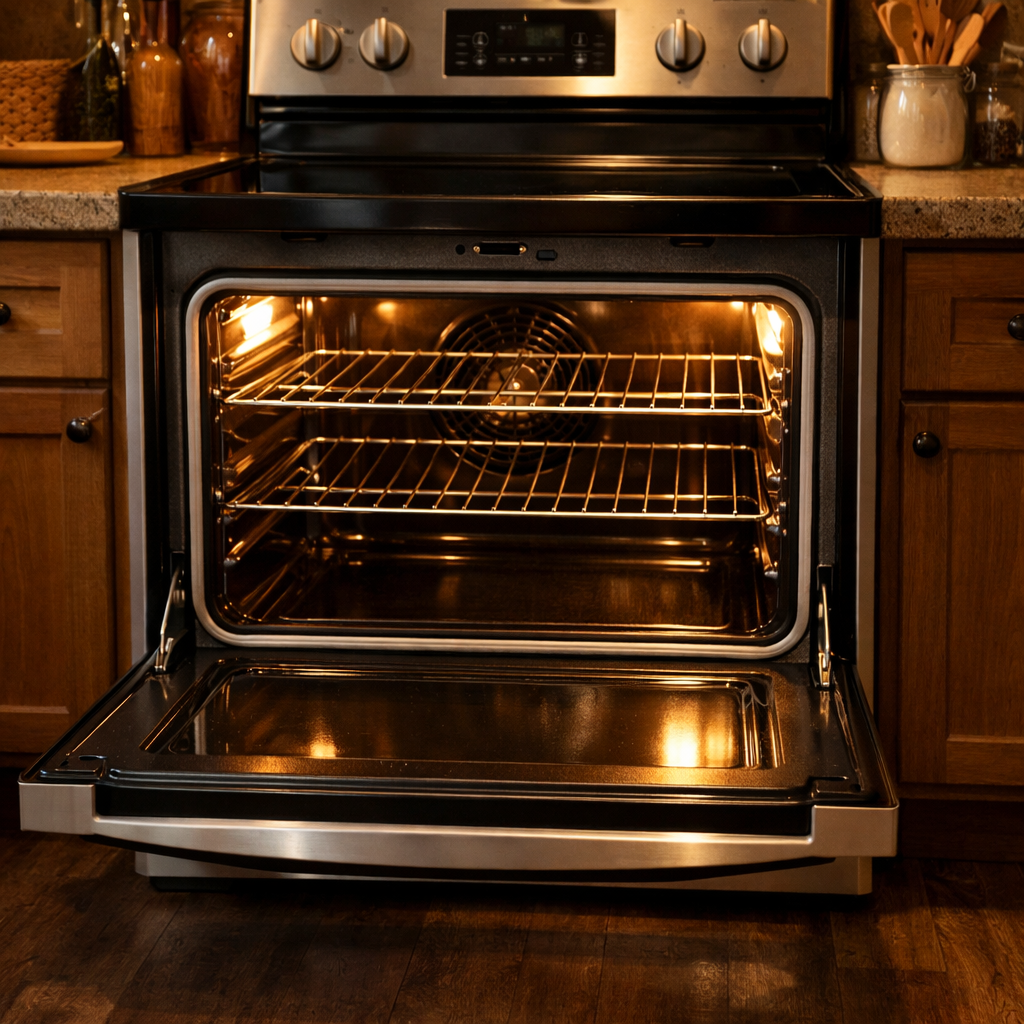
Convection fan blade
In this guide, I’ll walk you through the steps to fix the convection fan blade on your Electrolux EI30EW38TS (Wall Oven). With the right tools and a little patience, most homeowners can complete this repair in 1–2 hours and save themselves a trip by a technician.
🔨 Pro Tip from Dave
On the EI30EW38TS, the fan blade is secured with a standard center nut — turn it counter-clockwise to remove it and clockwise to reinstall, just like in Step 2 and Step 4 below. Some DIYers mistakenly think oven fan hardware is reverse-threaded and end up forcing it the wrong way. Also, always inspect the motor shaft for damage before installing the new blade, as a compromised shaft can ruin your new part quickly.
Part of our Top 20 Oven Models & Common Repair Issues Guide. Browse all oven repair guides for related models and issues.
Common Symptoms & Causes
If you’re dealing with a faulty convection fan blade on your Electrolux EI30EW38TS wall oven, you might see one or more of the following symptoms:
- The oven produces a loud rattling or scraping noise during convection cooking
- Food bakes unevenly, with hot and cold spots throughout the oven cavity
- The convection fan runs but airflow inside the oven feels weak or inconsistent
- A burning smell occurs when the fan is operating, suggesting blade contact with surrounding components
These issues are typically caused by a cracked, warped, or damaged convection fan blade, often resulting from normal wear, repeated exposure to high heat, or accidental impact during cleaning.
Safety First
- Shut off power at the breaker, not at the appliance — a hardwired wall oven doesn’t have a cord to pull. Lock or tag the panel, then verify the oven is dead with a contact voltage tester before removing any panel.
- Wear work gloves when handling metal brackets, sheet metal edges, or sharp components.
- Take photos with your phone before disconnecting any wiring harnesses or connectors.
- Work in a well-lit area with enough floor space to lay removed panels flat.
Tools & Parts Needed
Essential Tools
- Phillips #2 screwdriver
- ¼” nut driver
- Multimeter
- Work gloves (heat-rated)
- Flashlight
Replacement Parts
- Convection fan blade
- fan motor
- Phillips screwdriver
- multimeter
Step-by-Step Repair Instructions
Step 1
First things first: disconnect power at the breaker before touching any components. Convection fan circuits can remain live even when the oven is off, posing a shock hazard. Remove the oven racks for clear access, then unscrew the two Phillips screws holding the fan cover on the back wall of the oven cavity. Pull the cover off and spin the blade by hand: any wobble is a sign of a bent blade throwing the motor off-balance, while chips can cause vibration and noise, and hardened grease clumps create an imbalance that wears out the motor bearing prematurely. If you see any of these issues, you’ll need to replace the blade.
Step 2
The fan blade is either pressed onto the motor shaft or secured with a center nut depending on the production run. If there is a nut, turn it counter-clockwise to remove it; if the blade is press-fit, gently work a flat-head screwdriver behind the blade hub and pry it straight off the shaft. Be careful not to rock it side to side, or you risk bending the motor shaft. Keep the orientation of the blade in mind so the replacement goes on correctly.
Step 3
Before you install the new blade, wipe the motor shaft clean of grease or carbon buildup using a dry cloth or a small amount of isopropyl alcohol on a rag. Any grease left on the shaft can prevent the new blade from seating properly, leading to issues with balance and vibration under load. Make sure the shaft is fully dry before proceeding, as any residue can work its way into the motor bearing over time.
Step 4
Now, align the new blade with the shaft and press it on firmly and evenly until the hub sits flush with the face of the motor. An incompletely seated blade will wobble immediately and may work loose during operation. If your design uses a center nut, thread it on clockwise and tighten it snugly by hand, then give it an additional quarter-turn with a screwdriver. Be careful not to overtighten, as this can crack the plastic hub or strip the threads on the shaft. Pro tip: if the replacement blade comes with a new nut, use it instead of the old one if it shows any signs of corrosion.
Step 5
Before putting the fan cover back on, give the blade a slow spin by hand and watch it carefully from the side. It should rotate smoothly without wobble, scraping against the cover or motor housing. This manual check can catch any issues with seating or alignment before you restore power, saving you the hassle of having to take everything apart again. If you see any wobble, remove the blade and reseat it; don’t proceed until it spins true.
Step 6
Once everything looks good, reinstall the fan cover, restore power at the breaker, and run a Convection Bake cycle for five to ten minutes. The fan should spin up quickly and run silently — you shouldn’t feel any vibration or hear rattling. If you hear grinding or feel vibration, shut off the power immediately and recheck the blade seating and nut tightness. Running with an imbalanced blade can damage the motor.
Where to Buy Replacement Parts
- Electrolux EI30EW38TS convection fan blade 318398302 replacement
- Electrolux wall oven convection fan motor 5304467898
- Electrolux oven fan blade balance noise vibration
When to Call a Professional
If the problem persists after following these steps, the issue may involve a failed main control board, a faulty temperature sensor or high-limit thermostat, or wiring that needs specialized diagnostic equipment. In such cases, it’s best to contact a licensed appliance technician. For gas models, avoid working on the gas valve, burner orifices, or supply line — that work should only be done by a licensed gas fitter in most jurisdictions.
How Much Does This Repair Cost?
| Repair route | Typical cost |
|---|---|
| Do it yourself | $20–$60 (parts) |
| Professional repair | $150–$300 (parts and labor) |
A replacement convection fan blade for the Electrolux EI30EW38TS typically costs between $20 and $60 for the part alone. If you hire a professional appliance technician, expect to pay around $150 to $300, which includes the service call and labor fees. By taking on this repair yourself, you can save over $100 or more.
Frequently Asked Questions
How do I know if the convection fan blade on my Electrolux EI30EW38TS needs to be replaced?
If your oven makes a loud rattling or scraping noise during convection cooking, it’s likely that the fan blade is cracked, bent, or loose. You can visually inspect the blade through the back panel for any visible damage or wobble.
Do I need to disconnect power before replacing the convection fan blade?
Absolutely. Always shut off the circuit breaker supplying power to the oven before starting any repair. This is a crucial safety measure to prevent electric shock.
Can I replace the convection fan blade myself, or do I need a technician?
Most homeowners can replace the fan blade with basic tools by removing the oven’s back panel and unscrewing the blade from the motor shaft. However, if the motor itself is damaged, I recommend seeking professional service.
Recommended Products
Here are the parts and tools I recommend for this repair, based on compatibility and customer reviews:
- ForeverPRO 318398302 Fan Blade for Frigidaire Wall Oven (AP4566043) 316136400 1614302 318398300
- ForeverPRO 5304467898 Convection Fan Motor Kit for Frigidaire Wall Oven (AP4369077) 1485512 316415800 318398200
- SUPPLYZ Direct Replacement for Frigidaire 318398302 Wall Oven Fan Blade (AP4566043) 316136400 1614302 318398300
The Fan Blade That Stops the Rattle and Uneven Heat on Your EI30EW38TS
This is the part you’ll need for this repair — the OEM-equivalent convection fan blade that fits the EI30EW38TS without any guesswork. If you’re hearing a rattling noise or spotting hot spots in your baking, this blade is often the culprit, and swapping it out can be done in under 10 minutes once you access the fan housing.
What works
- Direct fit — you won’t have to hunt through part numbers or cross-reference. It arrives and bolts straight onto the motor shaft.
- Eliminates vibration immediately. That rattling or grinding sound stops as soon as the new blade spins up, confirming the diagnosis was on point.
- Fixes uneven baking fast. Once the blade is balanced and spinning freely again, heat distribution returns to normal within a couple of bake cycles.
What doesn’t
- Won’t solve issues if the motor itself has seized or burned out — you’ll know right away because the blade won’t spin at all even after replacement.
- Requires you to power down the oven and wait for it to cool completely, meaning you’re looking at a 30–45 minute job from start to finish, not just a quick swap.
I’ve seen people call back after ordering a generic “convection fan blade” from a third-party seller only to find out it doesn’t fit the EI30EW38TS motor shaft — wrong diameter, wrong connector. That’s wasted time and a return. This ForeverPRO blade is the one I’ve used in these ovens for friends and family, and it fits every time. ForeverPRO 318398302 Fan Blade for Frigidaire Wall Oven (AP4566043) 316136400 1614302 318398300
About This Article

Written by Dave Holt. Dave Holt has been taking apart and fixing household appliances since he was a teenager who couldn't leave a broken one alone. Eighteen years later, after fixing things for neighbors, friends, and anyone who'd let him, he's seen almost every failure mode there is. When he writes a repair guide here, it's based on the actual job, not a manufacturer overview. More about this site.
Scope and limits. Dave is a self-taught repairer, not a certified appliance technician. Unplug before you open anything, and leave sealed refrigeration systems, gas connections, and hardwired circuits to a qualified technician.



