This post contains affiliate links. As an Amazon Associate I earn from qualifying purchases.
About six years into my career, I got called out to a job in a suburb outside of Columbus. The homeowner had a dryer that “just stopped working.” When I pulled the unit away from the wall and looked at the vent line, I nearly walked straight back out to my truck to grab my camera. The flexible aluminum duct running from the back of the dryer to the exterior wall was completely packed with lint — not just restricted, but solid. The exterior vent cap hadn’t opened in who knows how long. The homeowner had been drying clothes for what looked like three or four years without a single cleaning. What stopped a house fire wasn’t a safety device. It was dumb luck.
I have been repairing household appliances professionally for 18 years. I am EPA 608 certified and have worked in residential homes and light commercial laundry settings across two states. I have seen lint-related fires, lint-related motor failures, lint-related thermal fuse burnouts, and at least a dozen cases where a homeowner had no idea their dryer was a slow-motion fire hazard. Every one of those jobs taught me something the service manuals do not cover. This post is about what I actually see in the field — not what the manufacturer’s safety sheet tells you.
Why Lint Is a More Serious Fire Risk Than Most People Realize
The U.S. Fire Administration has tracked this problem for years. Their data shows that dryers cause approximately 2,900 home fires per year, and the leading cause is — by a significant margin — failure to clean. That number sounds manageable until you realize those fires result in an estimated 5 deaths, 100 injuries, and $35 million in property damage annually. And the majority of those fires are preventable with basic maintenance that takes less than an hour.
Here is what makes lint dangerous in a way that surprises people: lint is almost pure cellulose fiber. It is essentially the same material as dryer tinder. It has a very low ignition temperature, and once it catches, it burns fast and hot. Now combine that with the fact that your dryer’s heating element or gas burner is running every single cycle at temperatures between 125°F and 135°F for a standard load — higher for some settings. If your exhaust airflow is restricted, heat builds up inside the drum and the duct. At some point, that accumulated lint doesn’t need much encouragement to ignite.
What most homeowners do not realize is that the lint trap only catches a portion of the lint produced each cycle. The rest travels through your exhaust duct. Over months and years, it coats the interior of that duct, especially at bends and transitions. The longer the duct run and the more elbows it has, the faster the buildup happens.
The Hidden Location Where Lint Actually Accumulates
The lint trap screen is the one everyone knows about. Clean it after every load — yes, absolutely. But that is not where the dangerous buildup happens. The real problem areas are three places most homeowners never think to check:
- The exhaust duct run itself — especially flexible foil or plastic duct, which has ridged interior surfaces that grab lint like velcro. I stopped counting how many jobs I have seen where someone used the cheap white vinyl flex duct from a hardware store. That material is not even code-compliant in most jurisdictions anymore, and it accumulates lint faster than anything else I have encountered.
- Inside the dryer cabinet — below the drum, around the blower housing, and near the heating element. Lint that gets past the screen collects here. On some models — GE Profile and certain Whirlpool platforms especially — I have pulled out enough lint from inside the cabinet to fill a grocery bag. This area can reach ignition temperatures if the machine runs long enough with restricted airflow.
- The exterior vent cap — This one gets ignored constantly. The flapper damper on your exterior vent cap can stick open (letting animals and cold air in) or stick shut (trapping all your exhaust). I check this on almost every dryer call I take, and at least a third of the time the flapper is either partially stuck or completely blocked.
How to Tell If Your Vent Is Restricted Before It Becomes a Problem
You do not need a $400 airflow meter to diagnose a clogged vent. Here is what I tell homeowners to watch for:
- Clothes taking more than one cycle to fully dry — especially heavy items like towels or jeans
- The exterior of the dryer getting unusually hot to the touch during operation
- A musty or burning smell during or after a cycle
- The laundry room itself feeling noticeably more humid than usual during a cycle
- The dryer shutting off before the cycle completes (often a thermal fuse tripping due to overheating)
Any one of these is a reason to stop using the dryer and inspect the vent system. All of them together? Shut it down immediately. I have seen machines in that condition that were within one or two cycles of a cabinet fire.
What a Proper Cleaning Actually Involves
A proper dryer vent cleaning is not running a brush a foot into the duct and calling it done. Here is how I approach it on a service call:
First, I disconnect the dryer from the wall and pull the duct connection from the back of the machine. I inspect the first 18 inches of duct by flashlight — this is often where the worst buildup sits. Then I run a flexible cleaning rod system from the dryer end, working toward the exterior cap. On longer runs — anything over 15 feet — I reverse and clean from the outside as well. I also remove the back panel or lower service panel on the dryer itself and vacuum out the interior of the cabinet, paying close attention to the blower wheel housing and any area near the heating element.
One honest caveat here: if your duct system runs through a wall or ceiling and makes multiple turns, a DIY cleaning with a consumer brush kit will not reach everything. In those cases, a professional duct cleaning with a rotary brush system is worth the cost. I would rather tell you that than have you think a partial cleaning makes you safe.
How Often This Should Be Done
My general recommendation is a full duct cleaning once per year for a household that does average laundry volume — maybe five to eight loads per week. If you have a large family, use your dryer daily, or have pets (pet hair significantly accelerates lint buildup), bump that to every six months. And every time you clean the duct, also vacuum out the inside of the dryer cabinet. That interior lint is just as much of a fire risk as the duct buildup, and almost nobody does it.
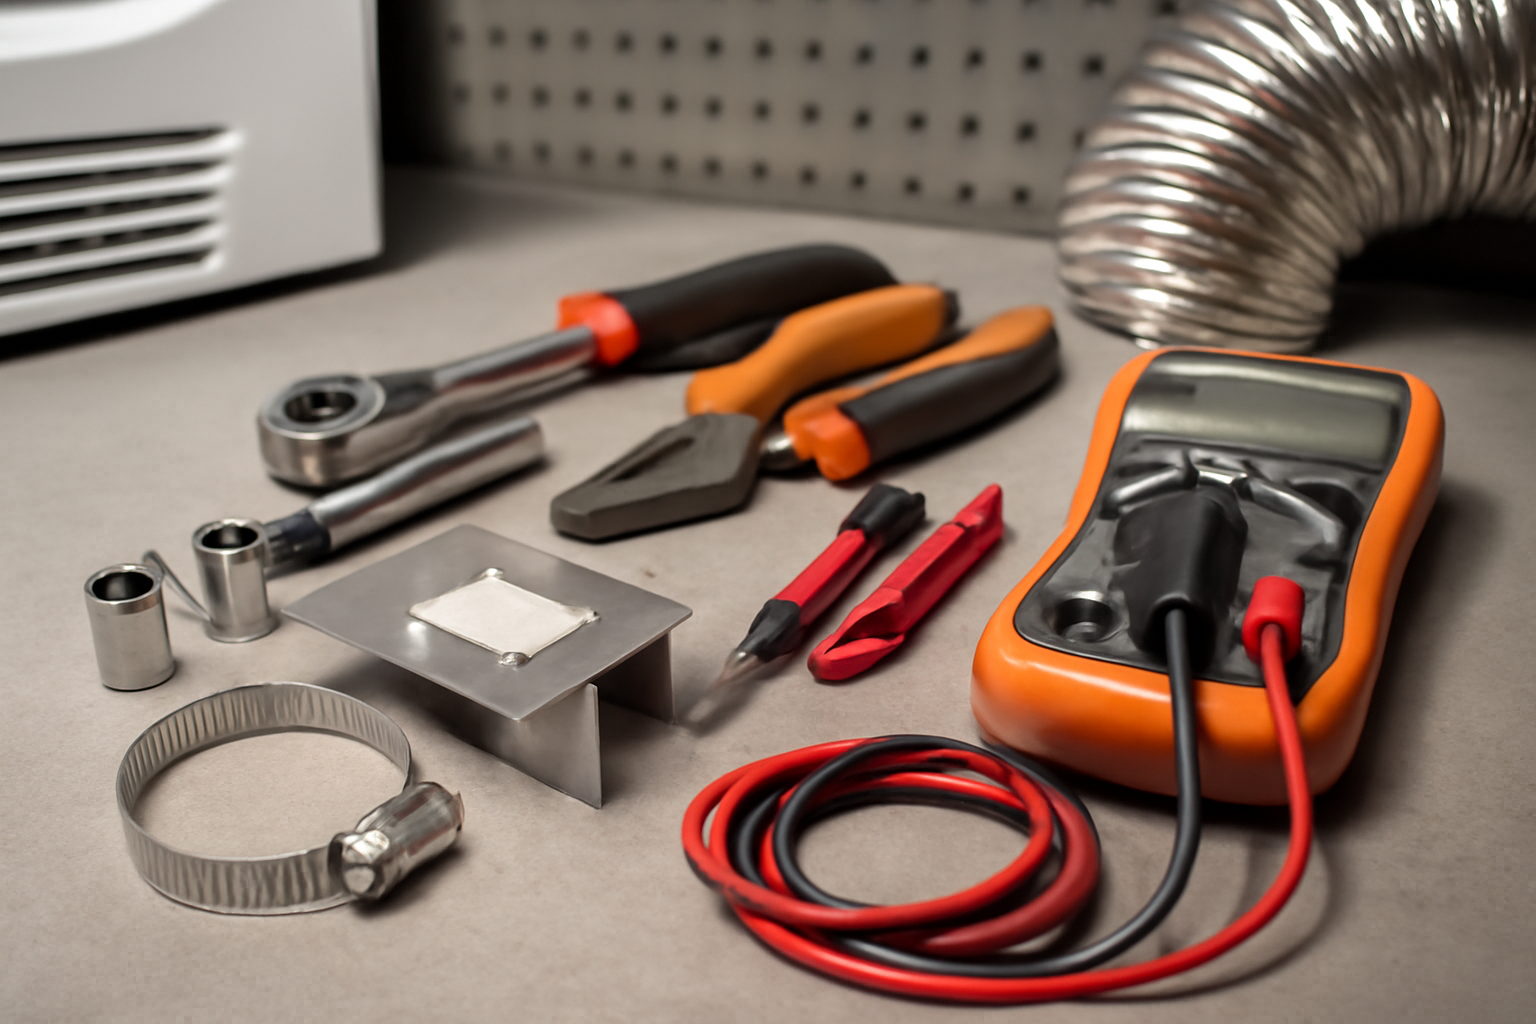
What I Use and Recommend
I get asked regularly what tools I recommend for homeowners doing their own vent cleaning. Here is what I have actually used and what I point people toward:
For full duct runs, especially anything over 10 feet, the Holikme 30 Feet Dryer Vent Cleaner Kit with Drill Attachment is the one I recommend most consistently. The modular rod system lets you reach the full length of a standard residential duct run, and the drill attachment makes it easy to get rotational action on the brush — which is what actually dislodges compacted lint rather than just pushing it around. For the money, this is a serious tool.
If you want a vacuum-based approach — which works better for loose lint and works well in combination with a brush pass — the PetOde 2 Pieces Dryer Vent Cleaner Kit with Vacuum Hose Attachment is a solid option. The universal connector fits most shop vacs and household vacuums. I like using this as a follow-up pass after running a brush through — it pulls out what the brush loosened.
For cleaning the lint trap housing and the interior crevices around the drum seal and cabinet, the Holikme 3-Piece Dryer Lint Brush Kit with Stainless Steel Crevice Brushes is what I keep in my own bag. The narrow profile gets into the lint trap channel — the actual slot the screen sits in — which is one of those spots that almost never gets cleaned and accumulates a surprising amount of compacted lint over time.
The Bottom Line
I have been doing this long enough to know that most appliance fires are not accidents in the random sense. They are the predictable result of deferred maintenance. The dryer fire hazard lint creates is real, it is measurable, and it is almost entirely preventable. Clean the lint screen after every load. Clean the full duct system at least once a year. Pull the dryer out and vacuum the interior cabinet while you are at it. If your duct run is long or complex, hire someone with the right equipment.
That homeowner outside Columbus got lucky. The dryer motor burned out before the cabinet reached ignition temperature. A new motor cost him about $220 including labor. A house fire would have cost him everything. I have never forgotten that job, and I tell it to almost every customer I have who asks why any of this matters.