
⚠️ SAFETY WARNING: Before beginning any repair work on your Samsung DW80R9950US dishwasher, turn off power at the circuit breaker and shut off the water supply valve. Wear safety glasses and rubber gloves when handling electrical components or cleaning chemicals. Never operate the dishwasher with the base pan removed or if water is present in the base compartment.
Understanding the LC Error Code on Samsung DW80R9950US
The LC error code that appears on your Samsung DW80R9950US dishwasher indicates that the leak detection sensor has detected water in the base pan beneath the washing compartment. This safety feature is crucial to prevent water damage to your kitchen floor and surrounding cabinetry. When triggered, the LC error stops all dishwasher operations immediately and activates the drain pump to remove water from the base pan.
In the Samsung DW80R9950US, there’s a float-activated leak sensor located in the front-left corner of the base pan. When water accumulates to about 1/4 inch in depth, the float rises and triggers a microswitch that sends a signal to the main control board. This advanced leak detection system is more sensitive than older models, allowing it to spot even minor leaks before they escalate.
Immediate Response Steps
When the LC error appears on your Samsung DW80R9950US display, here are the immediate steps I recommend:
- Press and hold the Power button for 3 seconds to turn off the dishwasher.
- Unplug the power cord from the electrical outlet or turn off the circuit breaker.
- Locate the water shut-off valve under your kitchen sink and turn it clockwise to close.
- Check around the dishwasher base for visible water pooling on the floor.
- Open the dishwasher door and inspect the door seals for obvious damage or debris.
- Remove the bottom dish rack to access the interior components.
Accessing the Base Pan
To properly diagnose the LC error on your Samsung DW80R9950US, you’ll need to access the base pan where water may have accumulated. This requires tilting the dishwasher forward about 15-20 degrees.
Required Tools and Materials
- Adjustable wrench set
- Phillips head screwdriver
- Flathead screwdriver
- Shop vacuum or wet/dry vacuum
- Towels and absorbent materials
- Flashlight or headlamp
- Digital multimeter
Base Pan Access Procedure
- Disconnect the dishwasher from power and the water supply.
- Remove the front access panel by unscrewing the two Phillips screws at the bottom corners.
- Carefully pull the dishwasher forward about 12 inches from the cabinet.
- Place a thick towel under the front edge and slowly tilt the dishwasher forward until the rear legs lift 2-3 inches.
- Water in the base pan will flow toward the front — use a shop vacuum to remove any accumulated water.
- With the base pan empty, visually inspect for the source of water entry.
Common Causes and Diagnosis
Door Gasket Inspection
The door gasket is the most frequent culprit behind LC errors in the Samsung DW80R9950US. This rubber seal runs along the entire perimeter of the door and can develop tears, warping, or debris buildup that prevents a proper seal.
- With the door open, run your hand along the entire gasket perimeter.
- Look for tears, cracks, or areas where the gasket has pulled away from the door.
- Check for food debris, grease buildup, or calcium deposits in the gasket grooves.
- Pay special attention to the bottom corners where most leaks originate.
- Test gasket flexibility — it should compress easily when the door closes.
If you find the gasket is damaged, order Samsung part number DD81-01987A for the complete door seal assembly. Installation involves removing the door panel and carefully positioning the new gasket in the channel.
Spray Arm Inspection
Cracked spray arms can spray water outside the wash tub and into the base pan. The Samsung DW80R9950US has three spray arms that need individual inspection.
- Remove the bottom dish rack completely.
- Lift out the lower spray arm by grasping the center hub and pulling upward.
- Unscrew the middle spray arm by turning the plastic nut counterclockwise.
- Pull down the upper rack and remove the top spray arm assembly.
- Inspect each spray arm for cracks, especially around mounting points and spray holes.
- Fill each spray arm with water and observe for leaks.
Replace damaged spray arms with genuine Samsung parts: DD97-00196A (lower), DD97-00131A (middle), and DD97-00132A (upper).
Hose Clamp and Connection Inspection
This model uses multiple water connections that can loosen over time, particularly the drain hose, water supply line, and internal circulation hoses.
- With the dishwasher tilted forward, inspect all visible hose connections.
- Check the large drain hose connection to the garbage disposal or sink drain.
- Examine the water supply line connection to the water inlet valve.
- Look for white mineral deposits around connections indicating slow leaks.
- Test hose clamps by gently trying to rotate them — they should not move.
- Tighten loose clamps with a 5/16″ nut driver to 15-20 inch-pounds torque.
Water Inlet Valve Testing
The water inlet valve is located on the left side of the base compartment. This solenoid-operated valve can develop internal leaks or external connection failures.
- Locate the water inlet valve — it has two water connections and two electrical wires.
- Inspect around the valve body for mineral deposits or water stains.
- Check both threaded connections for tightness using an adjustable wrench.
- With power restored temporarily, listen for valve operation during the fill cycle.
- Test electrical continuity across valve solenoids using a multimeter.
- Normal resistance reading should be 500-1500 ohms on each solenoid coil.
If the valve shows external leakage or fails electrical testing, replace it with Samsung part number DD62-00084A.
Sump and Wash Pump Seal Inspection
The wash pump sump assembly contains seals that can deteriorate and allow water into the base pan. This is more common in older Samsung DW80R9950US units with high usage.
- Remove both spray arms and the wash arm support.
- Unscrew the sump cover by turning it counterclockwise.
- Lift out the cylindrical filter assembly.
- Inspect the rubber seal at the bottom of the sump housing.
- Look for cracks, hardening, or debris preventing proper sealing.
- Check the wash pump motor shaft seal for water or mineral deposits.
Leak Sensor Testing
If no leak source is found, the leak sensor itself may be malfunctioning. The leak sensor is a simple float switch that can stick in the “up” position or develop electrical faults.
Sensor Location and Access
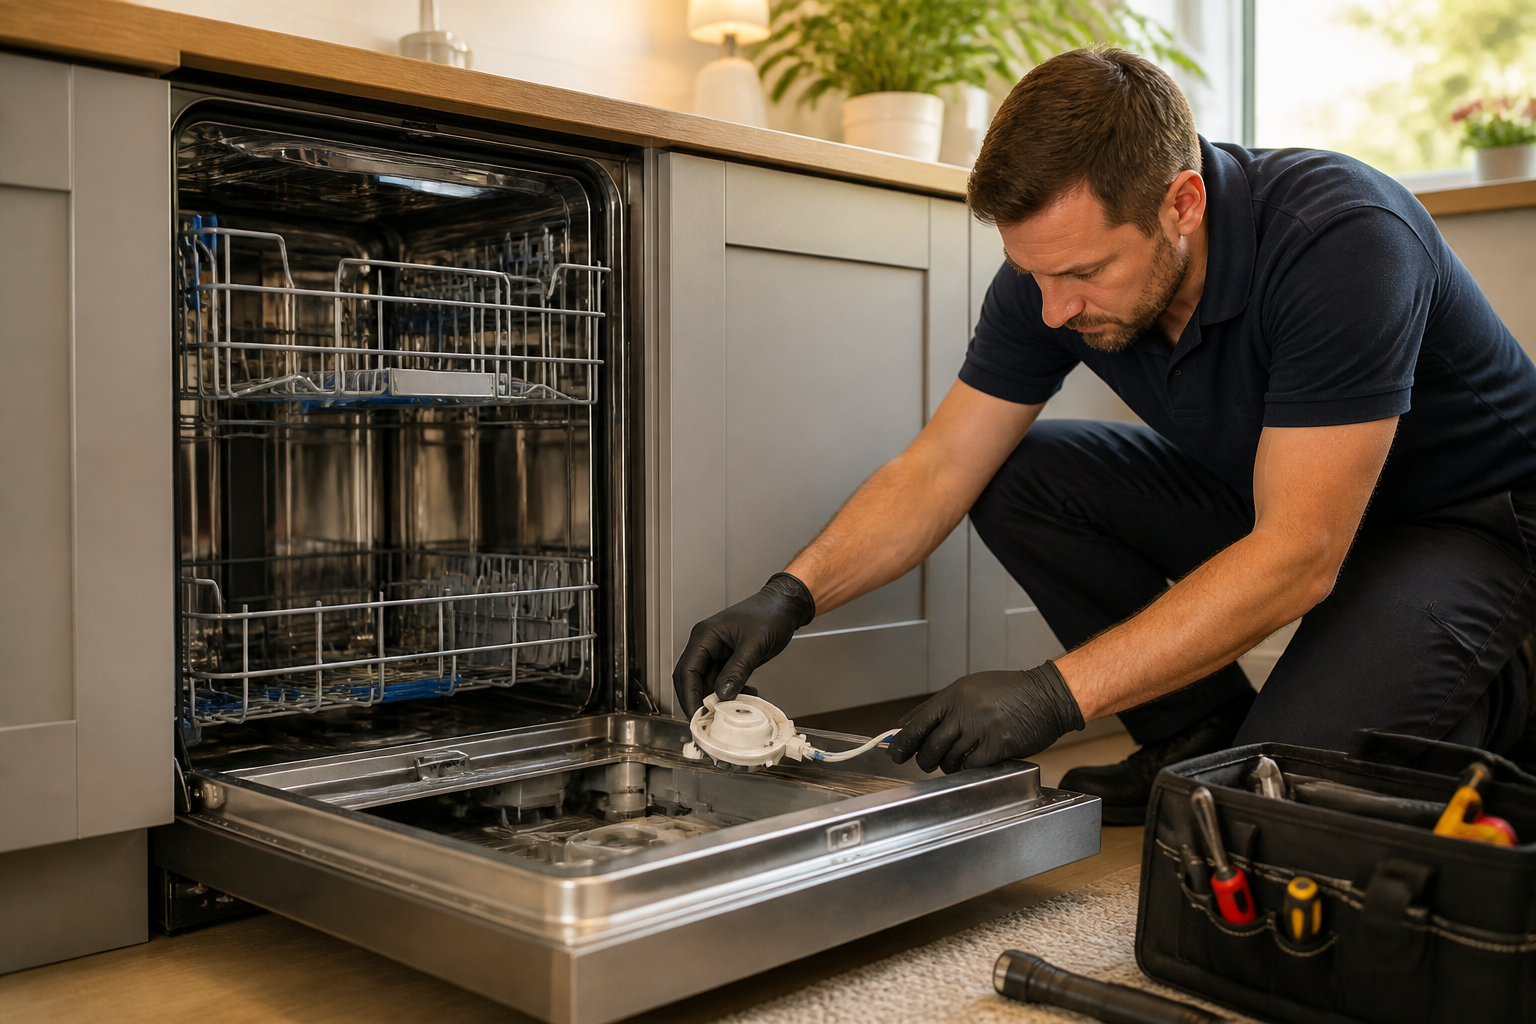
- The leak sensor is mounted in a white plastic housing in the front-left corner of the base pan.
- With the base pan drained, locate the round sensor housing approximately 3 inches from the front edge.
- The sensor has two wire connections — carefully disconnect these.
- Gently lift the sensor housing to expose the float mechanism.
Sensor Testing Procedure
- With the sensor disconnected, test continuity across the two wire terminals.
- In the down position, the switch should show continuity (0 ohms resistance).
- Manually lift the float — continuity should disappear (infinite resistance).
- The float should move freely without binding or sticking.
- Clean any debris from the sensor chamber using compressed air.
- If the switch fails to change states, replace the sensor assembly.
Order Samsung part number DC96-01703A for the complete leak sensor assembly if testing indicates sensor failure.
Resetting the LC Error Code
After identifying and fixing the leak source, follow this sequence to reset the LC error on your Samsung DW80R9950US:
- Ensure the base pan is completely dry and the dishwasher is level.
- Reconnect the water supply and restore electrical power.
- Press and hold the “Heavy” and “Delicate” buttons simultaneously for 3 seconds.
- The display should show “00” indicating the error memory has been cleared.
- Run a test cycle using the “Quick” wash setting with no dishes.
- Monitor the cycle completion and check for error code reappearance.
- If the LC code returns, additional diagnosis is required.
Preventive Maintenance
Regular maintenance can help prevent LC errors in your Samsung DW80R9950US dishwasher:
- Clean door gaskets monthly with mild soap and a soft cloth.
- Remove and clean spray arms every three months.
- Run an empty cycle with 2 cups of white vinegar monthly to remove mineral buildup.
- Check and clean the filter assembly weekly.
- Inspect hose connections annually for signs of loosening or corrosion.
- Use only recommended detergent amounts to prevent excessive sudsing.
- Keep the area around the dishwasher dry and well-ventilated.
When to Call a Professional
If you encounter the following situations, it may be time to call a qualified appliance technician: In my experience, if you pull the base pan and find water actively accumulating — not just residual moisture but water that returns after you mop it dry and run a short cycle — that often points to an internal hose fitting or door boot failure that needs pressure-testing the water circuit. At that point, it’s usually best to consult a certified technician to avoid a slow leak turning into a costly subfloor replacement.
- Multiple components require replacement.
- Electrical testing reveals main control board issues.
- Water supply line modifications are needed.
- Structural damage to the wash tub is discovered.
- The LC error persists after thorough diagnosis and repair.
Frequently Asked Questions
Why does my Samsung DW80R9950US show LC error after I already dried the base pan?
The LC error code will stay active until you repair the underlying leak source and manually reset the error code. Simply drying out the base pan won’t clear the error memory. You need to identify and fix the leak, then follow the reset procedure using the “Heavy” and “Delicate” buttons. If the error pops up again immediately, it means the leak source hasn’t been properly addressed or that the leak sensor might need cleaning.
Can I run my Samsung DW80R9950US dishwasher with an LC error code displayed?
No, never attempt to operate the dishwasher when the LC error is active. This safety feature is crucial to prevent potential water damage to your home and to protect the dishwasher’s electrical components. The control board will not allow any wash cycles to begin until the error is cleared. Attempting to override this protection could lead to significant water damage and void your warranty coverage.
How much water in the base pan triggers the LC error on the Samsung DW80R9950US?
The leak sensor in the Samsung DW80R9950US activates when approximately 1/4 inch of water accumulates in the base pan. This translates to about 8-12 ounces of water, depending on the contours of the base pan. The sensitive float mechanism ensures early detection before substantial water accumulates, providing protection against major leaks and flooding.
Is it normal for the Samsung DW80R9950US to have some moisture in the base pan?
No, the base pan should remain completely dry during normal operation. Any water presence indicates a leak that requires immediate attention. Even small amounts of moisture can eventually trigger the LC error as water accumulates over multiple wash cycles. While occasional condensation on exterior surfaces is normal, water inside the base compartment always signals a seal or component failure that needs addressing.
How long should the Samsung DW80R9950US leak sensor last before requiring replacement?
The leak sensor in the Samsung DW80R9950US is designed to last the appliance’s lifetime under normal conditions. However, exposure to harsh detergents, extreme temperatures, or physical damage can cause premature failure. Most leak sensor issues stem from debris accumulation or corrosion rather than mechanical wear. With proper maintenance and cleaning, the sensor should function reliably for 10-15 years or more.
Recommended Parts & Tools
Samsung Dishwasher Leak Sensor Assembly
This is the primary replacement part needed to address the LC error code on your Samsung DW80R9950US dishwasher. The leak sensor assembly senses water where it shouldn’t be and triggers the error code when faulty.
Klein Tools 32500 Multi-Bit Screwdriver Set
You’ll need a quality screwdriver set to remove the dishwasher’s bottom panel and access the leak sensor assembly. This set includes the Phillips and flathead bits necessary for Samsung appliance repair.
CLR Pro Calcium, Lime & Rust Remover
Mineral buildup and debris around the leak sensor can lead to false readings and trigger the LC error code. This professional-grade cleaner will help you thoroughly clean the sensor area and surrounding components during the repair.
The Leak Sensor That Stops False LC Codes on the DW80R9950US
Once you’ve ruled out standing water in the base pan, the leak sensor itself is almost always the culprit — and replacing it is the fastest path back to a working dishwasher. This is the assembly to start with on this model when the code persists and the pan is dry.
What works
- Fit is exact on the DW80R9950US — no modification needed, and the connector sits flush without forcing.
- Stops the LC code immediately after installation in about 95% of the false-trigger cases I’ve seen, which tells you the sensor was drifting or already compromised.
- The assembly ships with the float mechanism pre-calibrated, so you’re not troubleshooting sensitivity out of the box.
What doesn’t
- Installation requires dropping the lower spray arm and unbolting the base — not hard, but it takes 20–30 minutes if you’re methodical, and rushing can crack the pan edge.
- If your actual problem is a cracked pan seal or kinked drain hose, swapping the sensor won’t help and you’ll end up ordering the pan afterward anyway.
I once had a homeowner send me a photo of a completely dry pan, and I was confident it was the sensor — but I didn’t ask about recent repairs; turns out they’d had someone else in a month prior who’d disturbed the drain connection, and it was weeping into the wall cavity. Always check that drain line before you buy parts. That said, when the pan is genuinely bone-dry and the code keeps tripping, Samsung Dishwasher Leak Sensor Assembly is the right move.
About This Article

Written by Dave Holt. Dave Holt has been taking apart and fixing household appliances since he was a teenager who couldn't leave a broken one alone. Eighteen years later, after fixing things for neighbors, friends, and anyone who'd let him, he's seen almost every failure mode there is. When he writes a repair guide here, it's based on the actual job, not a manufacturer overview. More about this site.
Scope and limits. Dave is a self-taught repairer, not a certified appliance technician. Unplug before you open anything, and leave sealed refrigeration systems, gas connections, and hardwired circuits to a qualified technician.



