Door Switch Replacement for Sharp SMC1132CS Countertop Microwave
The door switch assembly in the Sharp SMC1132CS countertop microwave is a vital safety component that prevents the magnetron from operating when the door is open. When these switches fail, you might find that the microwave won’t start, continues running with the door open, or shows error messages. The Sharp SMC1132CS employs a three-switch interlock system—primary, secondary, and monitor switches—that work together to ensure safe operation. I rate this repair as MODERATE difficulty due to the high-voltage components involved and the precision required when dealing with microwave safety systems. While replacing the switches is a straightforward process, proper safety procedures and testing are crucial.
Symptoms
- Microwave does not start when door is closed and start button is pressed, even though display lights up normally
- Unit continues running when door is opened during cooking cycle (extremely dangerous situation requiring immediate unplugging)
- Intermittent operation where microwave works sometimes but not others, often related to door pressure or position
- Display shows “DOOR” error message on the Sharp SMC1132CS LED panel
- Microwave starts but immediately shuts off after 1-2 seconds with no error message
- Unusual clicking or arcing sounds from the door latch area when attempting to start the unit
⚠️ Safety Warning
Microwave repair involves extremely dangerous high voltage components. The Sharp SMC1132CS contains a high-voltage capacitor that can retain a lethal charge (up to 4,000 volts) even when unplugged. Before starting any work, disconnect power for at least 10 minutes, then discharge the capacitor using an insulated screwdriver across the terminals. Never attempt this repair if the microwave continues running with the door open — this indicates a failed safety system and requires immediate professional service. Always use proper safety equipment including insulated tools and safety glasses. The magnetron and high-voltage transformer can deliver fatal electrical shock. If you’re not comfortable working with high-voltage appliances, contact a qualified technician.
Parts Needed
- Sharp Door Switch Assembly Set (Part Number: RSWITCH-310 or RDOOR-A005WRZZ) — complete three-switch assembly for SMC1132CS
- Primary Door Switch (Part Number: DE13-00016A) — main safety interlock switch rated for 16A at 125VAC
- Secondary Door Switch (Part Number: DE13-00015A) — backup safety switch with identical specifications
- Monitor Switch (Part Number: SWB-101) — surveillance switch that monitors primary and secondary switch function
- Electrical contact cleaner spray (non-residue formula safe for food service equipment)
- Dielectric grease for switch contact protection
Tools Required
- Phillips head screwdriver (size #2) for exterior panel screws
- Flat blade screwdriver (1/4 inch) for door switch removal and capacitor discharge
- Digital multimeter with continuity testing capability
- Needle-nose pliers for wire connector manipulation
- Insulated work gloves rated for electrical work
- Flashlight or work light for interior cabinet visibility
- Wire strippers (if switch pigtails need replacement)
Step-by-Step Instructions
Step 1: Power Disconnection and Safety Preparation
🔨 Pro Tip from Dave
On the SMC1132CS, the door hooks that actuate the switches wear unevenly over time, so even after you replace all three switches, you can still encounter intermittent failures if you don’t physically inspect each hook for cracks or rounding — I’ve seen people return because we only swapped the switches and missed a worn hook on the secondary actuator. Always replace the switches as a set rather than just the one that tests bad, because if one has failed, the others are likely to follow.
Unplug the Sharp SMC1132CS from the wall outlet and wait at least 10 minutes for capacitor discharge. Clear out any items from the microwave cavity and clean the interior if needed. Locate the capacitor discharge procedure: using an insulated screwdriver, carefully short the capacitor terminals located near the magnetron on the right side of the unit. You should see a spark when properly discharged. Place the microwave on a stable work surface with the right side accessible.
Step 2: Remove Outer Cabinet
Remove the metal outer cabinet by locating six Phillips screws: two on each side panel two inches from the rear, and two on the back panel at the top corners. On the Sharp SMC1132CS, also remove the single screw located on the bottom rear center. Carefully slide the outer cabinet toward the back and lift it off. The control panel will remain attached to the front of the inner cavity, connected by a ribbon cable.
Step 3: Access Door Switch Assembly
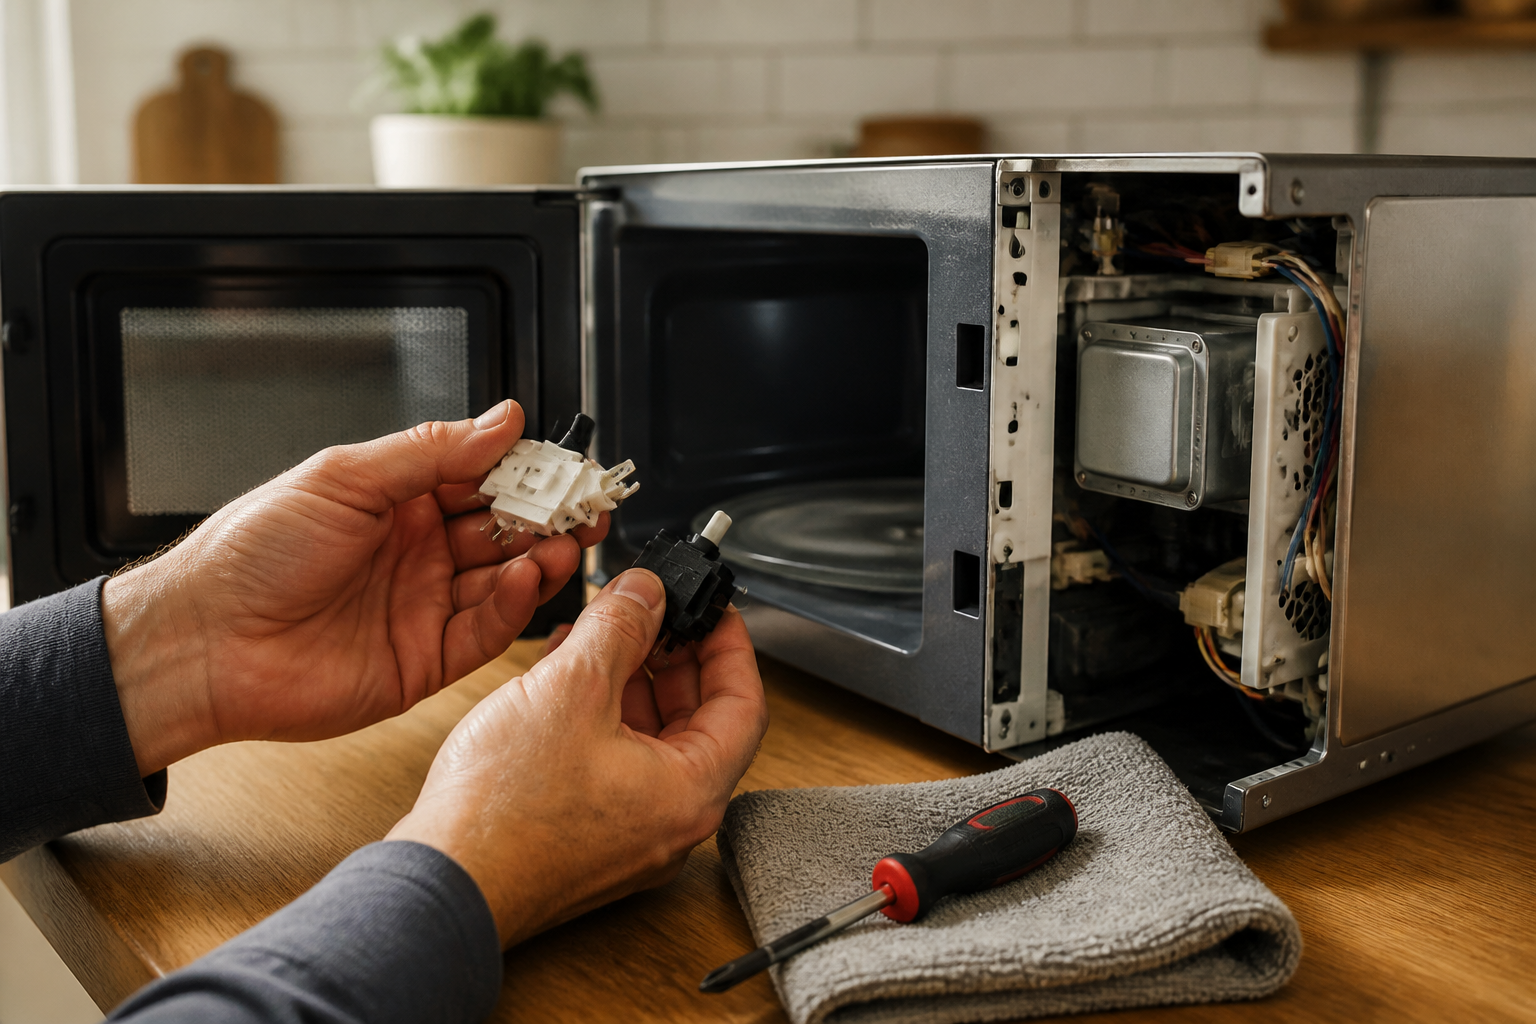
With the cabinet removed, locate the door switch assembly on the right side of the door frame opening. The Sharp SMC1132CS has three switches mounted in a vertical plastic housing approximately 4 inches tall. The switches are positioned at different heights to engage with corresponding tabs on the door. Note the wire colors before disconnection: typically white/black for primary, red/black for secondary, and blue/white for monitor switch.
Step 4: Test Existing Switches
Before removal, test each switch with your multimeter set to continuity mode. With the door closed, the primary and secondary switches should show continuity (0 ohms), while the monitor switch should show no continuity (infinite resistance). With the door open, this pattern reverses. If switches don’t follow this pattern, they require replacement. Document your findings for comparison after the repair.
Step 5: Disconnect Switch Wiring
Carefully disconnect the wire connectors from each switch. The Sharp SMC1132CS uses slide-on spade connectors that can be removed by gently pulling while wiggling slightly. Take a digital photo before disconnection to ensure correct reconnection. The primary switch connects to the main control circuit, secondary to the power relay, and monitor switch to the control board safety circuit.
Step 6: Remove Switch Mounting Bracket
Remove the two Phillips screws securing the switch bracket to the door frame. These screws are located at the top and bottom of the plastic mounting bracket, approximately 3.5 inches apart on the Sharp SMC1132CS. The entire switch assembly will come out as one unit. Be careful not to drop small plastic alignment tabs that may fall during removal.
Step 7: Install New Switch Assembly
Position the new door switch assembly in the mounting location, ensuring proper alignment with the door engagement tabs. The switches must align precisely with their corresponding door actuators for proper operation. Install the two mounting screws, tightening to finger-tight plus a 1/4 turn — over-tightening can crack the plastic housing and affect switch operation.
Step 8: Reconnect Wiring
Reconnect the wire connectors to their respective switches using your reference photo. Ensure connections are secure but don’t force connectors that don’t fit easily. On the Sharp SMC1132CS, a proper connection will result in a slight click when the spade connector fully seats. Verify no wires are pinched or touching metal edges that could cause shorts.
Step 9: Test Switch Operation
Before reassembling the cabinet, test the new switches with your multimeter. With the door open, primary and secondary switches should read infinite resistance, while the monitor switch should show continuity. Close the door and verify the pattern reverses. Each switch should actuate with a distinct click and show immediate resistance change on your meter.
Step 10: Reassemble and Final Testing
Reinstall the outer cabinet in reverse order, ensuring all seven screws are properly tightened. Reconnect power and test microwave operation with a cup of water for 30 seconds on 50% power. Verify that the unit stops immediately when the door is opened and cannot be started with the door ajar. Test the door seal integrity and ensure smooth door operation without binding.
Troubleshooting
- If the microwave still won’t start after switch replacement, check the door alignment and ensure all three switches are properly engaging their door actuators — misalignment by as little as 1/16 inch can prevent operation.
- Intermittent operation after repair usually indicates loose wire connections or a damaged door actuator tab — recheck all connections and inspect door hardware.
- If the unit runs but stops after 2-3 seconds, the thermal fuse may have blown due to previous switch failures — this requires separate replacement.
- Continued “DOOR” error on the Sharp SMC1132CS display suggests control board communication issues — verify monitor switch wiring and check for 12VDC signal at the control board connector.
- Arcing or sparking sounds indicate improper switch installation or damaged wiring — immediately disconnect power and inspect for bare wires or incorrect connections.
- Door difficult to close after repair means the switch bracket is mispositioned — slightly loosen mounting screws and adjust the position until the door operates smoothly.
When to Call a Professional
- If the microwave continues operating with the door open after switch replacement, indicating possible control board failure or wiring problems that require specialized testing equipment.
- When multiple components appear damaged (switches, door hinges, latch mechanism) suggesting impact damage that may have affected internal wiring or structural integrity.
- If you encounter unfamiliar wiring colors or configurations that don’t match the standard Sharp SMC1132CS layout, indicating possible previous repairs or model variations.
- When the magnetron, transformer, or other high-voltage components show signs of damage during the repair process, as these require specialized handling and testing procedures.
When to Call a Professional
Most of the repairs in this guide are within reach for a careful DIYer with basic tools. In my experience, if you’ve already replaced all three switches and a new fuse still blows on the first test cycle, you’re now dealing with a potential magnetron fault or a compromised high-voltage capacitor that holds a lethal charge even when unplugged — at that point, put the unit down and call a certified tech, because the risk-to-reward ratio for continued DIY troubleshooting is not in your favor. When in doubt, a diagnostic service call typically costs $80–$120 and can save you from a misdiagnosis that costs more in parts.
Recommended Parts & Tools
Sharp Microwave Door Switch Assembly – Compatible with SMC1132CS
This replacement door switch assembly is specifically designed for Sharp countertop microwaves including the SMC1132CS model. The switch ensures proper door latch detection and safety operation when the microwave door is closed.
Precision Screwdriver Set with Torx and Phillips Heads
This professional screwdriver set includes the precise Torx and Phillips head bits needed to safely remove the Sharp SMC1132CS cabinet panels and access the door switch assembly. The magnetic tips help prevent dropped screws during the repair process.
The Door Switch Assembly That Stops the Fuse-Blowing Cycle on Your SMC1132CS
Once you’ve confirmed with a multimeter that the monitor switch is shorted (and not the thermal fuse or magnetron), ordering the correct door switch assembly is your next move—this is the part that’s actually failing, and it’s what will bring your microwave back to life without throwing another breaker.
What works
- Direct fit on the SMC1132CS—no adapters or rewiring needed, and the connector plugs in exactly where the old one came out.
- The assembly includes both the monitor switch and the door latch mechanism, so you’re not hunting for two separate parts or troubleshooting mismatched components.
- Eliminates the intermittent “dead unit” and fuse-blowing problem cleanly—I’ve seen this swap bring back units that looked headed for the recycling bin.
What doesn’t
- The door catch bracket is tight to remove on some units—you’ll need patience and the right screwdriver angle, or you risk cracking the plastic mounting tabs.
- If your actual problem is the thermal fuse or a magnetron short, this part won’t help, which is why the multimeter test up front is non-negotiable.
I’ve seen plenty of people order a thermal fuse first because the microwave went completely dead, only to find out the real culprit was the monitor switch—that’s when they come back for the right part. Don’t skip the diagnostics, because this assembly is the fix when the meter confirms the switch is bad. Grab the Sharp Microwave Door Switch Assembly – Compatible with SMC1132CS and you’ll be heating food again in under an hour.
About This Article

Written by Dave Holt. Dave Holt has been taking apart and fixing household appliances since he was a teenager who couldn't leave a broken one alone. Eighteen years later, after fixing things for neighbors, friends, and anyone who'd let him, he's seen almost every failure mode there is. When he writes a repair guide here, it's based on the actual job, not a manufacturer overview. More about this site.
Scope and limits. Dave is a self-taught repairer, not a certified appliance technician. Unplug before you open anything, and leave sealed refrigeration systems, gas connections, and hardwired circuits to a qualified technician.