
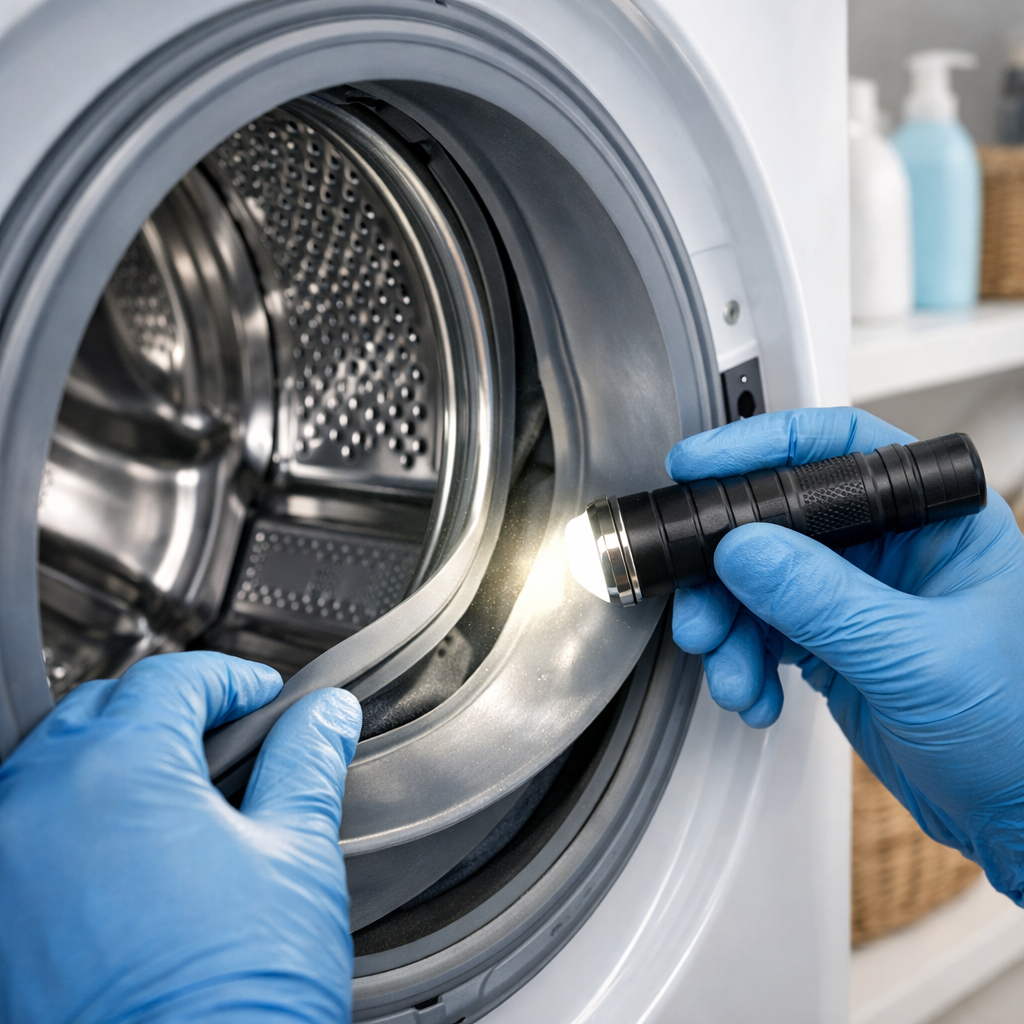

🔩 Bearing Failure Repair Guide for LG WM4000HWA (Front Load)
💡 Don’t panic! Bearing failure on your LG WM4000HWA (Front Load) is a common issue that many DIY enthusiasts can fix themselves. This comprehensive guide will walk you through the repair process step by step.
🔨 Pro Tip from Dave
On the WM4000HWA, the outer tub halves are ultrasonically welded together, not bolted — you can’t split the tub and press in a new bearing like you could on older bolted-tub LG models. LG’s official fix is to replace the entire rear tub/drum assembly as a single sealed unit. Make sure to look up the exact “Tub Assembly, Drum” part number for your specific WM4000HWA sub-model on PartSelect or RepairClinic. Expect to pay roughly $400–$550 for the assembly alone. Trying to pry the welded seam apart will crack the tub instead of separating it.
📋 What You’ll Need
- Bearing and seal kit
- Tub removal tools
- Grease
- Unplug the washing machine from power
- Turn off water supply valves
- Allow the machine to cool down if it was recently running
- Have a clean, well-lit workspace
- Empty all clothing and items from the washer drum and close the door completely until you hear it latch click.
- Press the Power button located at the top left of the control panel to turn on the washer.
- Rotate the cycle selector dial clockwise 3 clicks to reach the “Speed Wash” setting, which will complete the fastest spin cycle.
- Press the Start/Pause button (circular button with triangle icon, located 4 inches from the right edge of the control panel) to begin the cycle.
- Stand directly in front of the washer door, positioning your ear approximately 12 inches from the front glass panel.
- Wait 2-3 minutes for the washer to complete filling and begin agitating.
- Listen for the drum to accelerate into the spin cycle, which occurs approximately 8-10 minutes into the Speed Wash cycle.
- During the spin cycle, identify if you hear a metal-on-metal grinding sound that increases in volume as the drum speed increases (typically reaching 1,000-1,200 RPM).
- Note whether the grinding sound is constant throughout the spin or occurs intermittently in 2-3 second intervals.
- Determine if the grinding originates from the rear of the machine (indicating possible bearing failure) or the front bottom area (indicating possible drain pump issues).
- Press and hold the Start/Pause button for 3 seconds to stop the cycle once you’ve identified the sound.
- Press the Power button to turn off the machine.
- Disconnect the two pressure switch hoses from the outer tub by pinching the metal hose clamps with pliers and sliding them back 1 inch, then pull each hose straight off the ports located at the top left side of the outer tub.
- Remove the large counterweight concrete block from the top of the tub by unscrewing six 13mm hex bolts positioned around the perimeter (two at front, two at back, one on each side).
- Locate the three shock absorbers at the bottom of the outer tub—one at front center and two at the rear corners, each secured with a 13mm bolt at top and bottom mounting points.
- Remove all six 13mm bolts (top and bottom of each shock) using a 13mm socket wrench with 6-inch extension.
- Disconnect the thermistor wire connector located on the right side of the outer tub near the heating element—press the tab and pull apart.
- Remove the heating element by unscrewing the center 10mm nut with a deep socket, then pull the element straight out from the outer tub.
- Locate the outer tub stabilizer springs—two at the top front corners and two at the top rear corners, each hooked to a metal bracket.
- Unhook all four springs using two flathead screwdrivers to pry the spring loops off their mounting posts (push the tub down slightly to create slack).
- Lift the entire outer tub assembly straight up and out of the cabinet—it weighs approximately 80 pounds, so use proper lifting technique or have a second person assist.
- Place the outer tub on a flat work surface with the front facing up.
- Do not attempt to separate the tub halves — on the WM4000HWA they’re ultrasonically welded, not bolted. With the old tub assembly free of the cabinet, set it aside for parts transfer.
- Compare the removed tub assembly against your new replacement “Tub Assembly, Drum” part to confirm the mounting bracket positions, drain pump cutout, and heating element port all line up before proceeding.
- Position yourself at the rear of the washing machine drum where the outer tub is now exposed after removing the rear panel and drive assembly.
- Locate the outer bearing housing — a circular metal assembly approximately 10 inches in diameter at the center-rear of the outer tub where the drum shaft enters.
- Grip the inner drum with both hands at the 3 o’clock and 9 o’clock positions and push-pull the drum forward and backward with 5-10 pounds of force.
- Listen and feel for grinding, scraping, or knocking sounds during the push-pull motion — these indicate failed bearings.
- Move your hands to the 12 o’clock and 6 o’clock positions and repeat the push-pull motion, checking for excessive play (movement greater than 1/8 inch in any direction signals bearing failure).
- Rotate the drum slowly by hand in both clockwise and counterclockwise directions for at least two complete revolutions each way.
- Feel for rough spots, catching, or resistance during rotation — smooth bearings will spin freely with consistent resistance.
- Inspect the bearing housing exterior for rust-colored or black streaks running downward from the bearing seal area, indicating water intrusion and bearing damage.
- Check the center shaft seal (black rubber ring where shaft enters bearing) for cracks, tears, or deformation by running your finger around its perimeter.
- Look for white or gray grease residue around the bearing housing exterior — this indicates the bearing seal has failed and grease has escaped.
- Examine the stainless steel drum shaft for vertical scoring, grooves, or rust pitting in the area where it contacts the bearing seal.
- Document your findings: bearings are failed if you detected grinding sounds, movement exceeding 1/8 inch, rough rotation, rust streaks, seal damage, or grease leakage.
- The new tub/drum assembly ships with the rear bearing and seal already factory-installed and sealed inside the welded tub — this is why LG sells it as one unit instead of a rebuildable bearing kit.
- Transfer any parts that don’t come pre-installed on the new assembly (drain pump mounting bracket, thermistor clip, wiring guides) from the old tub to the new one, matching the same mounting points you noted during teardown.
- Set the new tub assembly into the cabinet in place of the old one, aligning it with the same spring and shock-absorber mounting brackets you disconnected in Step 2.
- Rotate the drum by hand once it’s seated to confirm it spins freely with no rubbing against the outer tub before reconnecting anything else.
- Reconnect the drain pump wire harness by aligning the white 3-pin connector and pushing until you hear a distinct click, then slide the locking tab toward the pump body to secure it.
- Position the drain pump assembly back into its housing on the lower right side of the tub, aligning the rubber mounting grommets with the two steel pins on the pump bracket.
- Reinstall the two 10mm hex bolts securing the drain pump, tightening each to 8-10 ft-lbs using a torque wrench, starting with the upper bolt first.
- Reconnect the two drain hoses to the pump: push the larger 1.5-inch diameter outlet hose onto the left-side pump fitting until it seats completely (approximately 1 inch deep), then slide the spring clamp back into position 0.5 inches from the hose end. Repeat for the smaller inlet hose on the right side.
- Lower the front access panel into position, aligning the four plastic tabs at the top edge with their slots on the main cabinet frame, then push the bottom edge until all six snap clips engage with audible clicks.
- Reinstall the two Phillips-head screws (#2 bit) at the bottom corners of the access panel, tightening each 3-4 full turns until snug.
- Restore water supply by turning the hot and cold inlet valves counterclockwise until fully open.
- Plug the power cord back into the wall outlet.
- Run a diagnostic rinse cycle: press POWER, select RINSE+SPIN, press START, and observe the drain pump operation through the first 2 minutes.
- Check underneath the washer with a flashlight for water leaks around both hose connections and the pump housing during the drain cycle (occurs approximately 12 minutes into the cycle).
- Success indicators: pump runs smoothly without grinding noises, water drains completely in 2-3 minutes, and no water pools beneath the machine.
- BlueStars Ultra Durable TB123A Washing Machine Spanner (for removing the counterweight and drum hardware during teardown)
- Ordering the correct OEM “Tub Assembly, Drum” part for your exact model/serial number from PartSelect or RepairClinic gets you a factory-sealed bearing and seal — no guesswork about compatibility.
- Because the bearing is pre-installed and sealed at the factory, you skip the failure-prone step of pressing a bearing and seal into a housing yourself.
- Any bearing-and-seal kit sold for older bolted-tub LG or Kenmore washers (the common ones you’ll see marketed on Amazon) won’t help here — there’s no way to open this tub to install one, so don’t buy one for this specific model.
- This isn’t a parts-only fix like on older models; you’re buying (and swapping in) the whole tub assembly, which is why the job costs more than a typical “bearing kit” repair.
⚠️ Safety First
Before you begin, always:
🔧 Step-by-Step Repair Instructions
📝
🔧 Step 1: Listen for Grinding During Spin
🛠️ Step 2: Remove Tub to Access Bearings
⚙️ Step 3: Inspect Bearing Condition
🔩 Step 4: Install the Replacement Tub/Drum Assembly
📋 Step 5: Reassemble and Test Operation
💡 Pro Tips
Take photos as you disassemble components – they’ll be invaluable when putting everything back together. If you encounter resistance or something doesn’t seem right, stop and reassess rather than forcing it.
How Much Does This Repair Cost?
| Repair route | Typical cost |
|---|---|
| Do it yourself | $400–$550 (rear tub/drum assembly) |
| Professional repair | $500–$800 (parts and labor) |
Expect to spend roughly $400–$550 on the OEM rear tub/drum assembly alone for the WM4000HWA, since LG only sells it as a complete welded unit rather than a rebuildable bearing kit. A professional repair shop typically charges $500–$800 including labor for this specific job — DIY still saves money, but not as much as a simple bearing swap would, since the part itself is the expensive piece here.
🛒 Recommended Products
Here are the recommended products for this repair:
Why There’s No Amazon “Bearing Kit” Link for This Model
On many older LG front-load washers, the outer tub is bolted together, so a small aftermarket bearing-and-seal kit is a legitimate, inexpensive fix. The WM4000HWA isn’t one of those models — its tub halves are ultrasonically welded, so LG only sells the rear bearing as part of the complete tub assembly.
What Works
What Doesn’t
The most common mistake I see is buyers ordering a cheap bearing-and-seal kit for this model because it’s marketed as compatible with “LG front load washers” generically — then discovering the tub can’t be opened to install it. Confirm your model number against the exact tub assembly part before ordering.
About This Article

Written by Dave Holt. I have been taking apart and fixing household appliances since I was a teenager who couldn't leave a broken one alone. Eighteen years later, after fixing things for neighbors, friends, and anyone who'd let me, I have seen almost every failure mode there is — and misdiagnosed my share along the way. I am self-taught, with no formal training or certifications. When I write a repair guide here, it is based on the actual job, not a manufacturer overview. More about this site.
Scope and limits. Dave is a self-taught repairer, not a certified appliance technician. Unplug before you open anything, and leave sealed refrigeration systems, gas connections, and hardwired circuits to a qualified technician.


