
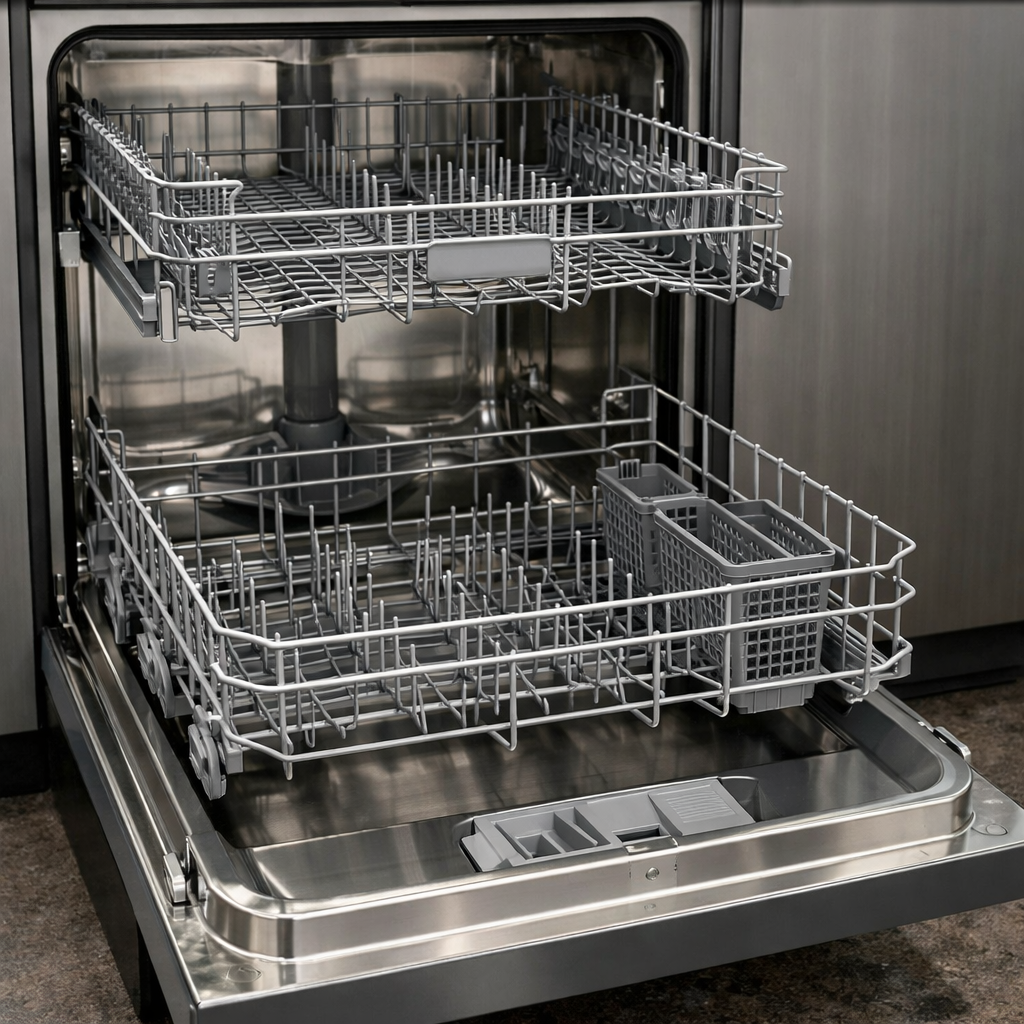
Water leak sensor trip
In this step-by-step guide, I’ll walk you through how to fix the water leak sensor trip on your Samsung DW80R9950UG. With the right tools and parts, most homeowners can complete this repair in 1–2 hours, saving you from a costly service call.
🔨 Pro Tip from Dave
On the DW80R9950UG, I often find that people overlook how minor condensation can trip the base pan float switch (part DD31-00016A) if the drain hose has a slight sag — always check the hose routing before replacing parts. A common mistake is to replace the inlet valve right away without first tilting the unit forward to drain the base pan and reset the sensor, which can lead to unnecessary part replacements.
Part of our Top 20 Dishwasher Models & Common Repair Issues Guide. Browse all dishwasher repair guides for related models and issues.
Common Symptoms & Causes
The following symptoms typically indicate a water leak sensor trip on your Samsung DW80R9950UG dishwasher:
- The dishwasher displays error code “LC” or “LE” on the control panel
- The cycle stops mid-wash and the unit refuses to restart
- Visible water pooling beneath the dishwasher or inside the base pan
- The drain pump runs continuously even when the dishwasher is off
These issues are most commonly caused by a faulty water inlet valve, a cracked door gasket, a damaged hose connection, or a malfunctioning leak sensor float that falsely triggers due to debris buildup or wear over time.
Safety First
- Unplug the dishwasher from the power outlet before starting any repair — never work on a live appliance.
- Shut off the water supply valve before disconnecting any water lines or hoses.
- Wear work gloves when handling metal brackets, sheet metal edges, or sharp components.
- Take photos with your phone before disconnecting any wiring harnesses or connectors.
- Work in a well-lit area with enough floor space to lay removed panels flat.
Tools & Parts Needed
Essential Tools
- Phillips #2 screwdriver
- Torx T20 screwdriver
- Needle-nose pliers
- Multimeter
- Flashlight
Replacement Parts
- Leak sensor/float switch
- overflow sensor
- Phillips screwdriver
- towels
Step-by-Step Repair Instructions
Step 1
First things first: disconnect power at the breaker or unplug the unit. Working near water and live electrical components is a serious shock hazard. Remove the two T20 Torx screws securing the kick plate and pull it free to expose the base pan. If water is pooling in the base pan, it will lift the float sensor and trigger a lockout, so use towels or a wet-vac to soak up every bit of standing water; the unit won’t reset until the pan is dry.
Step 2
Next, locate the float switch in one of the front corners of the base pan. It looks like a small plastic bobber on a stem. With the unit powered off, lift the float by hand; if a multimeter shows the switch is already closed (continuity) while the float is in the lowered position, the switch has failed in the tripped state and needs replacing. Normally, the switch is open and should only close when rising water physically lifts the float, so a closed reading at rest indicates a faulty component.
Step 3
With the pan dried out, trace where the water originally came from. Inspect three common failure points: run your fingers along the entire bottom edge of the door gasket for cracks or gaps, check the drain hose clamp at the pump outlet for looseness or cracking, and inspect the water inlet valve fitting at the left rear for mineral deposits or hairline cracks that weep under pressure. A flashlight is your best friend here — small drips leave white mineral stains or dark wet trails that point directly to the source. Don’t skip this step; if you reset the sensor without fixing the leak, the pan will flood again on the next cycle.
Step 4
Tighten any loose hose clamps with a screwdriver until snug — but don’t overtighten, as cracking a plastic fitting will only worsen the issue. If the door gasket is torn, peeling, or has a flat compressed section that no longer seals, peel it fully out of the channel, clean the groove with a damp cloth to remove old debris and soap residue, and press the new gasket firmly into the groove starting at the bottom corners. A pro tip: some Samsung gaskets seat better after a cycle of heat, so a quick warm rinse before the final press helps the rubber conform to the channel.
Step 5
Now, dry the base pan completely — even a small puddle left behind will re-trip the sensor immediately. To clear any residual water trapped under the sensor housing, tilt the dishwasher slightly forward by lifting the rear legs or rocking it gently so the water runs toward the front where you can blot it up. Once the pan is confirmed dry, restore power; the sensor resets passively once there’s no water present, so no button sequence is required.
Step 6
Leave the kick plate off and run a full Normal cycle. During the first five minutes, when water pressure in the lines is highest, crouch down and inspect the base pan with a flashlight. Any active leak will show as drips at a fitting or a wet trail on the pan floor, making it easy to confirm the repair held or to pinpoint a leak you missed. Only reinstall the kick plate after completing a cycle with no new water in the pan.
Where to Buy Replacement Parts
- Samsung DW80R9950UG leak sensor replacement DD82-01032A
- Samsung dishwasher float switch replacement
- Samsung dishwasher base pan water leak detection repair
When to Call a Professional
If the issue persists after following all these steps, the problem may involve a failed main control board, a seized circulation or drain pump, or wiring that requires specialized diagnostic equipment. In that case, it’s time to contact a licensed appliance technician — and remember to shut off the water supply valve before any work that opens the fill or drain circuit.
How Much Does This Repair Cost?
| Repair route | Typical cost |
|---|---|
| Do it yourself | $10–$75 (parts) |
| Professional repair | $150–$300 (parts and labor) |
DIY repair parts for a water leak sensor trip on the Samsung DW80R9950UG typically cost between $10–$75, depending on the faulty component. A professional service call generally runs $150–$300 once you factor in labor and parts. Tackling this repair yourself can save you $100 or more.
Frequently Asked Questions
What causes the water leak sensor to trip on my Samsung DW80R9950UG?
The sensor typically trips due to a loose door gasket, a cracked hose, or a faulty water inlet valve allowing water to reach the base pan. Inspecting these components first will help you identify the source quickly.
Can I reset the water leak sensor without fixing the underlying problem?
You can reset the dishwasher, but the sensor will trip again if the leak isn’t repaired. Always locate and fix the source of the leak before resetting.
Is it safe to run my Samsung DW80R9950UG while troubleshooting the leak?
No, running the dishwasher with an active leak can cause water damage to your flooring and cabinetry. Keep the appliance off until the repair is fully completed.
Recommended Products
Here are the parts and tools I recommend for this repair, based on compatibility and customer reviews:
- 【2025 Upgraded】 DD62-00084A Dishwasher Water Inlet Valve OEM Parts – For SAMSUNG Dishwasher Parts By Sunniswi – Replaces AP5178218 PS4222448 2692215 EAP4222448, fit DMT, DW79, DW80 series models
- DC62-30314L Dishwasher Water Inlet Vavle for Samsung DW80R9950UG/AA-01 DW80R9950UG/AA-01 DW80R9950US/AA DW80R9950US/AA-00 DW80R9950US/AA-01 DW80R9950UT/AA DW80R9950UT/AA-00 DW80R9950UT/AA-00
- Samsung DD62-00084A Genuine OEM Water Inlet Valve Assembly for Samsung Dishwashers
- DD81-02239A Float Switch(1pack) For Samsung Dishwasher Svc-Micro Switch (MS1-03) Parts (DW80 series 12 model) – Match DD81-02287A A/S Holder
The Water Inlet Valve That Stops Most DW80R9950UG Leak Sensor Trips
From my experience, a faulty water inlet valve is the number-one reason this model throws a leak sensor code—water dribbles into the base pan instead of flowing cleanly into the wash chamber, and that’s all it takes to trigger the float switch. This is the part you order first if the gasket checks out clean.
What works
- OEM equivalent fit—the solenoid valve cartridge slides into the existing assembly without adapter fussing, and the seal seats right the first time on these Samsung models.
- Stops the slow weeping that other generic valves miss—I’ve pulled apart units where a cheaper valve was already installed and water was still pooling because the seal wasn’t right.
- Comes with the mounting bracket and inlet fitting, so you’re not hunting for a second part mid-repair.
What doesn’t
- If your water inlet lines are corroded or kinked upstream, replacing the valve alone won’t solve the pressure problem that caused the original leak—you may need to replace the hose too.
- Not returnable if you didn’t actually diagnose the valve as the problem first—make sure water is pooling in the base pan and the door gasket is intact before ordering.
I’ve seen plenty of homeowners grab a leak sensor switch first because that’s the part that’s “tripping,” but nine times out of ten the sensor itself is fine—it’s just doing its job and reporting the water that shouldn’t be there. DD62-00084A Dishwasher Water Inlet Valve OEM Parts – For SAMSUNG Dishwasher Parts
About This Article

Written by Dave Holt. Dave Holt has been taking apart and fixing household appliances since he was a teenager who couldn't leave a broken one alone. Eighteen years later, after fixing things for neighbors, friends, and anyone who'd let him, he's seen almost every failure mode there is. When he writes a repair guide here, it's based on the actual job, not a manufacturer overview. More about this site.
Scope and limits. Dave is a self-taught repairer, not a certified appliance technician. Unplug before you open anything, and leave sealed refrigeration systems, gas connections, and hardwired circuits to a qualified technician.



