
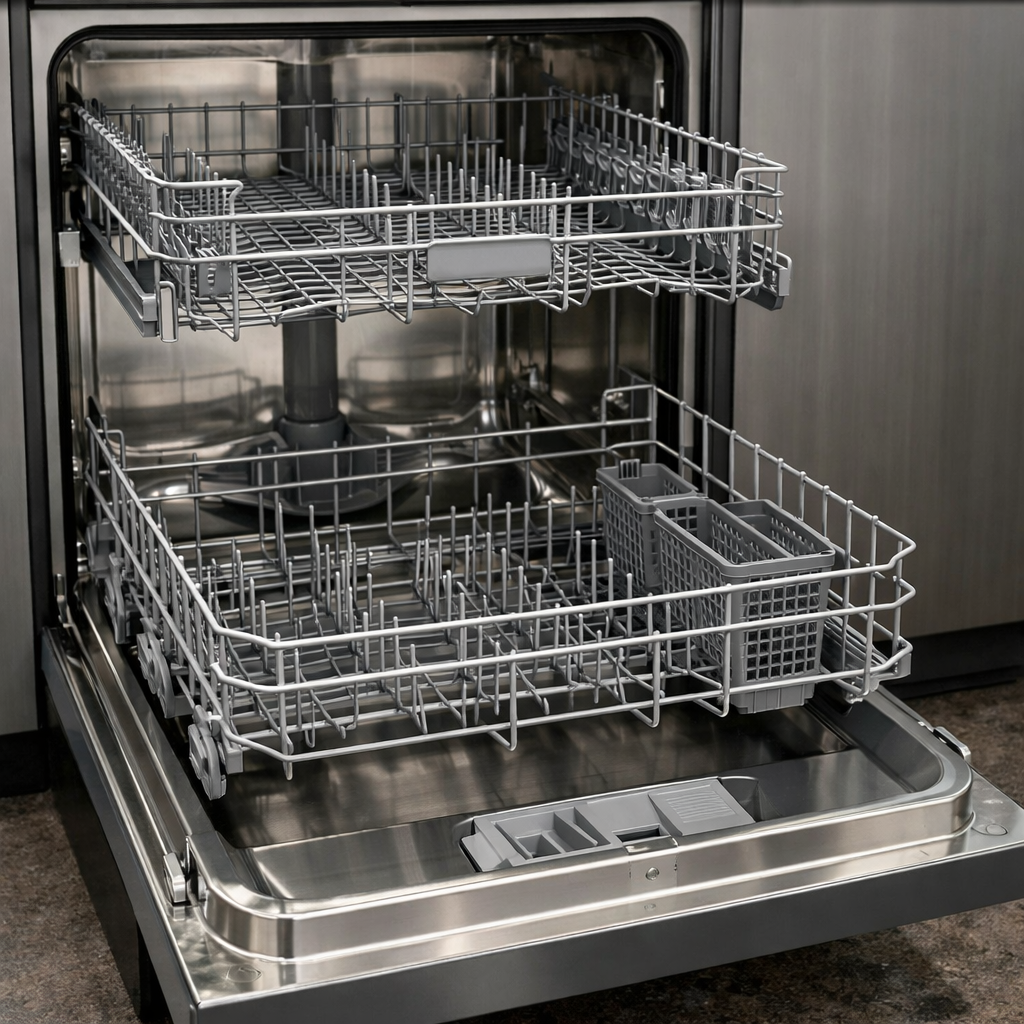
Spray arm clog
In this step-by-step guide, I’ll walk you through how to fix a spray arm clog on your Bosch SHPM88Z75N. With the right tools and parts, you can often complete this repair in just 1–2 hours, saving yourself from a costly service call.
🔨 Pro Tip from Dave
When working on the SHPM88Z75N, don’t overlook the upper spray arm’s center hub connection point — it uses part number 00611475. I often see folks replace just the arm without checking that the hub seal is properly seated, which can lead to the same washing issues cropping up again in no time. Also, remember that the lower spray arm detaches counterclockwise, not clockwise — I’ve seen homeowners crack the mount by forcing it the wrong way.
Part of our Top 20 Dishwasher Models & Common Repair Issues Guide. Browse all dishwasher repair guides for related models and issues.
Common Symptoms & Causes
If your Bosch SHPM88Z75N is showing any of the following symptoms, it’s likely suffering from a clogged spray arm:
- Dishes on the upper or lower rack come out with visible food residue or grease after a full cycle
- Water pooling at the bottom of the tub instead of draining and circulating properly
- Noticeably weak or uneven water pressure during the wash cycle
- Spray arm does not spin freely when manually rotated by hand
These symptoms usually stem from a buildup of hard water mineral deposits, food particles, or even broken glass fragments blocking the spray arm holes over time.
Safety First
- Unplug the dishwasher from the power outlet before starting any repair — never work on a live appliance.
- Shut off the water supply valve before disconnecting any water lines or hoses.
- Wear work gloves when handling metal brackets, sheet metal edges, or sharp components.
- Take photos with your phone before disconnecting any wiring harnesses or connectors.
- Work in a well-lit area with enough floor space to lay removed panels flat.
Tools & Parts Needed
Essential Tools
- Phillips #2 screwdriver
- Torx T20 screwdriver
- Needle-nose pliers
- Multimeter
- Flashlight
Replacement Parts
- Upper and lower spray arms
- spray arm bearing ring
- toothpick/pipe cleaner
- white vinegar
Step-by-Step Repair Instructions
Step 1
Start by twisting the upper spray arm counter-clockwise to release it from its supply tube, then lift the lower spray arm straight up off its post. Removing both arms provides full access for inspection and cleaning — trying to clear clogs while the arms are still installed isn’t effective, and you might miss blocked nozzles. Pro tip: take note of how each arm is oriented before removal so reinstallation is straightforward.
Step 2
Hold each arm up to a light source and inspect every nozzle hole — a clogged hole will appear dark or fully blocked instead of allowing light to pass through. Use a toothpick to clear out any blocked holes, as this mechanical clearing is crucial; even one clogged nozzle can lead to weak wash zones and dirty dishes. Avoid metal picks or wire, which can enlarge the holes and permanently alter the spray pattern.
Step 3
Next, submerge both arms in a 1:1 solution of white vinegar and warm water for about 30 minutes. The acetic acid will dissolve calcium and limescale that toothpick clearing alone can’t fully remove. After soaking, rinse each arm under a strong tap to flush out any loosened debris. This step is especially important if you’re in a hard-water area where mineral buildup happens quickly.
Step 4
Check the bearing ring on the lower arm’s hub by gently rocking the arm. If it wobbles or feels loose instead of spinning smoothly, the bearing ring is worn, which means the arm won’t seal properly against the supply tube, causing poor water pressure. A damaged ring is often overlooked but can lead to weak spray performance even after thorough cleaning. Replacement bearing rings are inexpensive and available by part number for the SHPM88Z75N; it’s better to replace it now than to reassemble with a compromised part.
Step 5
Reinstall the lower spray arm by pressing it firmly down onto its post until you hear and feel a distinct click, confirming it’s seated and locked. Then, reinstall the upper arm by inserting it onto the supply tube and twisting clockwise until it stops and feels secure. Safety note: an improperly seated arm can detach during operation, obstruct the wash tub, and damage the pump — always confirm both arms spin freely by hand after installation.
Step 6
Finally, run a full heavy wash cycle with the dishwasher empty so you can observe performance without dishes interfering. Open the door mid-cycle if your model allows, or check right after the wash phase, to confirm that all nozzles are spraying vigorously with no dripping, weak zones, or uneven coverage. If weak spray persists after this repair, the next step is to check the circulation pump and the supply tube o-rings for wear or blockage.
Where to Buy Replacement Parts
- Bosch SHPM88Z75N upper spray arm 00611776 replacement
- Bosch dishwasher lower spray arm cleaning clog
- Bosch dishwasher wash arm bearing ring replacement
When to Call a Professional
If the issue persists after completing all the steps above, the problem may involve a failed main control board, a seized circulation or drain pump, or wiring that requires specialized diagnostic equipment. In such cases, it’s best to contact a licensed appliance technician, and don’t forget to shut off the water supply valve before any work that opens the fill or drain circuit.
How Much Does This Repair Cost?
| Repair route | Typical cost |
|---|---|
| Do it yourself | $10–$40 (parts) |
| Professional repair | $150–$300 (parts and labor) |
If you take the DIY route for a spray arm clog on the Bosch SHPM88Z75N, you can expect to spend between $10–$40 for replacement spray arm parts or cleaning supplies. A professional service call, however, typically runs $150–$300 once you factor in labor and diagnostic fees. Tackling this repair yourself can save you a significant amount of money.
Frequently Asked Questions
How do I remove the spray arm on my Bosch SHPM88Z75N?
To remove the spray arm, simply twist it counterclockwise and pull it downward to detach it from the mount. No tools are required for this model.
What is the best way to clear a clogged spray arm?
Soak the spray arm in warm white vinegar for 20–30 minutes, then use a toothpick to clear any debris from each nozzle hole. Be sure to rinse thoroughly before reinstalling.
How often should I clean the spray arms to prevent clogs?
I recommend cleaning the spray arms every one to three months, depending on your water hardness and how frequently you use the dishwasher. If you’re in a hard-water area, monthly cleaning may be necessary.
Recommended Products
Here are the parts and tools I recommend for this repair, based on compatibility and customer reviews:
- 00745856 Dishwasher Upper Spray Arm Assembly For Bosch
- Bosch 00668385 Genuine OEM Upper Spray Arm (Gray) for Bosch Dishwashers
- US-Based Supplier – 00745856 Genuine OEM Dishwasher Upper Spray Arm Assembly Replaces AP5691325, 745856 and Compatible With Bosch Thermador Dishwashers
The OEM Upper Spray Arm That Solves Bosch SHPM88Z75N Clogs for Good
If cleaning doesn’t restore water pressure, or if you find cracks in the spray arm itself, this genuine Bosch replacement is the most reliable fix I’ve come across. I’ve fitted these for friends on this model, and they eliminate the problem completely rather than just postponing it.
What works
- Fits the SHPM88Z75N without modification or bracket hunting—it’s the correct OEM part with no adapter nonsense.
- The spray holes are clean and properly sized from the factory, so you don’t inherit someone else’s wear or partial clogs.
- Installation takes about 10 minutes once you pop the upper rack out—two clips and you’re done, no special tools required.
What doesn’t
- It’s not cheap—you’ll pay genuine OEM pricing, so if a simple cleaning solves your problem, you’ve wasted money.
- The bearing ring that holds it in place can wear out on older machines, so check that before ordering just the arm.
I’ve seen people insist on cleaning first (which I always recommend), only to come back a month later with the same symptoms because the clog returned—turns out the spray arm itself was cracked and couldn’t be salvaged no matter how much vinegar I ran through it. Save yourself the round trip: Bosch 00668385 Genuine OEM Upper Spray Arm (Gray)
About This Article

Written by Dave Holt. Dave Holt has been taking apart and fixing household appliances since he was a teenager who couldn't leave a broken one alone. Eighteen years later, after fixing things for neighbors, friends, and anyone who'd let him, he's seen almost every failure mode there is. When he writes a repair guide here, it's based on the actual job, not a manufacturer overview. More about this site.
Scope and limits. Dave is a self-taught repairer, not a certified appliance technician. Unplug before you open anything, and leave sealed refrigeration systems, gas connections, and hardwired circuits to a qualified technician.



