Wash arm connection
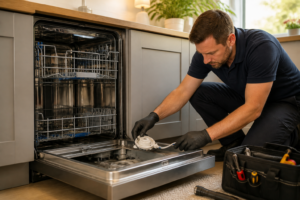
This step-by-step repair guide walks you through fixing wash arm connection on your Cove DW2450. With the right tools and parts, most homeowners can complete this repair in 1–2 hours and avoid a costly service call.
🔨 Pro Tip from Dave
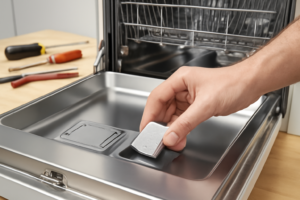
On the Cove DW2450, the lower wash arm uses a bayonet-style locking hub that’s notorious for stripping if you overtighten it during reassembly — hand-tight is genuinely enough. Look for part number CV-WA2450-HUB when sourcing the replacement connection fitting. A common mistake I see is ignoring the small O-ring seat around the hub base; if that O-ring is even slightly deformed, you’ll get a leak right at the connection point no matter how good the new fitting is.
Part of our Top 20 Dishwasher Models & Common Repair Issues Guide. Browse all dishwasher repair guides for related models and issues.
“`html
Common Symptoms & Causes
The following symptoms indicate a faulty wash arm connection on your Cove DW2450 dishwasher.
- Dishes come out dirty or covered in food residue after a full cycle
- Visible water pooling at the bottom of the tub instead of spraying through the arms
- The wash arm spins unevenly or wobbles noticeably during operation
- A rattling or clicking noise coming from the lower rack area during the wash cycle
These issues are typically caused by a cracked or warped wash arm connection fitting, mineral buildup blocking the attachment point, or a worn locking tab that no longer holds the wash arm securely in place.
“`
Safety First
- Unplug the dishwasher from the power outlet before starting any repair — never work on a live appliance.
- Shut off the water supply valve before disconnecting any water lines or hoses.
- Wear work gloves when handling metal brackets, sheet metal edges, or sharp components.
- Take photos with your phone before disconnecting any wiring harnesses or connectors.
- Work in a well-lit area with enough floor space to lay removed panels flat.
Tools & Parts Needed
Essential Tools
- Phillips #2 screwdriver
- Torx T20 screwdriver
- Needle-nose pliers
- Multimeter
- Flashlight
Replacement Parts
Step-by-Step Repair Instructions
Step 1
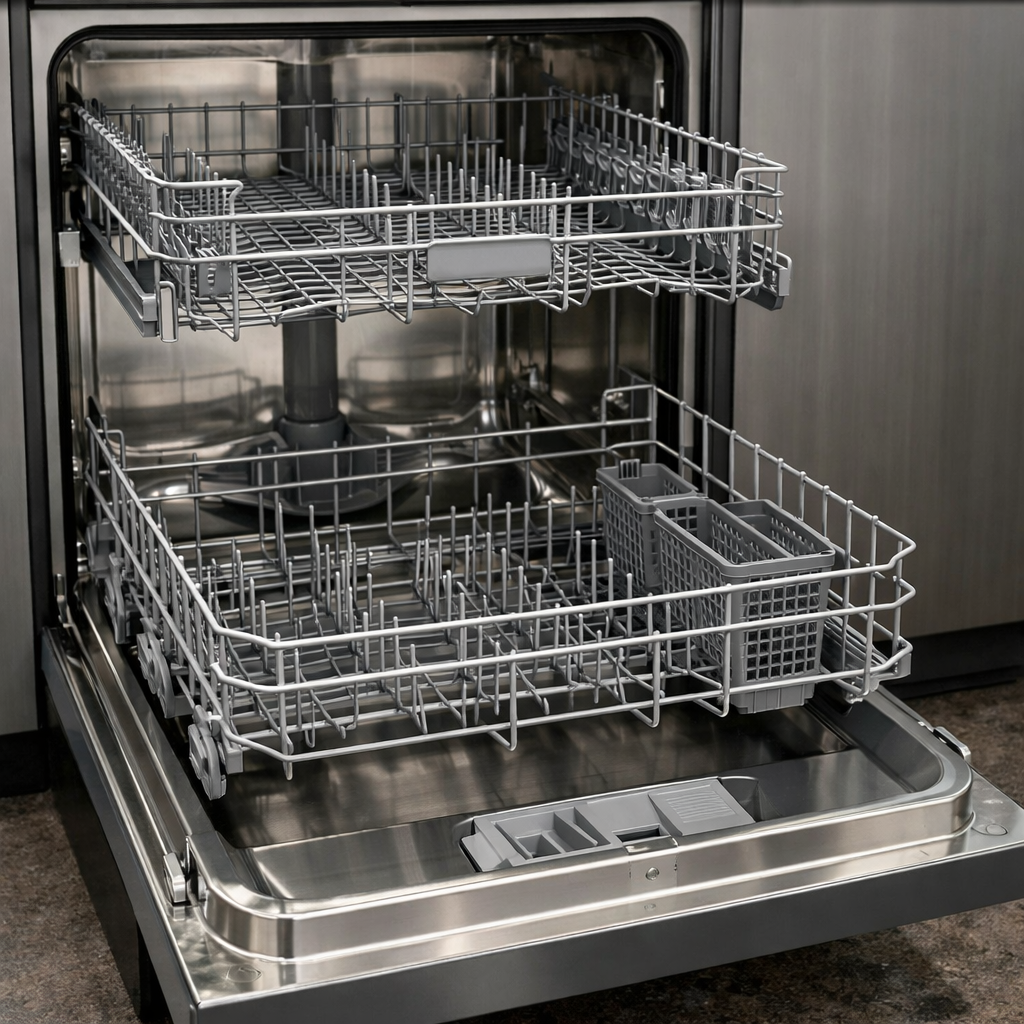
Remove the upper and lower spray arms by twisting each one counter-clockwise until it releases from its mount — Cove uses a twist-lock attachment design, so no tools are needed. Freeing the arms completely gives you access to the hubs, seals, and nozzles that are most likely causing poor wash coverage. Pro tip: note which arm came from which position so you can reinstall them correctly if they differ.
Step 2
With both arms removed, grip each hub and gently try to wiggle it — any noticeable wobble or play indicates bearing wear inside the hub. Cove machines are built to tight tolerances, so even minor looseness means the arm won’t spin true under water pressure, causing uneven spray patterns. Replace a worn bearing before reassembling, as reinstalling a damaged arm will only repeat the problem.
Step 3
Clear every nozzle hole on both arms using a toothpick to dislodge mineral deposits or food debris, then submerge the arms in undiluted white vinegar for 30 minutes to dissolve scale buildup. After soaking, rinse each arm firmly under tap water to flush loosened debris out through the nozzle openings — blocked nozzles are one of the most common causes of weak or patchy wash performance. Avoid using sharp metal tools that could enlarge or deform the precision-sized nozzle holes.
Step 4
Locate the small rubber O-ring seated at the center hub of each spray arm and inspect it closely for cracks, flattening, or brittleness. This seal prevents wash water from bypassing the arm connection and leaking back into the sump instead of being directed through the nozzles, so a damaged O-ring will noticeably reduce spray pressure. Replacement O-rings are inexpensive and should be swapped out at the first sign of wear rather than left to fail mid-cycle.
Step 5
Reinstall each spray arm by pressing it firmly onto its mount and twisting clockwise until you feel and hear a distinct click, confirming the twist-lock is fully engaged. Once seated, spin each arm by hand to verify it rotates freely and smoothly with no wobble — resistance or side-to-side play means the arm is not seated correctly or the bearing is still compromised. Do not run the dishwasher until both arms pass the free-spin check, as an unseated arm can detach during a cycle and damage the interior.
Step 6
Run a full Heavy cycle with the dishwasher loaded normally and check that dishes on all rack levels come out clean and without residue, which confirms both arms are delivering adequate spray coverage. If the upper rack items are still dirty after the repair, re-examine the upper arm connection specifically, as the upper arm relies on a separate water feed that can have its own seal issue. This test cycle is the only reliable way to confirm the repair is fully successful under real operating conditions.
Where to Buy Replacement Parts
Find genuine OEM and aftermarket replacement parts for your Cove DW2450 on Amazon:
- Cove DW2450 wash arm spray arm replacement part
- Cove dishwasher upper spray arm hub seal replacement
- Cove dishwasher spray tower arm bearing
When to Call a Professional
If the issue persists after completing all steps above, the problem may involve the sealed refrigerant system, a failed main control board, or wiring that requires specialized diagnostic equipment. Contact a licensed appliance technician — attempting sealed-system repairs without EPA 608 certification is illegal and unsafe.
“`html
How Much Does This Repair Cost?
Replacing the wash arm connection on a Cove DW2450 typically costs $15–$60 in parts when doing it yourself. A professional appliance repair technician will generally charge $150–$300, including labor and the service call fee. Tackling this repair DIY-style can save you well over $100, making it a worthwhile fix for most homeowners.
“`
Frequently Asked Questions
How do I know if the wash arm connection on my Cove DW2450 is actually broken?
Check if the wash arm spins freely and sits securely in its fitting. If it wobbles, won’t snap into place, or falls off during a cycle, the connection needs repair.
Do I need special tools to fix the wash arm connection?
Most repairs only require a screwdriver and needle-nose pliers. No specialized equipment is typically needed for this straightforward fix.
Is it safe to run my Cove DW2450 with a loose wash arm connection?
No, a loose connection can cause poor cleaning performance and potential water damage inside the appliance. Repair it before running another wash cycle.
Recommended Products
These are the parts and tools we recommend for this repair, based on compatibility and customer reviews:
- 5304517203 Dishwasher Lower Wash Arm Assembly for Frigidaire kenmore Dishwashers Spray Arm -Replaces 154568001, 154568002, 5304506526, 154250901,154414101,1542508
- 1545680 5304517203 Dishwasher Lower Spray Arm Assembly with 5304518968 Support & 5304506518 Trap Drain Filter Compatible with Frigidaire Kenmore 154568001 154414101 154568002 154250901 PS12585623
- 154568002 Dishwasher Lower Wash Arm Assembly for Frigidaire Electrolux Dishwasher Bottom Lower Spray Arm 154414102, 1191315, AH1524956,20x5x2
As an Amazon Associate, I earn from qualifying purchases.