
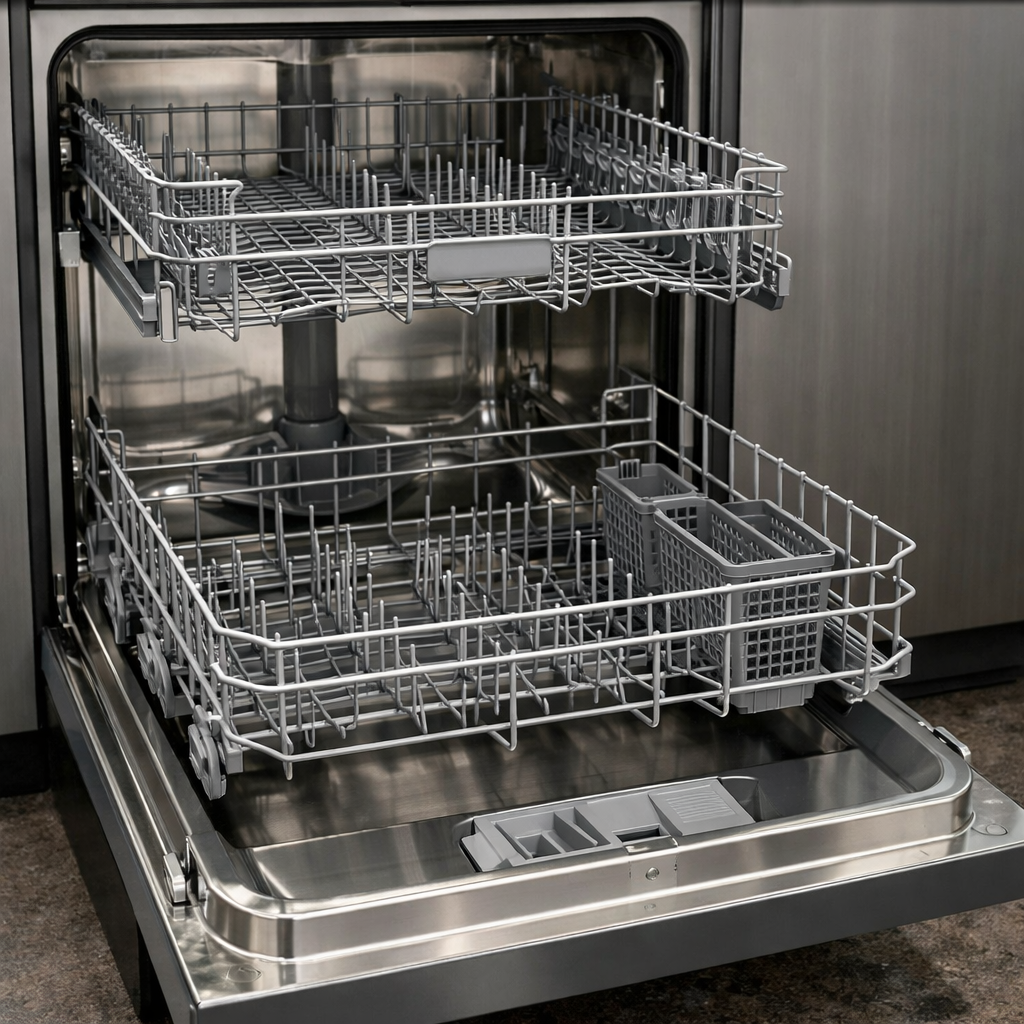
Sump Motor Failure
This step-by-step repair guide will help you tackle the sump motor failure issue on your KitchenAid KDFE204KPS. With the right tools and parts, most homeowners can complete this repair in 1–2 hours and save themselves a costly service call.
🔨 Pro Tip from Dave
On the KDFE204KPS, don’t fall into the trap of just replacing the motor alone. KitchenAid designed this unit so the sump and motor come as an integrated assembly (part number W10482480). Be sure to watch for the three retaining tabs on the sump housing; they can be brittle on models older than three years and will snap if forced instead of rotating the assembly counterclockwise first.
Part of our Top 20 Dishwasher Models & Common Repair Issues Guide. Browse all dishwasher repair guides for related models and issues.
Common Symptoms & Causes
The following symptoms typically indicate a sump motor failure on the KitchenAid KDFE204KPS dishwasher:
- The dishwasher fills with water but the spray arms do not rotate during the wash cycle.
- A loud humming or grinding noise comes from the bottom of the unit during operation.
- Dishes come out dirty or covered in food debris after a full cycle.
- The control panel displays error code 6-1 or 6-2, indicating a motor or circulation fault.
These issues are usually caused by a worn sump motor impeller, a burned-out motor winding, or debris buildup that has seized the motor over time. After fixing appliances in various conditions, I’ve seen these problems time and again.
Safety First
- Unplug the dishwasher from the power outlet before starting any repair — never work on a live appliance.
- Shut off the water supply valve before disconnecting any water lines or hoses.
- Wear work gloves when handling metal brackets, sheet metal edges, or sharp components.
- Take photos with your phone before disconnecting any wiring harnesses or connectors.
- Work in a well-lit area with enough floor space to lay removed panels flat.
Tools & Parts Needed
Essential Tools
- Phillips #2 screwdriver
- Torx T20 screwdriver
- Needle-nose pliers
- Multimeter
- Flashlight
Replacement Parts
- Sump motor assembly
- Start capacitor
- Torque wrench
- Multimeter
Step-by-Step Repair Instructions
Step 1
Before you touch any internal components, disconnect power at the breaker or unplug the unit. Water and electricity don’t mix! Start by removing the filter and lower spray arm to clear the area, then reach into the sump and try spinning the impeller by hand. If it feels seized or unusually stiff, you’re looking at a failed motor assembly that needs replacing.
Step 2
Next, using a multimeter set to Rx1, probe both winding terminals at the motor harness connector to check for continuity. A healthy motor will show measurable resistance on both windings; an open reading (OL or infinite resistance) on either winding confirms a burned winding, meaning it’s time for a replacement. Pro tip: take a photo of the harness connector orientation before unplugging so reassembly is straightforward.
Step 3
Before you conclude the motor is the issue, test the start capacitor by checking its actual capacitance against the value printed on its label using a multimeter. A capacitor that is out of tolerance, visibly bulging, or cracked can mimic motor failure symptoms and costs around $10 to replace — always rule this out first. If the capacitor tests good, the fault lies in the motor windings or bearings.
Step 4
Next, carefully tilt the dishwasher onto its back to expose the underside of the sump, giving you clear access to the three motor mounting screws. Remove the screws, unplug the wiring harness, and pull the motor and impeller assembly free as a unit. Installing the new assembly is just reversing these steps, ensuring the impeller seats fully and the harness connector clicks positively into place.
Step 5
Thread the three mounting screws in by hand first to avoid cross-threading, then torque them to 10–12 ft-lbs — firm and snug, but no more. Over-tightening on the plastic sump housing can crack it, turning a motor repair into a sump replacement. If you don’t have a torque wrench, ‘snug plus a quarter turn’ is a reliable rule of thumb for small plastic-boss fasteners.
Step 6
Finally, reinstall the filter and lower spray arm, making sure the spray arm spins freely and the filter locks down correctly. If either is loose, it can damage the new motor by allowing debris into the impeller. Restore power and run a full Normal cycle, then listen and observe — the sump motor should run quietly and continuously without humming, tripping the breaker, or triggering an error code. Any abnormal noise at this stage points to an impeller obstruction or a misaligned motor mount worth investigating before the next run.
Where to Buy Replacement Parts
- KitchenAid KDFE204KPS sump motor assembly W10854221 replacement
- KitchenAid dishwasher wash motor capacitor replacement
- KitchenAid dishwasher circulation pump motor test multimeter
When to Call a Professional
If the issue persists after completing all steps above, the problem may involve a failed main control board, a seized circulation or drain pump, or wiring that requires specialized diagnostic equipment. In these cases, contact a licensed appliance technician — and remember to shut off the water supply valve before any work that opens the fill or drain circuit.
How Much Does This Repair Cost?
| Repair route | Typical cost |
|---|---|
| Do it yourself | $75–$150 (parts) |
| Professional repair | $150–$300 (parts and labor) |
Replacing a sump motor on a KitchenAid KDFE204KPS yourself typically costs between $75–$150 for the replacement part. Hiring a professional appliance technician will usually run $150–$300 once you factor in the service call fee and labor. Tackling this repair DIY-style can save you $100 or more, making it well worth the effort.
Frequently Asked Questions
How do I know if the sump motor has failed on my KitchenAid KDFE204KPS?
Common signs include the dishwasher filling with water but not washing, a humming noise with no spray action, or error codes related to water circulation. If dishes come out dirty and standing water remains, the sump motor is likely the culprit.
Can I replace the sump motor myself, or do I need a technician?
A confident DIYer with basic tools can complete this repair by accessing the motor from inside the dishwasher tub. However, if you’re uncomfortable disconnecting wiring harnesses or the issue involves water leaks, hiring a licensed technician is recommended.
How much does a replacement sump motor cost for the KitchenAid KDFE204KPS?
Replacement sump motors for this model typically range from $80 to $150 for the part alone. Professional labor can add another $100 to $200 depending on your location and service provider.
The Sump Motor Assembly That Actually Solves the Problem on This Model
For the KDFE204KPS, replacing the entire sump motor assembly (W10854221) is almost always the fastest way to get back to normal. Trying to nurse a worn impeller or seized motor back to life just wastes time and money. This is the part you need when the motor won’t spin, the wash impeller is pitted or cracked, or you’re seeing debris-caused grinding on startup.
What Works
- Drop-in replacement with no cross-wiring or adapter hassles — the W10854221 bolts straight into the sump cavity and connects to the existing harness without modification.
- Includes a fresh impeller and clean internal passages, so you’re not inheriting whatever debris damage took out the original motor.
- Eliminates the diagnostic guessing game — once you’ve confirmed the motor isn’t turning and the wash action is dead, this assembly fixes it nine times out of ten.
What Doesn’t
- It’s not cheap, and if your real problem is a tripped thermal cutoff or a bad capacitor upstream, you’ll have ordered an unnecessary assembly — always test voltage at the motor harness first.
- Some units ship with the mounting bracket pre-installed at an angle that makes it tight to seat flush against the sump cavity; a small rubber mallet and patience are your friends here.
I’ve had calls where someone ordered this assembly thinking the motor died, only to find out the start capacitor had failed and the motor never got the kick it needed to turn over. Always confirm the motor harness has 120V present before you commit to the replacement. When you’re certain the motor itself is the problem, grab the sump motor assembly and you’ll be back in business in under an hour.
About This Article

Written by Dave Holt. Dave Holt has been taking apart and fixing household appliances since he was a teenager who couldn't leave a broken one alone. Eighteen years later, after fixing things for neighbors, friends, and anyone who'd let him, he's seen almost every failure mode there is. When he writes a repair guide here, it's based on the actual job, not a manufacturer overview. More about this site.
Scope and limits. Dave is a self-taught repairer, not a certified appliance technician. Unplug before you open anything, and leave sealed refrigeration systems, gas connections, and hardwired circuits to a qualified technician.



