
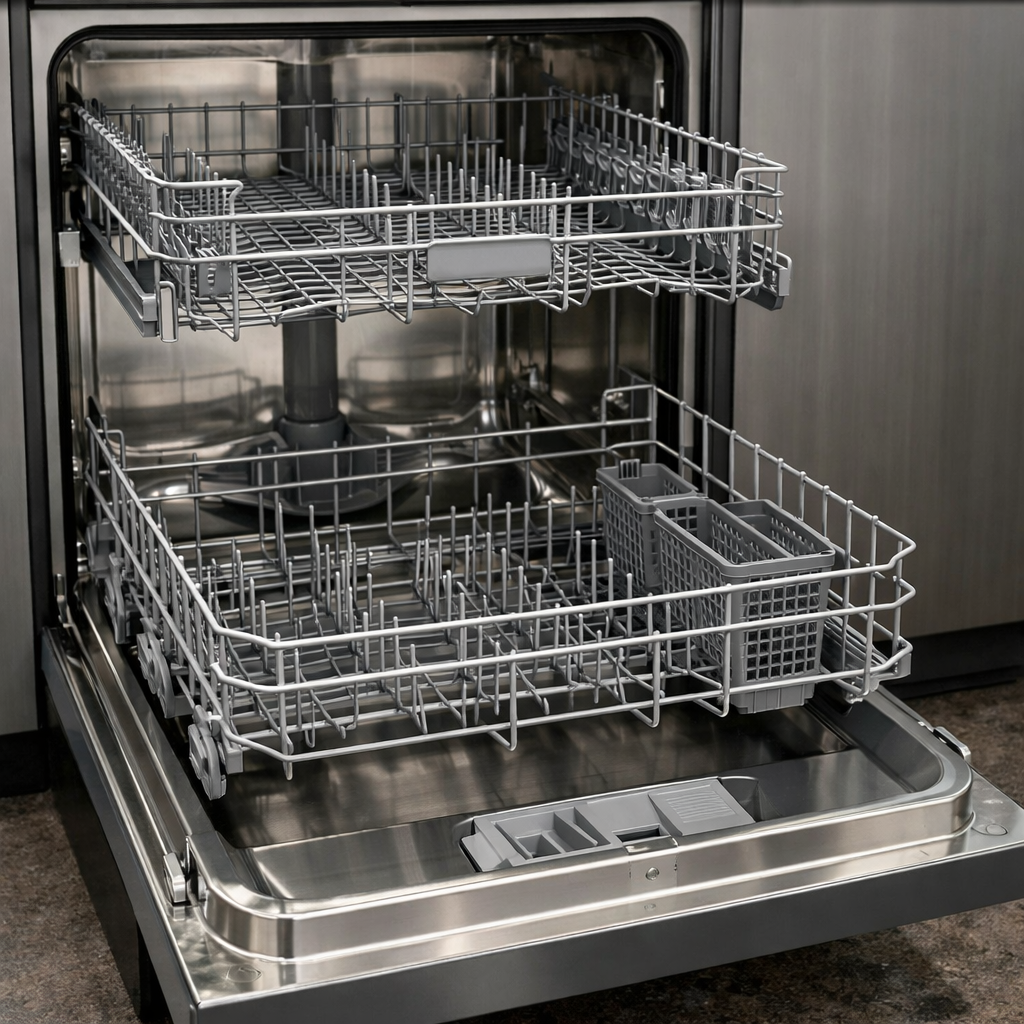
Spray arm broken
In this step-by-step guide, I’ll show you how to fix a broken spray arm on your Electrolux EI24ID81SS. With the right tools and parts, you can complete this repair in 1–2 hours and save yourself the cost of a service call.
🔨 Pro Tip from Dave
On the EI24ID81SS, the lower spray arm uses part number 154844301 and attaches with a snap-lock hub. Be cautious not to overtighten during reinstallation, as this can crack the new arm. Hand-tight is all you need. And while you’re at it, check the spray arm bearing ring (part 154475101) because a worn bearing often leads to the original arm wobbling and cracking.
Part of our Top 20 Dishwasher Models & Common Repair Issues Guide. Browse all dishwasher repair guides for related models and issues.
Common Symptoms & Causes
If you’re experiencing any of the following symptoms, it likely indicates a broken or damaged spray arm on your Electrolux EI24ID81SS dishwasher:
- Dishes come out dirty or with visible food residue after a full cycle
- Water sprays unevenly or only reaches one section of the dishwasher
- A cracked or visibly snapped spray arm is found during inspection
- Unusual rattling or scraping sounds heard during the wash cycle
This issue is usually the result of physical impacts from overloaded dish racks, long-term wear on the plastic components, or mineral buildup that cracks the spray arm over time.
Safety First
- Unplug the dishwasher from the power outlet before starting any repair — never work on a live appliance.
- Shut off the water supply valve before disconnecting any water lines or hoses.
- Wear work gloves when handling metal brackets, sheet metal edges, or sharp components.
- Take photos with your phone before disconnecting any wiring harnesses or connectors.
- Work in a well-lit area with enough floor space to lay removed panels flat.
Tools & Parts Needed
Essential Tools
- Phillips #2 screwdriver
- Torx T20 screwdriver
- Needle-nose pliers
- Multimeter
- Flashlight
Replacement Parts
- Upper spray arm
- lower spray arm
- spray arm hub caps
- toothpick
Step-by-Step Repair Instructions
Step 1
Start by removing both the upper and lower spray arms. Depending on their attachment, twist or pull them free to gain access for inspection. Look for cracks in the body, missing nozzle plugs, or broken hub tabs, as any of these defects can interfere with water pressure and spray pattern. A quick tip: note how each arm was oriented before removal to simplify reinstallation.
Step 2
If you discover a crack in the spray arm, it won’t maintain the necessary pressure for proper rotation, causing water to jet in the wrong direction and leaving dishes unwashed. Always replace it with an OEM part because aftermarket alternatives can lead to similar failures due to differences in nozzle diameter or weight balance. Refer to your EI24ID81SS documentation for the correct part number to ensure a perfect fit.
Step 3
Clogged nozzle holes are a common culprit behind weak or uneven spray coverage, often due to mineral deposits and food debris. Use a toothpick to clear each hole, then soak the arm in white vinegar for about 30 minutes to dissolve any calcium buildup. Rinse under strong tap water to flush out any loosened debris. Safety note: avoid metal picks that could widen the nozzle holes and disrupt the spray balance.
Step 4
Inspect the hub cap on the lower spray arm, which is a small plastic snap-on cover that seals the arm to the water supply post. If it’s cracked or missing, water pressure will escape instead of flowing through the nozzles. Replace it if necessary, as this is a low-cost part that can drastically affect wash performance when faulty. You can find a specific replacement hub cap for the EI24ID81SS through Electrolux parts suppliers.
Step 5
Reinstall the upper spray arm by pressing it into position and twisting it clockwise until it locks in place. The lower arm should be pressed straight down until you hear a click. Make sure that the arms are secured properly by giving them a gentle tug. This quick pull-test is essential, as skipping it is a common reason why repairs seem complete but fail during the next wash cycle.
Step 6
Run a Heavy wash cycle to test the repair under maximum water demand. You can use the tempera paint method to verify spray coverage — dab a small amount of washable tempera paint on the inside face of a dish in different rack positions before starting the cycle. After the cycle, areas where the paint has been washed away indicate good spray coverage, while any remaining paint suggests a coverage gap that may need further investigation. This method provides clear evidence of a successful repair without relying solely on dish cleanliness.
Where to Buy Replacement Parts
- Electrolux EI24ID81SS upper spray arm 5304508020 replacement
- Electrolux dishwasher lower spray arm hub cap replacement
- Electrolux dishwasher spray tower mid-level arm
When to Call a Professional
If the issue persists after following all the steps above, you may be dealing with a failed main control board, a seized circulation or drain pump, or wiring issues that require specialized diagnostic equipment. In such cases, it’s best to contact a licensed appliance technician — and remember to shut off the water supply valve before any work that opens the fill or drain circuit.
How Much Does This Repair Cost?
| Repair route | Typical cost |
|---|---|
| Do it yourself | $15–$45 (parts) |
| Professional repair | $150–$300 (parts and labor) |
Replacing a broken spray arm on the Electrolux EI24ID81SS typically costs $15–$45 in parts if you do it yourself. A professional repair service call usually runs $150–$300 when factoring in labor and diagnostic fees. Tackling this repair yourself can save you over $100, making it a smart and budget-friendly fix.
Frequently Asked Questions
How do I know if my Electrolux EI24ID81SS spray arm needs replacing?
If your dishes are coming out dirty or you notice visible cracks, missing nozzles, or the arm won’t spin freely, replacement is likely necessary. A quick physical inspection during an empty cycle will confirm the issue.
Can I replace the spray arm myself without a technician?
Absolutely! Replacing the spray arm on the EI24ID81SS is a straightforward DIY repair that doesn’t require special tools. Just remove the lower rack, unscrew or unclip the old arm, and snap the new one in place.
Where can I find a replacement spray arm for my Electrolux EI24ID81SS?
You can order the correct OEM spray arm using your model number from Electrolux’s official parts website or retailers like RepairClinic and PartSelect. Always verify the part number matches your specific model before purchasing.
Recommended Products
Here are the parts and tools I recommend for this repair, based on compatibility and customer reviews:
- 154568002 Dishwasher Lower Wash Arm Assembly for Frigidaire Electrolux Dishwasher Bottom Lower Spray Arm 154414102, 1191315, AH1524956,20x5x2
- 154568002 Dishwasher Lower Spray Arm -Complete with 5304518968 Support & 5304506518 Filter-Compatible with Frigidaire Electrolux Dishwasher Bottom Lower Spray Arm 5304517203 154250901 154414101
- 154567702 Dishwasher Spray Arm Assembly for Kenmore Electrolux Dishwasher Bottom Lower Spray Arm 5304507175, 154567701 AP6810011 5304518927
The Lower Spray Arm Replacement That Solves Most EI24ID81SS Wash Problems
When I get calls about weak water coverage on the bottom rack or dishes coming out dirty in the lower third of the load, it’s usually the lower spray arm causing the problem. This is the part that fails most often, and it’s the first thing I replace when tackling spray arm issues on an Electrolux EI24ID81SS.
What works
- Exact fit for the EI24ID81SS—no modification or forcing required, and the hub connection goes on without stripping threads
- The plastic is noticeably thicker and less brittle than the original, so you’re not just replacing the problem, you’re upgrading durability
- Installation takes about 10 minutes once you’ve drained the tub—just lift out the old arm, spin off the hub cap, and snap the new one in place
What doesn’t
- Won’t fix upper spray arm problems if that’s what you actually have—most homeowners assume it’s the bottom arm first, but if the top arm is also cracked, you’ll need both
- If your hub cap is missing or corroded, you’ll want to grab a separate cap pack at the same time rather than discovering that mid-repair
I’ve seen someone order what they thought was the lower arm only to find out the upper arm was actually broken—take a flashlight and inspect both before you order. Get the lower spray arm and you’ll have this fixed by tomorrow.
About This Article

Written by Dave Holt. Dave Holt has been taking apart and fixing household appliances since he was a teenager who couldn't leave a broken one alone. Eighteen years later, after fixing things for neighbors, friends, and anyone who'd let him, he's seen almost every failure mode there is. When he writes a repair guide here, it's based on the actual job, not a manufacturer overview. More about this site.
Scope and limits. Dave is a self-taught repairer, not a certified appliance technician. Unplug before you open anything, and leave sealed refrigeration systems, gas connections, and hardwired circuits to a qualified technician.



