
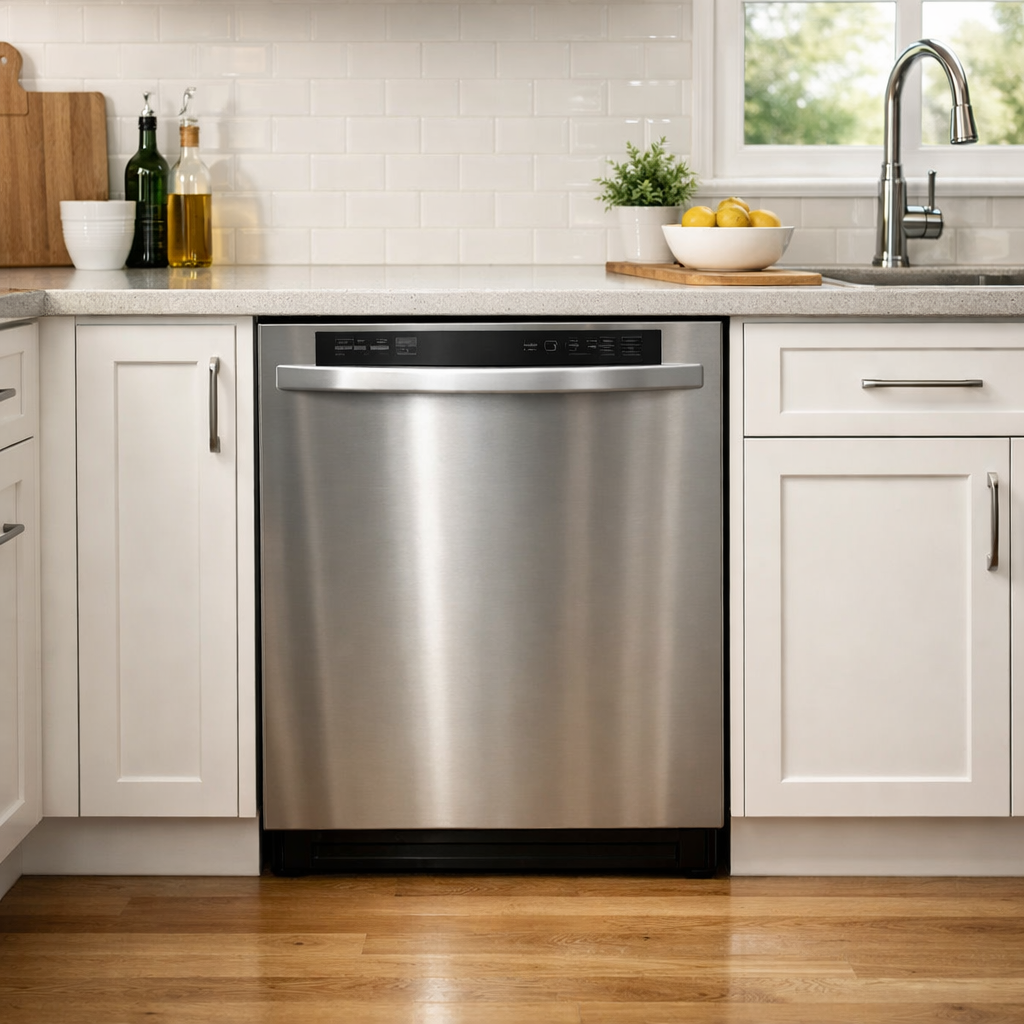
Heavy soil cycle leaving residue
This step-by-step repair guide will help you tackle the heavy soil cycle leaving residue issue on your KitchenAid KDFE204KPS. With the right tools and parts, you can complete this repair in about 1–2 hours, saving yourself a costly service call.
🔨 Pro Tip from Dave
On the KDFE204KPS, the upper spray arm (part W10498700) has notoriously small spray holes that can clog with hard water mineral deposits. Most technicians overlook this and replace the pump first. Always take a moment to remove and soak that upper arm in white vinegar for 30 minutes before moving on to other components. Also, ensure the spray arm snaps firmly into its mount; a loose fit can lead to pressure drops that mimic pump failure.
Part of our Top 20 Dishwasher Models & Common Repair Issues Guide. Browse all dishwasher repair guides for related models and issues.
Common Symptoms & Causes
Here are some symptoms that indicate your heavy soil cycle is not fully cleaning and rinsing dishes on the KitchenAid KDFE204KPS:
- White or gritty film left on glasses and plates after the heavy soil cycle completes
- Food particles remain stuck to dishes despite selecting the heavy wash setting
- Cloudy residue builds up on the interior stainless steel tub walls
- Detergent dispenser door opens, but detergent clumps remain undissolved at cycle end
These issues are generally caused by a clogged spray arm, a failing wash pump, low water temperature, or a detergent dispenser mechanism that’s not functioning properly.
Safety First
- Unplug the dishwasher from the power outlet before starting any repair — never work on a live appliance.
- Shut off the water supply valve before disconnecting any water lines or hoses.
- Wear work gloves when handling metal brackets, sheet metal edges, or sharp components.
- Take photos with your phone before disconnecting any wiring harnesses or connectors.
- Work in a well-lit area with enough floor space to lay removed panels flat.
Tools & Parts Needed
Essential Tools
- Phillips #2 screwdriver
- Torx T20 screwdriver
- Needle-nose pliers
- Multimeter
- Flashlight
Replacement Parts
- Spray arm set
- Detergent dispenser wax motor
- White vinegar
Step-by-Step Repair Instructions
Step 1
First, I recommend checking that your home water heater is set to at least 120°F. The KitchenAid Heavy cycle relies on hot water to activate and dissolve detergent fully—water below this threshold can leave a chalky or filmy residue on your dishes. Locate your water heater’s thermostat dial and raise it to 120°F if it’s set lower. Pro tip: run the hot water at your kitchen sink for 30–60 seconds before starting the cycle so the line is primed with hot water when the dishwasher fills.
Step 2
Next, remove the spray arms by twisting them counterclockwise, and inspect every nozzle hole for mineral deposits or food debris. Clear each one with a toothpick—clogged holes reduce water pressure and create uneven coverage that leaves residue on dishes. Soak the arms in white vinegar for 20–30 minutes to dissolve hard water buildup, rinse thoroughly, and reinstall by twisting clockwise until they click. Ensure the arms spin freely after reinstalling; a stuck arm is a common cause of persistent residue even after cleaning.
Step 3
Now, it’s time to test the detergent dispenser’s wax motor with a multimeter set to Rx1. A healthy motor should read between 300–500Ω. If you see an open (infinite resistance) reading, the motor has failed, and the dispenser door won’t open during the cycle. If the dispenser never opens, the full detergent dose remains unused in the cup, which leaves your dishes visibly coated. Remember to disconnect the dishwasher from power before probing the wax motor terminals.
Step 4
Next, pull out and disassemble the three-part filter assembly located at the bottom of the tub—the coarse mesh, fine mesh, and cylindrical filter. Rinse each piece under running water, gently scrubbing with a soft brush. A clogged filter forces the pump to recirculate dirty, particle-laden water through the spray arms, which redeposits grime onto dishes instead of draining it away. Clean the filter at least once a month if you run Heavy cycles regularly, since heavy soil loads accelerate buildup.
Step 5
Open the rinse aid reservoir on the inside of the door and refill it if the indicator shows empty or low. Adjust the dispenser’s dosage dial to setting 5 (maximum) if you have hard water. Rinse aid lowers the surface tension of water so it sheets off dishes cleanly—without it, water droplets dry in place and leave mineral spots and a cloudy film that’s easily mistaken for detergent residue. If you’ve recently switched to a detergent pod that claims to include rinse aid, using the reservoir separately can still yield noticeably better results in hard-water areas.
Step 6
With all components cleaned and verified, run a full Heavy cycle using a quality HE dishwasher detergent dosed according to the package instructions for your water hardness level. Using too little detergent is a frequent cause of residue, but using too much can also leave a soapy film, so measure carefully rather than estimating. If your dishes come out clean and residue-free, you’ve completed the repair. If residue persists, the next step is to test the wash motor and heating element for proper operation.
Where to Buy Replacement Parts
- KitchenAid KDFE204KPS spray arm set 9001671 replacement
- KitchenAid dishwasher water temperature heater test
- KitchenAid dishwasher detergent dispenser wax motor WPW10083957
When to Call a Professional
If you’ve completed all the steps above and the issue persists, the problem might involve a failed main control board, a seized circulation or drain pump, or wiring that requires specialized diagnostic equipment. In that case, contact a licensed appliance technician. And don’t forget to shut off the water supply valve before any work that opens the fill or drain circuit.
How Much Does This Repair Cost?
| Repair route | Typical cost |
|---|---|
| Do it yourself | $10–$60 (parts) |
| Professional repair | $150–$300 (parts and labor) |
DIY parts for fixing a heavy soil cycle leaving residue on your KitchenAid KDFE204KPS typically cost between $10–$60, depending on whether you need a new spray arm, filter, or water inlet valve. A professional service call generally runs $150–$300, including labor. Tackling this repair yourself can save you $100 or more.
Frequently Asked Questions
Why is my KitchenAid KDFE204KPS leaving residue after the heavy soil cycle?
Residue after a heavy soil cycle is usually caused by hard water mineral buildup, a clogged spray arm, or low water temperature. Make sure your water heater is set to at least 120°F and clean the spray arms thoroughly.
How do I clean the spray arms on my KitchenAid KDFE204KPS?
To clean the spray arms, remove them by twisting counterclockwise, then rinse them under warm water and clear any clogged holes with a toothpick. Reinstall them and run a short test cycle to confirm improved water flow.
Could my detergent be causing the residue problem?
Absolutely. Using too much detergent or a low-quality brand can leave a filmy residue on your dishes. Switch to a fresh, name-brand detergent tab and ensure the dispenser door is opening fully during the cycle.
The Spray Arm Set That Clears Residue on the KDFE204KPS
If you’ve ruled out detergent issues and water temperature, a clogged or worn spray arm is almost always the culprit behind Heavy Soil cycle residue on this model. This replacement set restores full spray pressure and coverage where mineral buildup or wear has degraded performance.
What works
- Spray holes unclog immediately—you’ll see the difference in water pressure and distribution on the first test cycle after installation.
- Both upper and lower arms are included, so you get complete coverage restoration without guessing which one failed.
- Part 9001671 fits this exact model without adapter hassles or fitment surprises.
What doesn’t
- Won’t fix residue if the real problem is a failing wash pump impeller—you’ll still get weak pressure even with clean spray arms.
- Installation requires removing the filter basket and rack, which adds 15–20 minutes if you’re unfamiliar with the tub layout.
I’ve seen owners order this part only to discover the pump itself was failing, which is a frustrating (and expensive) lesson—so before ordering, run a cycle with white vinegar to see if pressure improves. If it doesn’t, the pump is next. Once you confirm spray pressure is the issue, spray arm set is your fix.
About This Article

Written by Dave Holt. Dave Holt has been taking apart and fixing household appliances since he was a teenager who couldn't leave a broken one alone. Eighteen years later, after fixing things for neighbors, friends, and anyone who'd let him, he's seen almost every failure mode there is. When he writes a repair guide here, it's based on the actual job, not a manufacturer overview. More about this site.
Scope and limits. Dave is a self-taught repairer, not a certified appliance technician. Unplug before you open anything, and leave sealed refrigeration systems, gas connections, and hardwired circuits to a qualified technician.



