
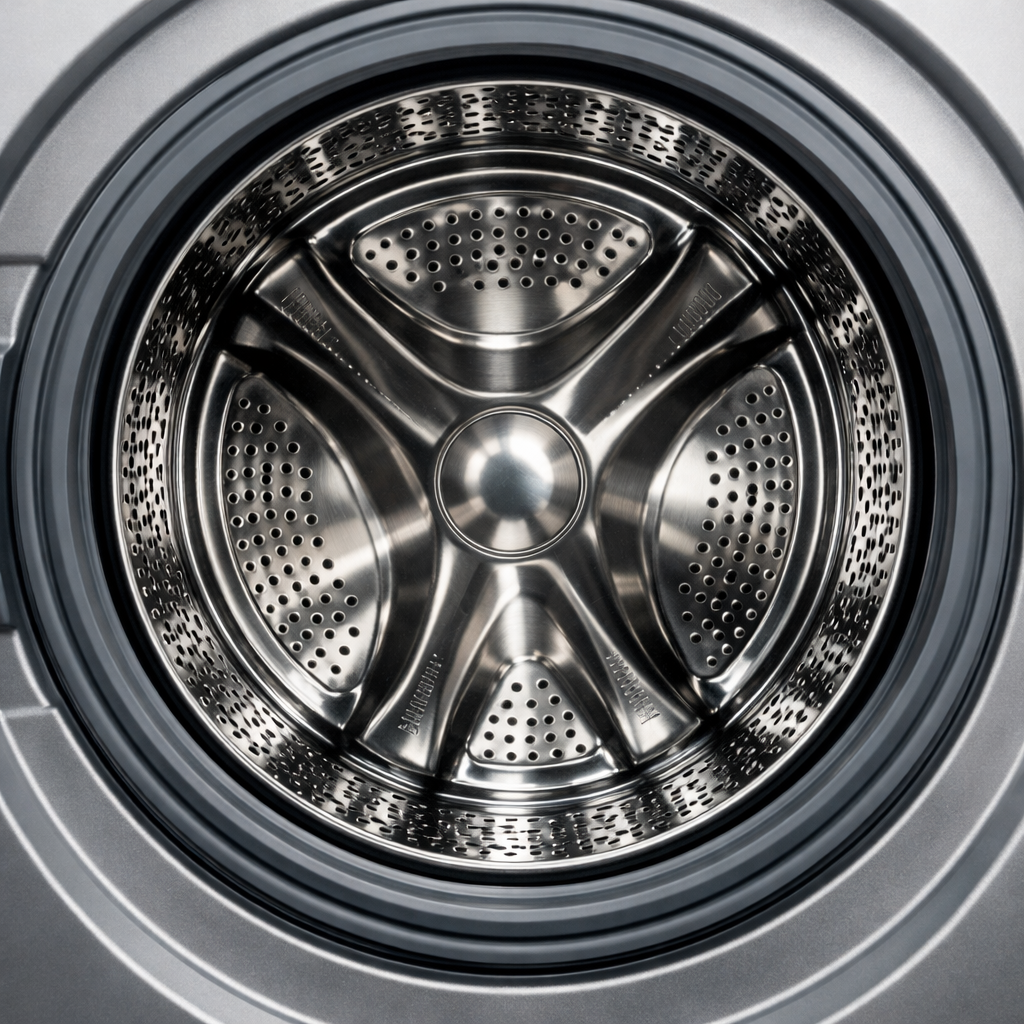
Heating element burnout
In this step-by-step guide, I’ll take you through the process of fixing heating element burnout on your Samsung DVE50BG8300V (Electric). With the right tools and parts, I believe most homeowners can tackle this repair in just 1–2 hours, saving you a costly service call.
🔨 Pro Tip from Dave
When working on the DVE50BG8300V, don’t just replace the heating element and call it a day — make sure to replace the thermal cutoff fuse (part DC47-00016A) at the same time. A clogged vent is often the real culprit behind the burnout. Many people overlook checking the exhaust duct for lint buildup, leading to another burnout within months. And remember, there’s a hidden screw behind the lint trap housing that you need to remove first to avoid a headache.
Part of our Top 20 Dryer Models & Common Repair Issues Guide. Browse all dryer repair guides for related models and issues.
Common Symptoms & Causes
If you’re experiencing a heating element burnout on your Samsung DVE50BG8300V, look for one or more of these symptoms:
- Clothes come out damp or completely wet after a full dry cycle
- The dryer runs and tumbles normally but produces no heat
- A burning smell or visible scorch marks inside the drum
- The dryer trips the circuit breaker shortly after starting
These problems are typically caused by the heating element coil breaking or burning out due to prolonged use, restricted airflow from a clogged lint trap or vent, or voltage fluctuations that overstress the element over time.
Safety First
- Unplug the dryer from the power outlet before starting any repair — never work on a live appliance.
- Wear work gloves when handling metal brackets, sheet metal edges, or sharp components.
- Take photos with your phone before disconnecting any wiring harnesses or connectors.
- Work in a well-lit area with enough floor space to lay removed panels flat.
Tools & Parts Needed
Essential Tools
- Phillips #2 screwdriver
- ¼” nut driver
- Putty knife
- Multimeter
- Work gloves
Replacement Parts
- Heating element
- thermal fuse
- high-limit thermostat
- ¼” hex driver
- multimeter
Step-by-Step Repair Instructions
Step 1
First and foremost, unplug the dryer from the wall outlet to eliminate any risk of electrocution. Pull the dryer away from the wall, disconnect the vent hose, and use a vent cleaning brush kit to ensure the duct is clear all the way to the exterior termination cap. A blocked vent is the most common cause of heating element burnout, so don’t skip this critical step.
Step 2
Next, remove the six ¼” hex screws securing the rear panel and set it aside to expose the heating element housing at the lower rear of the dryer. Set your multimeter to Rx1 and probe both terminals of the heating element — a functioning element shows low resistance, while an open (infinite) reading means the element has burned through and needs replacing. A handy tip: photograph all wire connections before disconnecting anything to make reassembly easier.
Step 3
Now, find the thermal fuse on the exhaust duct next to the heating element housing — this fuse is a one-time safety device that cuts power to the element when temperatures get dangerously high. Test it on Rx1; if there’s no continuity, it’s blown and must be replaced. Always install a new thermal fuse with a new heating element, as a failed element usually takes the fuse out with it.
Step 4
Next, locate the high-limit thermostat mounted directly on the element housing and test it on Rx1. It should show continuity under normal conditions, meaning it’s closed and allowing current to flow. If it reads open, the thermostat has failed and needs replacing, as a faulty thermostat can prevent heating or allow the element to overheat and burn out again. Replace it as a precaution if the element failed due to sustained overheating.
Step 5
Once you have the new heating element, seat it into the housing, reconnect all wires to the exact terminals shown in your earlier photograph, and securely tighten the housing screws. Reinstall the rear panel and drive all six ¼” hex screws snug — be careful not to overtighten, as the panel is sheet metal and can strip easily. Double-check that no wires are pinched between the panel and the dryer body before you continue.
Step 6
Before plugging in, push the dryer back into position and reconnect the vent hose, making sure there are no kinks that could restrict airflow. Plug the dryer in, run a timed heat cycle, and verify that the drum air is hot within the first five minutes. If heat returns, it confirms the element, fuse, and thermostat are all functioning correctly. If not, recheck all wire connections and retest the thermal fuse, since a loose terminal is often the culprit behind no heat after a repair.
Where to Buy Replacement Parts
- Samsung DVE50BG8300V heating element DC47-00019A replacement
- Samsung electric dryer thermal fuse DC96-00887A
- Samsung dryer high limit thermostat DC47-00016A
When to Call a Professional
If the issue persists after you’ve followed all these steps, the problem might involve a failed main control board, a defective heating element or thermal cutoff, or wiring that requires specialized diagnostic equipment. In such cases, it’s best to contact a licensed appliance technician. And if you’re dealing with gas dryers, do not attempt work on the gas valve or supply line — that should always be handled by a licensed gas fitter.
How Much Does This Repair Cost?
| Repair route | Typical cost |
|---|---|
| Do it yourself | $20–$60 (parts) |
| Professional repair | $150–$300 (parts and labor) |
Typically, a replacement heating element for the Samsung DVE50BG8300V will cost between $20–$60 for parts. Professional repair services usually range from $150–$300 once you include the service call fee and labor. By doing this repair yourself, you could save between $100–$250, making it a worthwhile DIY project.
Frequently Asked Questions
How do I know if the heating element is burned out on my Samsung DVE50BG8300V?
Typical signs include clothes coming out damp or the dryer running without producing heat. You can confirm a burned-out element by testing it with a multimeter for continuity.
Is it safe to replace the heating element myself on this model?
Yes, with basic tools and the power disconnected, you can manage this repair yourself. Just remember to unplug the dryer completely before accessing any internal components.
What part number heating element fits the Samsung DVE50BG8300V?
This model typically uses Samsung heating element part number DC97-14486A. Always verify compatibility using your dryer’s full model number before purchasing a replacement part.
Recommended Products
Here are the parts and tools I recommend for this repair based on compatibility and customer reviews:
- 【Upgraded】 DC97-14486A Dryer Heating Element Assembly for Samsung DV45H7000EW/A2 DVE50R5200W/A3 DVE50R5400V/A3 DVE50M7450W/A3 DV40J3000EW/A2 DV42H5200EP/A3 DV42H5200EW/A3 DV48H7400EW/A2
- Dryer Repair Kit Compatible with Samsung Model Numbers DVE50BG8300EA3, DVE50BG8300V, DVE50BG8300V/A3, DVE50BG8300VA3
- DVE45N5300V/A3 DVE45R6100C/A3 DV210AEW/XAA Dryer Heating Element for Samsung, DC97-14486A Fit for Samsung DV50F9A7EVW/A2 DV42H5000EW/A3 DVE50M7450W/A3 DV431AEP/XAA DV48H7400EW/A2 by APPLIANCEMATES
- Azdele Heating Element for Samsung Dryer, Dryer Heating Element DC47-00019A for Samsung dv42h5000ew/a3 dv45h7000ew/a2 Dryer Parts, Including DC96-00887A, DC47-00016A, DC47-00018A and DC32-00007A
The Heating Element That Actually Solves the No-Heat Problem on This Samsung Model
When this dryer stops producing heat, nine times out of ten it’s the heating element that’s burned out—and this is the exact replacement assembly to go to on the DVE50BG8300V. Order this along with the thermal fuse, since replacing just the element without addressing the fuse that failed in the first place is how you end up back in the same situation six months later.
What works
- Fits this exact model without any adapter nonsense or cross-reference confusion—no guessing whether you need a variant.
- The heating coil is wound tight and consistent, which means predictable heat output and no cold spots mid-cycle.
- Installation is straightforward once you’ve got the drum out—terminal connections are marked clearly and the assembly seats properly in the housing.
What doesn’t
- If your actual problem is a failed high-limit thermostat (rare on this model, but it happens), replacing the heating element alone won’t stop the dryer from shutting down early—you’ll just waste the part.
- The element itself is fragile while handling; even a small dent or kink in the coil during install can create a resistance hotspot and burn it out faster than the original.
I’ve seen too many DIYers order a heating element first without checking the thermal fuse, and then they’re right back to the same no-heat complaint because the fuse was never replaced—so always pull both parts at the same time. Grab the heating element and inspect that fuse before you reassemble.
About This Article

Written by Dave Holt. Dave Holt has been taking apart and fixing household appliances since he was a teenager who couldn't leave a broken one alone. Eighteen years later, after fixing things for neighbors, friends, and anyone who'd let him, he's seen almost every failure mode there is. When he writes a repair guide here, it's based on the actual job, not a manufacturer overview. More about this site.
Scope and limits. Dave is a self-taught repairer, not a certified appliance technician. Unplug before you open anything, and leave sealed refrigeration systems, gas connections, and hardwired circuits to a qualified technician.

