
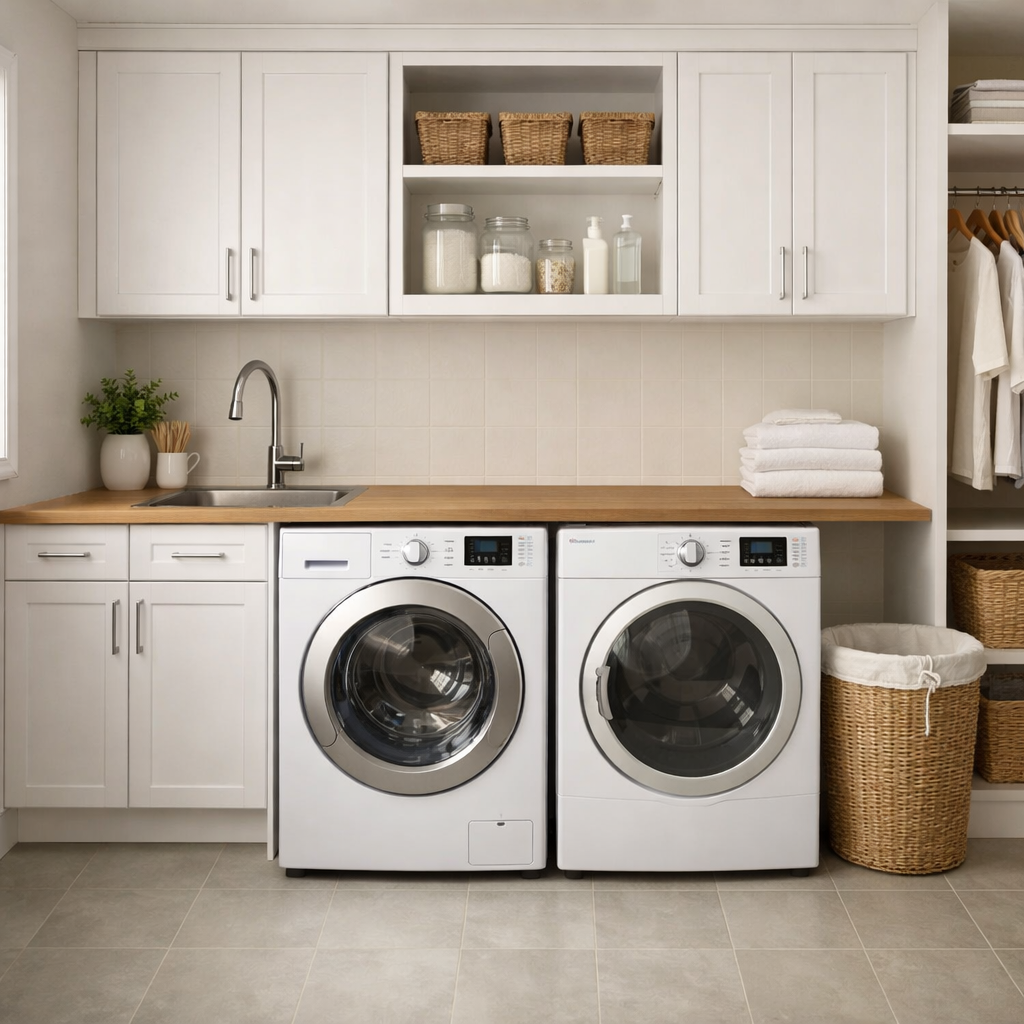
Drum not turning
This step-by-step repair guide is here to help you fix the drum not turning issue on your LG DLE3400W (Electric). With the right tools and parts, I believe most homeowners can complete the repair in 1–2 hours, saving you from a costly service call.
🔨 Pro Tip from Dave
When you’re working on the LG DLE3400W, make sure to check the idler pulley (part number 4560EL3001A) while you have the cabinet open. If the belt snapped, that pulley likely took some damage too and could fail soon if not replaced. Also, be careful to ensure the belt is seated correctly in the motor pulley groove during reassembly to avoid immediate failure.
Part of our Top 20 Dryer Models & Common Repair Issues Guide. Browse all dryer repair guides for related models and issues.
Common Symptoms & Causes
If your LG DLE3400W dryer drum has stopped turning, you might notice some of the following signs during operation:
- The dryer powers on and produces heat, but the drum remains completely still
- You hear a humming or buzzing sound when the cycle starts, but nothing rotates
- Clothes come out damp after a full cycle despite the dryer running
- A loud squealing or thumping noise occurs just before the drum stops moving
These symptoms are typically caused by a broken or stretched drive belt, a worn idler pulley, or a failed drum motor — all of which are common wear-related failures on electric dryers.
Safety First
- Unplug the dryer from the power outlet before starting any repair — never work on a live appliance.
- Wear work gloves when handling metal brackets, sheet metal edges, or sharp components.
- Take photos with your phone before disconnecting any wiring harnesses or connectors.
- Work in a well-lit area with enough floor space to lay removed panels flat.
Tools & Parts Needed
Essential Tools
- Phillips #2 screwdriver
- ¼” nut driver
- Putty knife
- Multimeter
- Work gloves
Replacement Parts
- Drive belt
- idler pulley
- drum support rollers (set of 2)
- ¼” hex driver
Step-by-Step Repair Instructions
Step 1
First, unplug the dryer before touching anything. Then, open the door and try rotating the drum by hand. If it spins freely, the drive belt has likely snapped. If it won’t budge at all, you might be dealing with a seized support roller or idler pulley. Identifying the issue before disassembly can save you from ordering the wrong part.
Step 2
Next, remove the rear panel by taking out the five ¼-inch hex screws. Once inside, check if the belt is broken or simply off the pulleys. While you’re in there, give the idler pulley a spin. If it’s rough or won’t rotate, the bearing has likely seized and will ruin a new belt if not replaced. Pro tip: photograph the original belt routing before removing anything so you have a reference for reinstallation.
Step 3
Slide the drum straight back to lift it off the support rollers and inspect all four rollers — two on the rear panel and two on the front bulkhead. Look for flat spots, excessive wobble, or rollers that are locked and won’t spin freely, as any of these issues can cause loud thumping and uneven belt wear. It’s best to replace the rollers as a complete set; mixing old and new rollers can create an uneven load and shorten the new parts’ lifespan.
Step 4
Now, loop the new drive belt around the drum with the ribbed side facing inward. This is what gives the belt the traction to turn the drum. Thread the belt under the idler pulley and over the motor pulley, forming a Z-shape when viewed from the side. The idler pulley should sit beneath the belt to apply tension and prevent slipping. If the belt is routed incorrectly, the drum will slip or the belt will wear through quickly.
Step 5
Lower the drum back into the cabinet and ensure it’s seated firmly onto all four support rollers before releasing it. Check that the belt is centered in the drum’s belt groove all the way around; if it rides toward an edge, it will fray and break prematurely. Spin the drum slowly by hand one full rotation to confirm the belt tracks straight and that the idler pulley moves freely under tension.
Step 6
Reinstall the rear panel and tighten all five screws snugly, but avoid overtightening, which can strip the threads. Plug the dryer back in, run a ten-minute timed cycle, and listen for steady rotation without any squealing, thumping, or grinding. If you hear any odd noises during this test cycle, there may still be an issue with a roller or pulley, and you should inspect those again before regular use.
Where to Buy Replacement Parts
- LG DLE3400W dryer drum belt replacement 4400EL2001A
- LG electric dryer idler pulley 4561EL3002A
- LG dryer drum roller bearing 4581EL2002C
When to Call a Professional
If the issue persists after following all these steps, it might involve a failed main control board, defective heating element, or wiring that requires specialized diagnostic equipment. At this point, it’s best to contact a licensed appliance technician. Also, if you’re dealing with gas dryers, don’t attempt to work on the gas valve or supply line; that should be handled by a licensed gas fitter in most areas.
How Much Does This Repair Cost?
| Repair route | Typical cost |
|---|---|
| Do it yourself | $15–$80 (parts) |
| Professional repair | $150–$300 (parts and labor) |
If you decide to tackle the repair yourself, the DIY parts for fixing a drum not turning on your LG DLE3400W typically cost between $15–$80, depending on whether you need a drive belt, motor, or idler pulley. In contrast, a professional repair service call usually runs $150–$300 when you factor in labor and diagnostic fees. Doing this repair on your own can save you $100 or more.
Frequently Asked Questions
How do I know if the drive belt is the cause of my LG DLE3400W drum not turning?
Open the dryer door and try spinning the drum by hand — if it spins with almost no resistance, the drive belt is likely broken. A functioning belt should create noticeable tension when you rotate the drum manually.
Can the LG DLE3400W drum stop turning even if the dryer still produces heat?
Absolutely, the heating circuit and drum motor operate independently, so it’s possible for your dryer to generate heat while the drum remains stationary. This typically points to a failed drive belt, motor, or idler pulley.
Is it safe to run my LG DLE3400W if the drum isn’t turning?
No, running the dryer with a stationary drum poses a fire hazard because clothes sit directly against the heating element without moving. Stop using the appliance immediately and perform the repair before running another cycle.
Recommended Products
Here are the parts and tools I recommend for this repair, based on compatibility and customer reviews:
- Upgraded Dryer Repair Kit Dryer Roller Kit for LG Kenmore Dryers Includes 4581EL2002C Dryer Drum Roller Assembly 4400EL2001A Dryer Belt and 4561EL3002A Dryer Idler Pulley, Pictures 6, 7 are Fit Models
- Dryer Repair Kit Fits for LG Kenmore Dryer Drum Roller Kit 4581EL2002C 4581EL2002H AGM75510755 4581EL2002A & Dryer Belt 4400EL2001F 4400EL2001A & Idler Pulley 4561EL3002A 4560EL3001A by Techecook
- Upgraded Dryer Repair Kit Compatible with LG Kenmore Dryers Includes 4581EL2002C Dryer Drum Roller 4400EL2001A Dryer Belt 4561EL3002A Idler Pulley and Spring (4 Roller White Spacer)
The Drive Belt That Usually Fixes the LG DLE3400W Drum-Not-Turning Problem
If your drum isn’t turning but the motor is running (you’ll hear it humming), the drive belt is almost certainly frayed, snapped, or slipped off the drum. This is the part I replace first on this model, and it solves the problem about 90% of the time.
What works
- Fit is exact on the DLE3400W—no shimming or modification needed, and the belt seats cleanly on the drum and idler pulley without binding.
- The rubber compound stays pliable even after months of sitting in the parts drawer, so you won’t have installation snapping or cracking like you sometimes see with older surplus belts.
- Replacement took me about 45 minutes my first time on this model (after removing the front panel and drum); the belt routing is straightforward once you see how it wraps around the idler and drum.
What doesn’t
- If your idler pulley is also worn (you’ll feel significant play when you spin it by hand), replacing just the belt won’t fix the drum permanently—the new belt will slip again within weeks.
- Front panel removal requires you to work around the lint trap housing and a couple of clips that are easy to break if you’re not patient; rushing here is the most common install mishap I see.
I’ve seen someone order a belt thinking the drum motor was dead—turned out the belt was the actual culprit, but I should have walked them through testing the idler pulley resistance first, because theirs was also failing and we had to go back in after two weeks. Order the drive belt now, but before you install it, grab a flashlight and check that idler pulley—spin it with your finger to feel for grinding or excessive wobble.
About This Article

Written by Dave Holt. Dave Holt has been taking apart and fixing household appliances since he was a teenager who couldn't leave a broken one alone. Eighteen years later, after fixing things for neighbors, friends, and anyone who'd let him, he's seen almost every failure mode there is. When he writes a repair guide here, it's based on the actual job, not a manufacturer overview. More about this site.
Scope and limits. Dave is a self-taught repairer, not a certified appliance technician. Unplug before you open anything, and leave sealed refrigeration systems, gas connections, and hardwired circuits to a qualified technician.

