
Freezer frosting over
This step-by-step repair guide walks you through fixing freezer frosting over on your Frigidaire FFTR1821TS (Top Freezer). With the right tools and parts, most homeowners can complete this repair in 1–2 hours and avoid a costly service call.
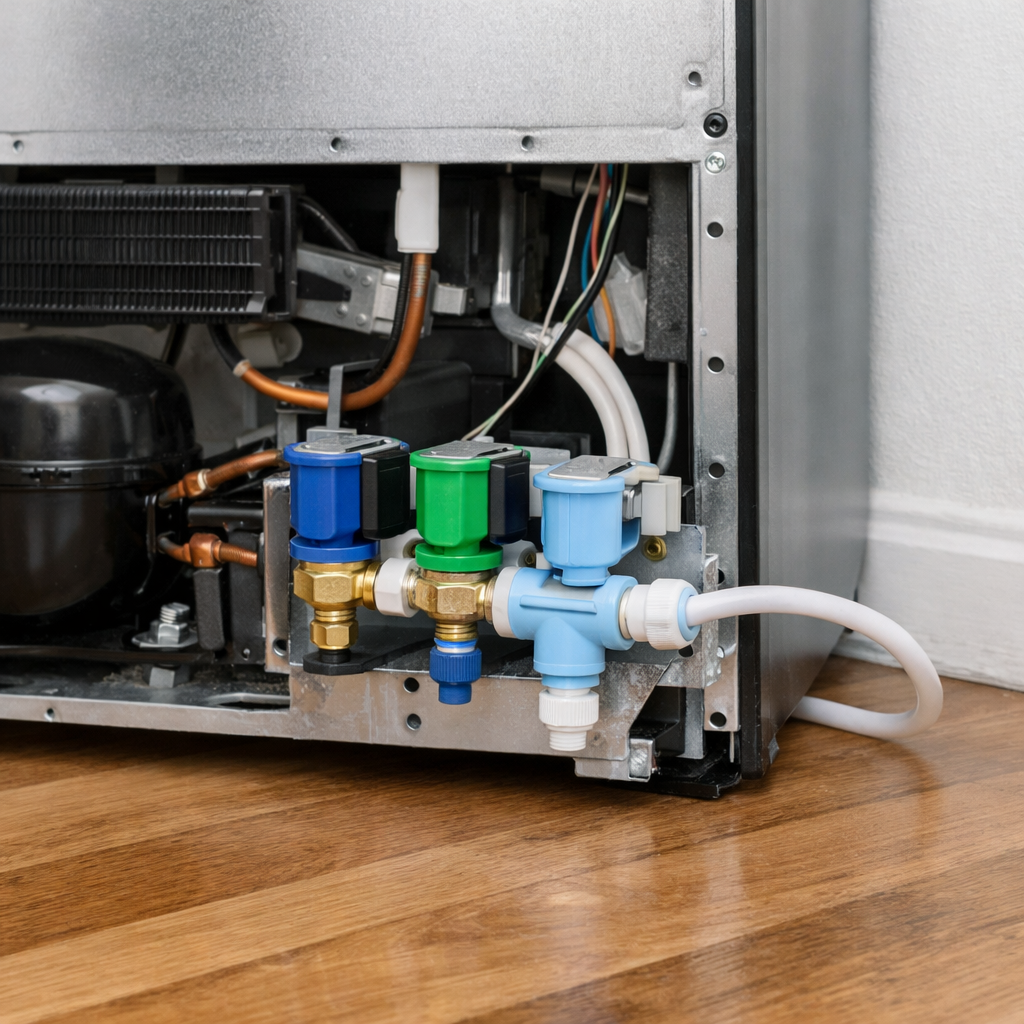
🔨 Pro Tip from Dave
On the FFTR1821TS, a lot of techs replace the defrost heater (part 5303918301) and call it done, but don’t overlook the defrost thermostat — if it failed first, it already burned out your new heater within weeks. Also, this model’s drain tube tends to freeze solid before symptoms appear, so flush it with warm water during the repair or you’ll be back out there in a month.
Part of our Top 20 Refrigerator Models & Common Repair Issues Guide. Browse all refrigerator repair guides for related models and issues.
“`html
Common Symptoms & Causes
If your Frigidaire FFTR1821TS is frosting over, you may notice one or more of the following warning signs before the problem gets worse.
- Thick frost or ice buildup coating the freezer walls and floor
- Food in the freezer compartment is partially thawed or feels soft
- The freezer door seal feels loose, torn, or fails the “dollar bill test”
- The refrigerator runs constantly but the freezer temperature reads above 0°F
This issue is most commonly caused by a failed defrost heater, a faulty defrost thermostat, or a worn door gasket that allows warm, moist air to enter the freezer compartment.
“`
Safety First
- Unplug the refrigerator from the power outlet before starting any repair — never work on a live appliance.
- Shut off the water supply valve before disconnecting any water lines or hoses.
- Wear work gloves when handling metal brackets, sheet metal edges, or sharp components.
- Take photos with your phone before disconnecting any wiring harnesses or connectors.
- Work in a well-lit area with enough floor space to lay removed panels flat.
Tools & Parts Needed
Essential Tools
- Phillips #2 screwdriver
- ¼” nut driver
- Needle-nose pliers
- Multimeter
- Flashlight or work light
Replacement Parts
- Defrost heater
- defrost thermostat
- defrost timer
- multimeter
Step-by-Step Repair Instructions
Step 1
Unplug the refrigerator and remove all freezer contents before taking off the back interior panel (4 × Phillips #2 screws), because you need to expose the evaporator coils to confirm the root cause — a thick layer of frost built up on the coils is the telltale sign that the automatic defrost system has failed and ice is blocking airflow. Never skip unplugging first; residual voltage in the defrost heater circuit is a real shock hazard.
Step 2
Locate the defrost timer (usually mounted behind the lower front grille or inside the freezer compartment) and insert a flat-head screwdriver into the timer shaft slot, turning clockwise slowly until you hear the compressor click off — this manually forces the timer into a defrost cycle so you can test whether the heating components actually work without waiting up to 12 hours for the timer to cycle on its own. If the compressor does not click off after a full slow rotation, the timer shaft may already be seized, which itself points to a faulty timer.
Step 3
With the defrost cycle now running, listen for soft hissing and cracking sounds from the evaporator area, which confirm the defrost heater is energized and melting frost; if you hear nothing and the coils remain cold after 15 minutes, set your multimeter to Rx1 and probe the heater terminals — a reading of 20–50 Ω means the heater is good, while an open (OL) reading means the heater element has burned out and must be replaced. Pro tip: let the heater warm slightly before testing, as an extremely cold heater can sometimes read marginally high.
Step 4
Test the defrost thermostat (the bi-metal safety clip fastened directly to the evaporator coil) by disconnecting its two terminals and touching your multimeter probes to them at room temperature — you should get continuity, confirming the thermostat is closed and will allow current to reach the heater. If the thermostat reads open at room temperature it has failed in its safety-trip position, meaning the heater will never receive power regardless of how good the timer or heater are, so replace the thermostat.
Step 5
If you confirmed the heater and thermostat are both good but the timer never advanced itself out of the defrost cycle after about 30 minutes, the timer motor is stuck and is the root cause of the original frost buildup — remove it by backing out its 2 mounting screws and unplugging the wiring harness, then install an exact replacement timer, making sure to rotate the new timer’s shaft to the same clock position before plugging the harness back in. A stuck timer is the single most common defrost failure on this model, so if in doubt, replacing it is a low-cost first move.
Step 6
Reinstall the evaporator back panel firmly so all clips and screws are secured — gaps here will allow warm cabinet air to reach the coils directly and restart frosting — then plug the refrigerator back in and monitor for 8 hours. If frost begins reforming before that window is up, the most likely culprits are a heater that is not fully seated in its mounting clips or a back panel that is not sealed completely, so open the freezer and recheck both before assuming a new component is faulty.
Where to Buy Replacement Parts
Find genuine OEM and aftermarket replacement parts for your Frigidaire FFTR1821TS (Top Freezer) on Amazon:
- Frigidaire FFTR1821TS defrost heater 5303918549
- Frigidaire refrigerator defrost thermostat 5303918214
- Frigidaire refrigerator defrost timer 216062200
When to Call a Professional
If the issue persists after completing all steps above, the problem may involve the sealed refrigerant system, a failed main control board, or wiring that requires specialized diagnostic equipment. Contact a licensed appliance technician — attempting sealed-system repairs without EPA 608 certification is illegal and unsafe.
“`html
How Much Does This Repair Cost?
DIY parts for fixing a frosting-over freezer on the Frigidaire FFTR1821TS typically cost between $20 and $80, depending on whether you’re replacing a defrost heater, thermostat, or door gasket. A professional service call for the same repair usually runs $150 to $300 including labor. Tackling this repair yourself can save you $100 or more.
“`
## Frequently Asked Questions
Why does my Frigidaire FFTR1821TS freezer keep frosting over?
The most common cause is a faulty defrost heater, defrost thermostat, or defrost timer that prevents the automatic defrost cycle from running properly. A damaged door gasket allowing warm, humid air inside can also trigger excessive frost buildup.
How often should I manually defrost this refrigerator if the problem keeps returning?
Manual defrosting every one to two months is a temporary fix, but it won’t solve the underlying issue. Replace the faulty defrost component as soon as possible to restore normal operation.
Is this repair safe to do myself on the Frigidaire FFTR1821TS?
Yes, replacing defrost components is a manageable DIY repair if you unplug the unit first and follow the steps carefully. If you’re uncomfortable working with electrical parts, contact a certified appliance technician.
Recommended Products
These are the parts and tools we recommend for this repair, based on compatibility and customer reviews:
- 297216600 Refrigerator Defrost Thermostat Replacement Part by BlueStars – Compatible with Frigidaire & Kenmore Refrigerators/Freezers – Replaces 1483781 216731000 216872200 218673001 218673008
- Seentech 297216600 Refrigerator Defrost Thermostat Replacement Bimetal Thermostat Compatible with Frigidaire, Kenmore, Electrolux Refrigerators Replaces 1483781, 216731000, 218673001, PS2350702
As an Amazon Associate, I earn from qualifying purchases.


