
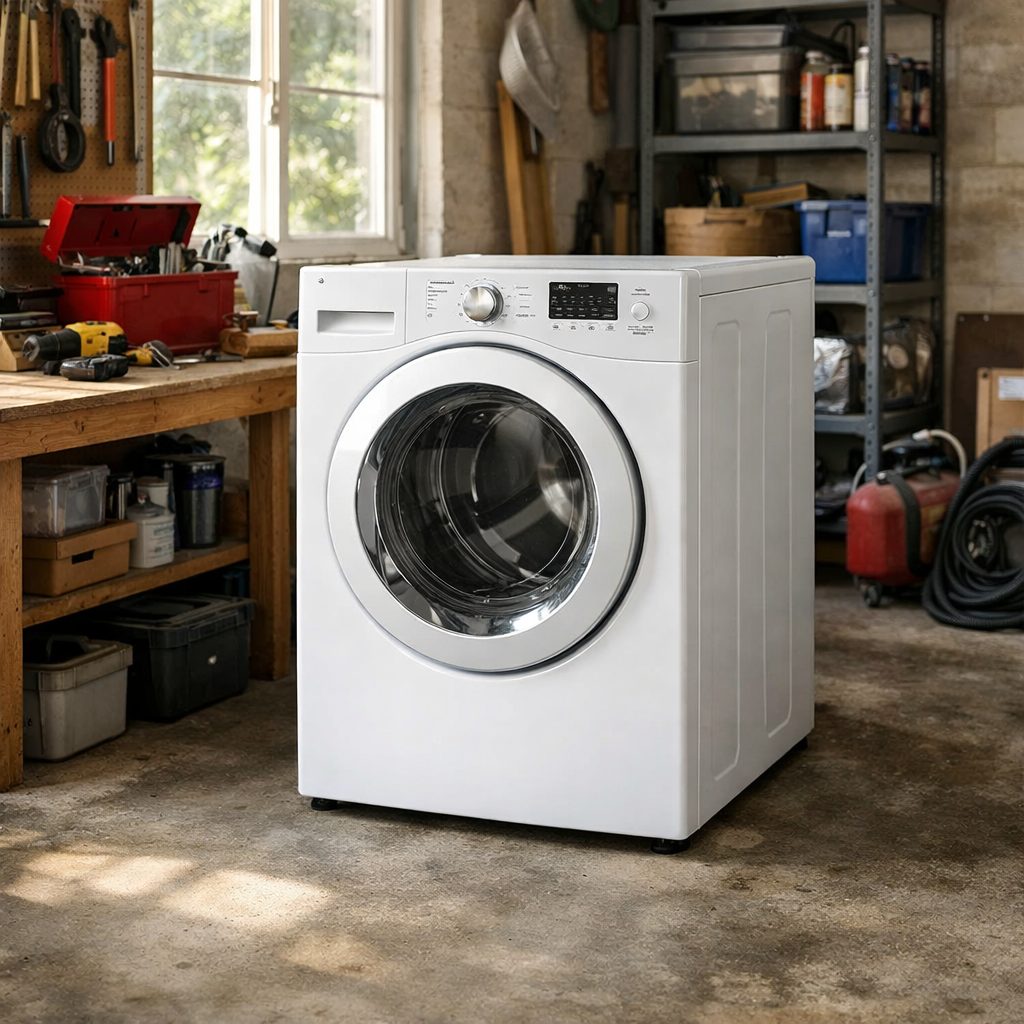
F0E2 error — load sense fault
In this step-by-step repair guide, I’ll walk you through fixing the F0E2 error — load sense fault on your Whirlpool WTW8120HW (Top Load). With the right tools and parts, you should be able to complete this repair in about 1–2 hours, saving you the expense of a service call.
🔨 Pro Tip from Dave
On the WTW8120HW, I often see people make the mistake of replacing just one or two suspension rods. Always replace all four as a complete set (part number W11210459) to avoid uneven wear that can trigger the F0E2 error again. Also, check the plastic dome caps at the top of each rod before ordering; they can crack and produce similar symptoms but are inexpensive to replace separately.
Part of our Top 20 Washing machine Models & Common Repair Issues Guide. Browse all washing machine repair guides for related models and issues.
Common Symptoms & Causes
If you’re seeing an F0E2 error on your Whirlpool WTW8120HW, you might notice one or more of the following symptoms before or during the wash cycle:
- The washer display shows the F0E2 error code and the cycle stops mid-wash
- The machine repeatedly pauses and redistributes the load without completing the spin cycle
- The washer displays “uL” (unbalanced load) warnings even when the load appears evenly distributed
- The drum moves briefly then stops, with the lid locking and unlocking repeatedly
This error typically arises from a faulty load sensing mechanism, a worn suspension system, or a failing control board that cannot accurately detect the drum load weight during the sensing phase.
Safety First
- Unplug the washing machine from the power outlet before starting any repair — never work on a live appliance.
- Shut off the water supply valve before disconnecting any water lines or hoses.
- Wear work gloves when handling metal brackets, sheet metal edges, or sharp components.
- Take photos with your phone before disconnecting any wiring harnesses or connectors.
- Work in a well-lit area with enough floor space to lay removed panels flat.
Tools & Parts Needed
Essential Tools
- Phillips #2 screwdriver
- ¼” nut driver
- Torx T20 screwdriver
- Multimeter
- Bucket and towels
Replacement Parts
- Suspension rod kit (4 rods)
- basket balance ring
- torpedo level
- 22mm wrench
Step-by-Step Repair Instructions
Step 1
First, unplug the washer. Open the lid and redistribute the laundry so the weight is spread evenly around the drum. The F0E2 error is triggered when the load-sense system detects an imbalance that the machine cannot correct during spin. If you have a single large item, like a comforter, it can fool the sensor. Try adding a similar-weight item or breaking the load into smaller batches to retest. This is the most common cause of F0E2 and costs nothing to fix.
Step 2
Place a bubble level on top of the washer and check both side-to-side and front-to-back. An unlevel machine shifts the drum’s center of gravity and can cause false load-sense faults, even with balanced loads. Adjust all four leveling feet by turning them clockwise to lower or counterclockwise to raise until the bubble sits centered. Hand-tighten the jam nuts firmly against the cabinet to keep the feet from loosening during spin. Pro tip: rock the machine by its corners after locking the feet — it should not move at all.
Step 3
Run a spin cycle with an empty drum. If F0E2 still appears with nothing inside, the problem is mechanical, not load-related. With the machine unplugged and the lid open, press down firmly on opposite sides of the wash basket. If it tilts or rocks easily from side to side, the suspension rods have likely lost their damping ability and need inspection. This test helps isolate whether you have a suspension fault or a sensor/control issue.
Step 4
Remove the top panel by releasing the two Phillips screws located under the lid lip and the three screws along the rear edge. Tilt the panel back to expose the four suspension rods at the corners of the outer tub. Grip each rod at its ball end and examine the plastic cup at the bottom. A cracked cup or a ball end worn smooth means the rod can no longer absorb vibration, which causes the tub to shift and trigger the load-sense fault. Always replace all four rods as a set; if one has failed, the others are likely at the same wear point.
Step 5
With the top panel removed, inspect the white balance ring seated around the inside rim of the drum. This fluid-filled ring uses liquid inertia to counteract imbalance at high spin speeds. A cracked ring or one with dried residue from a fluid leak can no longer do its job. Lift or flex the ring gently at several points around its circumference, looking for cracks, discoloration, or soft spots. If you find a compromised balance ring, it must be replaced; it cannot be repaired.
Step 6
Reassemble the panels in reverse order, ensuring all screws are fully seated so the top panel does not vibrate loose. Before running any laundry, enter Calibration mode as described in the WTW8120HW service manual. This procedure lets the control board relearn the tub’s weight baseline and suspension response, which is essential after any mechanical repair to restore accurate load sensing. Run a full cycle with a normal mixed load to confirm that the F0E2 error is cleared and the machine completes the spin without interruption.
Where to Buy Replacement Parts
- Whirlpool WTW8120HW suspension rod kit W10780049 replacement
- Whirlpool top load impeller washer suspension spring set
- Whirlpool washer basket balance ring replacement W11240260
When to Call a Professional
If the issue persists after you’ve completed all the steps above, the problem may involve a failed main control board, a worn drive motor or bearing assembly, or wiring that requires specialized diagnostic equipment. In that case, it’s time to contact a licensed appliance technician. Remember to shut off both the hot and cold supply valves before any work that opens the fill circuit.
How Much Does This Repair Cost?
| Repair route | Typical cost |
|---|---|
| Do it yourself | $20–$120 (parts) |
| Professional repair | $150–$300 (parts and labor) |
DIY parts for an F0E2 load sense fault — such as a suspension rod kit or control board — typically run $20–$120. A professional service call on the Whirlpool WTW8120HW usually costs $150–$300 once labor is included. Tackling this repair yourself can save you $100 or more.
Frequently Asked Questions
Can I still use my Whirlpool WTW8120HW while the F0E2 error is active?
It’s best to avoid running the washer until the issue is resolved, as the machine may not distribute loads properly and could cause further damage. Completing cycles in this state can also strain the motor and suspension components.
What usually causes the F0E2 load sense fault on this model?
The most common causes are an unbalanced or overloaded drum, a faulty suspension rod, or a failing load sensor. Redistributing laundry and restarting the cycle often clears the error if the load is the culprit.
Will resetting the washer permanently fix the F0E2 error?
A reset may clear the code temporarily, but if the error returns, it’s likely a mechanical or sensor issue that needs attention. Inspect the suspension rods and control board before assuming the problem is resolved.
Recommended Products
These are the parts and tools I recommend for this repair, based on compatibility and customer reviews:
- Upgraded W11130362 Washer Suspension Rod Kit Fit for Whirlpool WTW5000DW1 WTW5000DW2 WTW5000DW3 and May-tag MVWX655DW1 MVWC565FW1 MVWC565FW2 Washer Parts Replaces W10780040 AP6262443 By AMI PARTS
- W11130362 Washer Suspension Rod Kit for Whirlpool Maytag Kenmore Washer Parts, 23.3in Fit Replaces WTW5000DW3 WTW5000DW2 MVWX655DW1 MVWC565FW1 W10594080 W10735786 W10748956 | 2026 Upgraded by PANDEELS
- W11130359 MVWB765FW3 MVWB765FW4 WTW7500GC2 Washer Suspension Rod Kit Compatible for Whirl.pool May.tag Ken.more Cros.ley 7MWTW7000EW0 7MWTW7300EW0 MVWB765FW4 MVWB765FW3-BY MIFLUS
- Whirlpool W11130362 Genuine OEM Top Load Washer Suspension Rod Kit Replacement Part – Replaces W10594080, W10735786, W10748956, W10780040, and more
The Suspension Rod Kit That Stops the F0E2 Load Sense Fault
When the basket drops unevenly or tilts during the cycle, the load sensor gets confused and throws the F0E2 code—and nine times out of ten, it’s worn suspension rods that caused it. This is the first part I replace on the WTW8120HW, and it’s genuinely a DIYer-friendly fix that takes about an hour.
What works
- All four rods come together in one kit, so you’re not making multiple orders or mixing old and new suspension components—consistency matters here.
- Once installed, the basket sits level again and the load sensor reads correctly; I’ve seen this fix resolve F0E2 errors that were driving people to buy a new washer.
- Replacement is straightforward on top-loaders—no drum removal required, just access from underneath, and the mounting bolts are accessible without special tools.
What doesn’t
- You need to work under the washer, which means tipping it or pulling it out from the wall—not a job for someone without a helper or access to a garage/workspace.
- If the bearing is actually damaged (rare, but it happens), the rods alone won’t fix the noise or vibration—you’ll need to diagnose that separately before ordering.
I’ve seen someone order just one replacement rod thinking they could fix it piecemeal—that made things worse because the basket still wasn’t balanced. Get the full four-rod kit from the start. Suspension rod kit (4 rods)
About This Article

Written by Dave Holt. Dave Holt has been taking apart and fixing household appliances since he was a teenager who couldn't leave a broken one alone. Eighteen years later, after fixing things for neighbors, friends, and anyone who'd let him, he's seen almost every failure mode there is. When he writes a repair guide here, it's based on the actual job, not a manufacturer overview. More about this site.
Scope and limits. Dave is a self-taught repairer, not a certified appliance technician. Unplug before you open anything, and leave sealed refrigeration systems, gas connections, and hardwired circuits to a qualified technician.


