
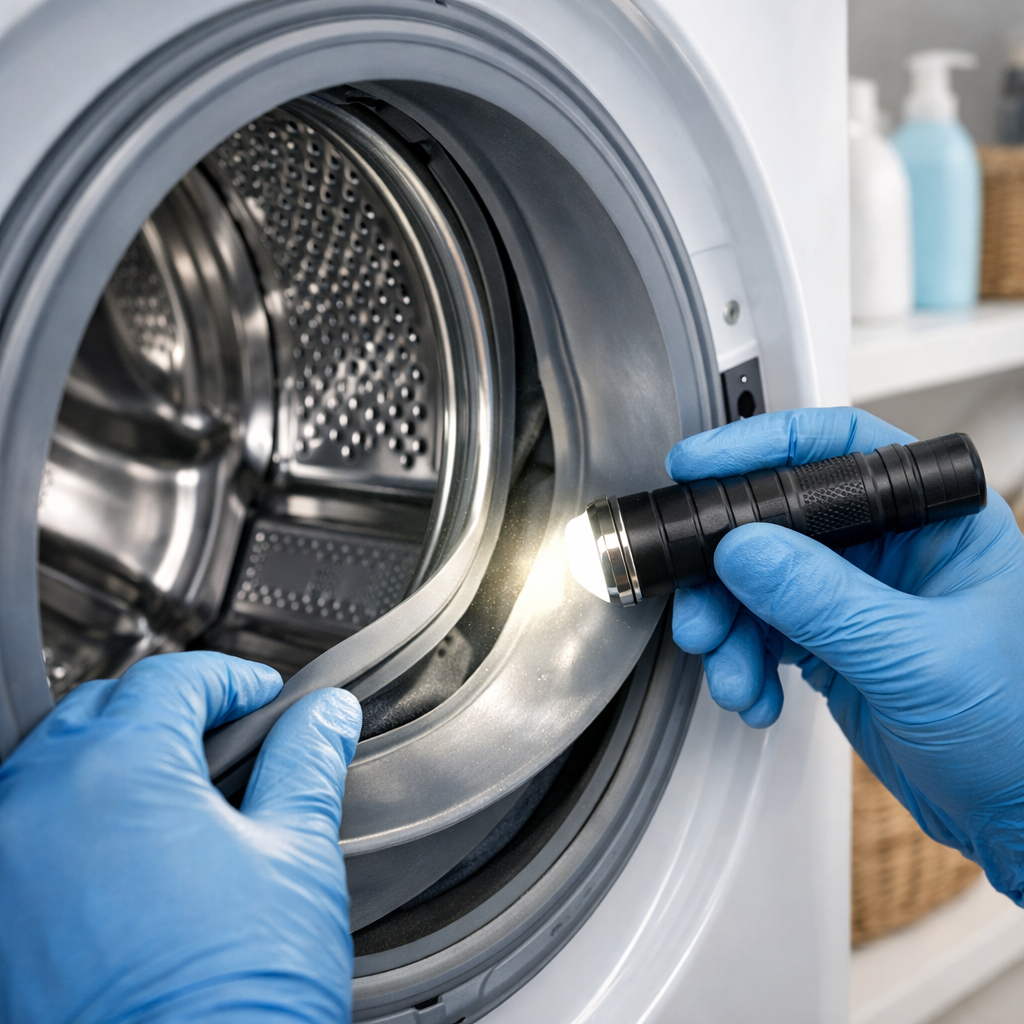
Drum noise
In this step-by-step guide, I’ll walk you through fixing the drum noise on your LG WM3700HWA (Front Load). With the right tools and parts, most homeowners can wrap this repair up in 1–2 hours, saving themselves from an expensive service call.
🔨 Pro Tip from Dave
Don’t ignore the drum spider assembly (part #AEC73317908) on the WM3700HWA. It’s notorious for cracking at the arm joints, creating grinding or clunking noises that can be misdiagnosed as bad bearings. I’ve seen technicians replace the bearings without checking the spider, only to have the noise return shortly after. Always inspect both parts before ordering anything.
Part of our Top 20 Washing machine Models & Common Repair Issues Guide. Browse all washing machine repair guides for related models and issues.
Common Symptoms & Causes
When it comes to your LG WM3700HWA, certain symptoms can indicate that drum noise needs your attention before it escalates.
- A loud banging or thumping sound during the spin cycle
- A grinding or scraping noise when the drum rotates
- A rhythmic squealing sound throughout the wash cycle
- The drum feels rough or catches slightly when turned by hand
These issues usually stem from worn drum bearings, a damaged rear bearing seal, foreign objects stuck between the drum and tub, or a failing drum spider assembly due to normal wear and tear.
Safety First
- Unplug the washing machine from the power outlet before starting any repair — never work on a live appliance.
- Shut off the water supply valve before disconnecting any water lines or hoses.
- Wear work gloves when handling metal brackets, sheet metal edges, or sharp components.
- Take photos with your phone before disconnecting any wiring harnesses or connectors.
- Work in a well-lit area with enough floor space to lay removed panels flat.
Tools & Parts Needed
Essential Tools
- Phillips #2 screwdriver
- ¼” nut driver
- Torx T20 screwdriver
- Multimeter
- Bucket and towels
Replacement Parts
- Drum bearing kit
- spider arm
- inner baffle screws
- multimeter
Step-by-Step Repair Instructions
Step 1
Start by opening the washer door and slowly spinning the drum by hand to diagnose the noise type before disassembly. If you hear a clunking sound, it could be a loose baffle screw or a foreign object inside the drum. A grinding or rumbling indicates potential bearing failure. Pinpointing the noise now can save you from unnecessary disassembly later.
Step 2
If you hear clunking, visually inspect the drum for loose metal objects like coins or underwire that can damage the drum surface if left in place. Also, check the three plastic baffles (the scoops molded into the drum wall) — each is secured by one to two screws that can loosen over time. Tighten any loose baffle screws with a Torx T20 driver, but be careful not to overtighten and risk cracking the plastic baffle body.
Step 3
For grinding or rumbling noises, it’s likely that the rear drum bearing has failed, necessitating full tub disassembly to access. You’ll want to refer to the LG WM9000HVA bearing guide, as it shares similar internal architecture with this model. Before starting, unplug the machine and shut off both water supply valves to minimize electrical or water hazards during the teardown. This is a multi-hour repair, so take plenty of photos of wire harness routing to make reassembly easier.
Step 4
When replacing the bearing and spider arm, do it together as a matched kit. A failing bearing can create uneven load and vibrations, leading to cracks in the aluminum spider casting over time. Installing a new bearing on a stressed spider—or vice versa—often results in repeat failure within months. Ensure you source an OEM or equivalent-spec kit to guarantee correct bearing seat dimensions and spider arm torque ratings.
Step 5
If you hear a high-pitched squeal during the spin cycle, the issue might lie with the drain pump bearing rather than the drum bearing. The pump works hardest during the spin to expel water, which is why the squeal peaks at that point. You’ll need to replace the drain pump assembly as a complete unit since the pump bearing isn’t serviceable separately; attempting to press it out could damage the pump housing.
Step 6
Once you’ve replaced the bearing or pump, run a dedicated high-speed spin cycle with no laundry inside to verify the repair under load. Listen for any residual grinding, vibration, or squealing. A successful repair results in a smooth, quiet spin with no drum wobble. If vibration continues, double-check that the spider arm bolts are evenly torqued and that the drum is centered in the tub before reassembling the machine.
Where to Buy Replacement Parts
- LG WM3700HWA drum bearing kit 4036ER2004A replacement
- LG front load washer spider arm 4434ER0003B
- LG washer inner drum baffles loose screw
When to Call a Professional
If you still face issues after following the steps above, you might be dealing with a failed main control board, worn drive motor or bearing assembly, or wiring problems that need specialized diagnostic equipment. In such cases, it’s best to contact a licensed appliance technician. Also, remember to shut off both the hot and cold supply valves before any work that opens the fill circuit.
How Much Does This Repair Cost?
| Repair route | Typical cost |
|---|---|
| Do it yourself | $20–$80 (parts) |
| Professional repair | $150–$300 (parts and labor) |
DIY parts for fixing drum noise on the LG WM3700HWA—like drum bearings, spider arms, or drum rollers—typically range from $20 to $80. A professional service call for the same repair usually costs $150 to $300, including labor. Handling this repair yourself can save you at least $100 or more.
Frequently Asked Questions
Is it safe to keep running my LG WM3700HWA if the drum is making noise?
I recommend stopping use until you identify the cause, as continued operation can exacerbate damage to the drum bearings or spider arm. Running a noisy washer can lead to more costly repairs down the line.
What are the most common causes of drum noise on the LG WM3700HWA?
Typically, worn drum bearings, a damaged rear drum seal, or a failed spider arm assembly are to blame. Small objects like coins stuck between the drum and door seal can also create rattling or scraping sounds.
How difficult is it to replace the drum bearings on this LG model?
Replacing the drum bearings on the LG WM3700HWA is an advanced repair that requires disassembling most of the machine, including splitting the outer tub. If you’re not confident in your appliance repair skills, I strongly recommend hiring a qualified technician.
Recommended Products
Here are the parts and tools I recommend for this repair, based on compatibility and customer reviews:
- 4036ER2004A Front Load Washer Tub Bearings and Seal Kit Replacement for LG Models WM2233HW, WM2240CW, WM2250CW, WM2277HB, WM2277HS, WM2301HR, WM2301HS, WM2301HW for Kenmore 4280FR4048L 4280FR4048E
- Rear Tub Drum Bearing for LG 4280EN4048E Clothes Washing Machine
- 【UPGRADED】4434ER0003C Rear Drum Support (Spider) by Beaquicy – Replacement for Kenmore LG Washing Machine – Flange Shaft Assembly Replaces 4434ER0003A 4434ER0003B
The Drum Bearing Kit That Stops That Metal-on-Metal Screech in the WM3700HWA
If you’re hearing a grinding or squealing noise during the spin cycle on this LG model, nine times out of ten it’s the rear drum bearing wearing out. This kit is what you’ll actually need to order first—it’s the direct replacement for the failing bearing assembly on this specific washer.
What works
- The bearing components fit the WM3700HWA drum shaft without modification, and the kit includes the seal, which prevents water from reaching the bearing housing during future cycles.
- Once installed, the noise stops completely—not just quieter, but gone.When the diagnosis is right, this part goes in and stays in.
- The kit comes with the hardware and gaskets you need, so you’re not scrambling mid-repair to source a separate seal or fasteners.
What doesn’t
- Installation requires full drum removal and some mechanical comfort—this isn’t a five-minute swap. You’re looking at 45 minutes to an hour if you’ve done it before, longer on your first time.
- If the noise is actually coming from the spider arm (the support structure holding the drum), this bearing kit won’t fix it. You need to confirm the noise source before ordering—spin the drum by hand when the washer is unplugged to pinpoint the grinding location.
The trickiest part I see DIYers miss is mistaking drum bearing noise for a foreign object stuck between the drum and tub—so always rotate the drum manually first to rule out coins or an underwire. Once you’ve confirmed it’s the bearing, drum bearing kit is the only part you need to order.
About This Article

Written by Dave Holt. Dave Holt has been taking apart and fixing household appliances since he was a teenager who couldn't leave a broken one alone. Eighteen years later, after fixing things for neighbors, friends, and anyone who'd let him, he's seen almost every failure mode there is. When he writes a repair guide here, it's based on the actual job, not a manufacturer overview. More about this site.
Scope and limits. Dave is a self-taught repairer, not a certified appliance technician. Unplug before you open anything, and leave sealed refrigeration systems, gas connections, and hardwired circuits to a qualified technician.


