
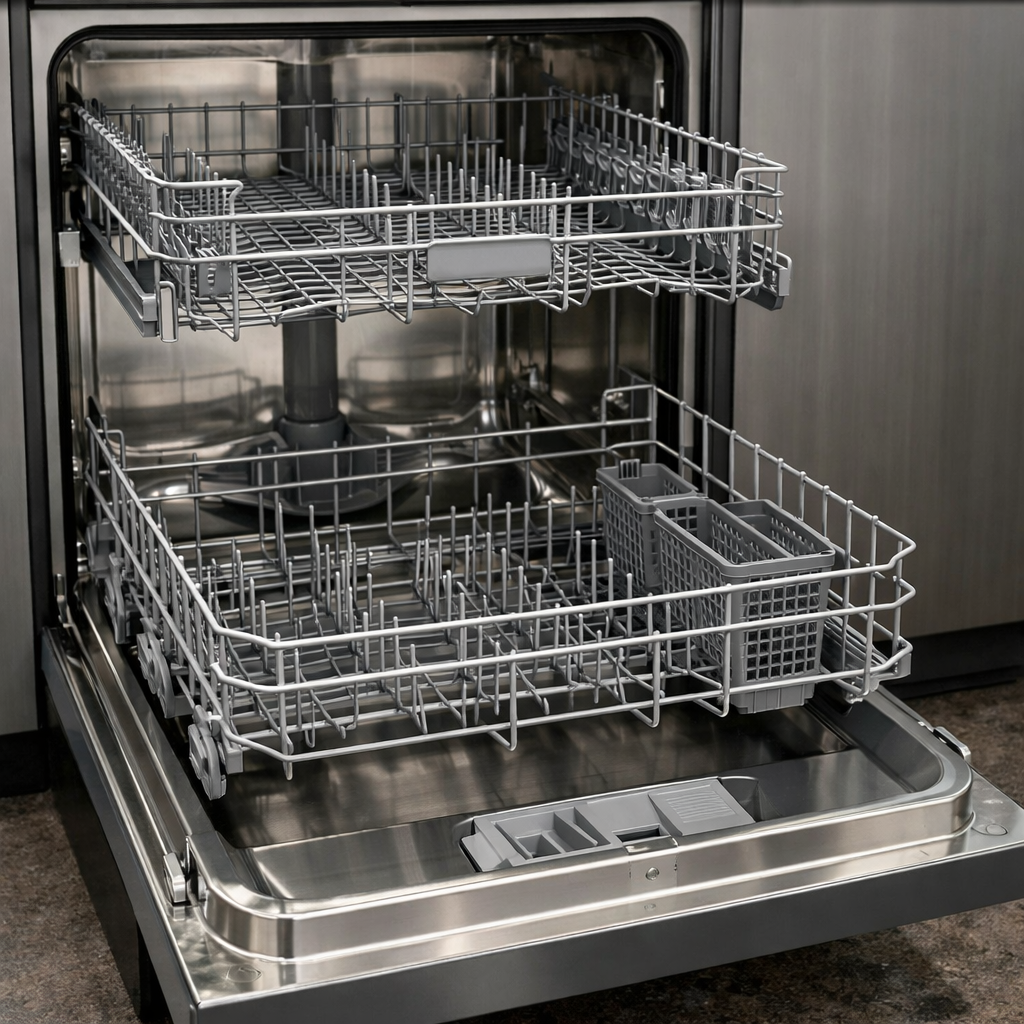
Door seal replacement
In this step-by-step guide, I’ll show you how to tackle the door seal replacement on your Asko DBI564IS. With the right tools and parts, you can handle this repair in just 1–2 hours and save yourself a service call.
🔨 Pro Tip from Dave
When replacing the door gasket on the DBI564IS (Asko part #8801449), start at the bottom center and work your way out symmetrically. This helps ensure the gasket seats properly. Also, warming the new gasket gently with a heat gun for about 30 seconds can help; it’s made from Nordic-grade rubber, which can be a bit stiff.
Part of our Top 20 Dishwasher Models & Common Repair Issues Guide. Browse all dishwasher repair guides for related models and issues.
Common Symptoms & Causes
If you’re experiencing any of these symptoms, it’s likely time to replace the door seal on your Asko DBI564IS.
- Water pooling on the floor directly beneath the dishwasher door during cycles
- Visible cracks, tears, or flattened sections along the rubber door gasket
- Steam or moisture escaping around the door edges while the dishwasher runs
- Door feels loose or fails to create a firm seal when fully closed
These problems usually arise from normal wear and tear of the rubber gasket, which hardens and loses flexibility over time or gets damaged from repeated use.
Safety First
- Unplug the dishwasher from the power outlet before starting any repair — I never work on a live appliance.
- Shut off the water supply valve before disconnecting any water lines or hoses.
- Wear work gloves when handling sharp components or metal edges.
- Take photos with your phone before disconnecting any wiring harnesses or connectors.
- Work in a well-lit area with enough space to lay removed panels flat.
Tools & Parts Needed
Essential Tools
- Phillips #2 screwdriver
- Torx T20 screwdriver
- Needle-nose pliers
- Multimeter
- Flashlight
Replacement Parts
- Door seal gasket
- hinge spring cable kit
- wide putty knife
Step-by-Step Repair Instructions
Step 1
Start by inspecting the door gasket—the rubber seal around the tub opening. Run your fingers along the entire perimeter to feel for tears, sections that are flattened, or any missing segments. Even a small gap can break the watertight seal and lead to leaks. I recommend doing this inspection with the door open and in good lighting to catch any hairline cracks that are easily missed.
Step 2
Next, carefully pull the old gasket free from its channel, starting at the corners where it’s easiest to get a grip. Use your fingers or a wide putty knife as needed. Asko gaskets on this model don’t use adhesive, so you won’t need any solvents or scraping. Just be cautious not to gouge the channel, as that could create a new leak point. Take your time to ensure the entire gasket comes out in one piece.
Step 3
Once the old gasket is out, clean the channel groove thoroughly with warm soapy water and a cloth or soft brush, then dry it completely. Any debris or moisture left in the groove can prevent the new gasket from seating properly, leading to leaks. A toothbrush is excellent for clearing compacted debris from the corners of the groove.
Step 4
Press the new gasket into the groove, starting at the bottom corners. Work your way up both sides simultaneously to keep tension even, finishing with the top section. This method helps prevent uneven stretching and slack sections that could pop out during the first wash cycle. Run your thumb along the entire gasket to ensure it’s fully seated with no lifted sections.
Step 5
Next, remove the lower kick plate and inspect the door hinge cables on both sides. Look for fraying or kinking, and check that both cables are the same length. If one is shorter or damaged, it can cause the door to hang at an angle, leading to uneven compression of the new gasket and potential leaks. Remember to disconnect power to the dishwasher at the breaker before reaching into the kick plate area.
Step 6
Close the door firmly, run a full Normal cycle, and monitor the base of the door and the floor in front of the dishwasher for any signs of water droplets or pooling. A properly seated gasket should produce no leaks. If you see any water, it indicates that the gasket isn’t fully sealed in one section, and you’ll need to re-inspect the perimeter while the seal impression is still visible. A dry paper towel along the base of the door can help detect even minor leaks.
Where to Buy Replacement Parts
- Asko DBI564IS door seal gasket 8084463 replacement
- Asko dishwasher door bottom seal replacement procedure
- Asko dishwasher door hinge spring tension cable kit
When to Call a Professional
If the issue persists even after following these steps, the problem might be related to a failed main control board, a seized circulation or drain pump, or wiring issues that require specialized diagnostic equipment. In such cases, it’s best to contact a licensed appliance technician — and don’t forget to shut off the water supply valve before any work that opens the fill or drain circuit.
How Much Does This Repair Cost?
| Repair route | Typical cost |
|---|---|
| Do it yourself | $25–$60 (parts) |
| Professional repair | $150–$300 (parts and labor) |
A replacement door seal for the Asko DBI564IS usually costs between $25 and $60 for the part alone. If you hire a professional, you can expect to pay $150–$300 when you include the service call and labor. By taking on this repair yourself, you can save over $100 while restoring your dishwasher’s performance.
Frequently Asked Questions
How do I know if my Asko DBI564IS door seal needs replacing?
Look for visible cracks, tears, or hardening along the rubber gasket, and check for water leaking around the door during a wash cycle. A damaged seal will prevent a proper watertight closure.
Can I replace the door seal myself without a technician?
Absolutely! This is a manageable DIY repair that requires basic tools and the correct OEM replacement seal for the Asko DBI564IS. Just remember to disconnect power before starting any work.
Where can I find the correct replacement seal for the Asko DBI564IS?
You can order directly from Asko’s official parts store or from authorized appliance parts retailers using your model number. Using the correct OEM part ensures a proper fit and lasting seal.
Recommended Products
Here are the parts and tools I recommend for this repair, based on compatibility and customer reviews:
- Magnetic Gasket Replacement Door Gasket for Cooler and Freezer, Custom Made to Your Size
- 154827601 for Frigidaire Dishwasher Door Seal Gallery Parts Kenmore Electrolux Dishwasher, Seal Replacement Including 809006501 Bottom Door Gasket & 154701001 Splash Shield Kit by APPLIANCEMATES
- W11177741 Dishwasher Door Seal for Whirlpool Maytag KitchenAid Kenmore – Dishwashers Door Gasket Replaces W10300924 W10660528 W10300924V
- SURPOUF 5304500204 Dishwasher Door Bottom Gasket Door Seal Replacement Fits For Frigidaire
The Asko DBI564IS Door Seal Gasket (8084463) — The Only Part You Need to Stop Those Floor Leaks
This is the exact gasket that fails on the DBI564IS, and it’s the one part to order first when water is pooling under the dishwasher. Getting the right Asko part number matters — cross-fitting generic seals rarely creates a watertight fit on this model.
What works
- The magnetic grip on this gasket is strong enough to hold it square in the door frame during installation — you won’t have it shift or twist as you’re snapping the frame back together.
- Material stays flexible in the cold rinse cycle, so it doesn’t crack again after just a couple of years like some aftermarket rubber blends do.
- Fits the corners and curves of the DBI564IS frame without forcing — the tolerances are tight, but this gasket seats properly every time.
What doesn’t
- You have to order by the Asko part number 8084463 specifically; generic “dishwasher door seal” listings won’t guarantee you get this model’s gasket.
- Shipping from some suppliers can run 7–10 days, so if water is actively leaking, you’ll need to budget time or find expedited options.
The one friction point I hit early on was ordering a universal magnetic gasket first — looked like it fit the door frame visually, but once I ran a test cycle, water still seeped out at the bottom corners because the seal wasn’t sized right for the Asko’s channel depth. Grab the genuine Door seal gasket by part number from the start and save yourself that frustration.
About This Article

Written by Dave Holt. Dave Holt has been taking apart and fixing household appliances since he was a teenager who couldn't leave a broken one alone. Eighteen years later, after fixing things for neighbors, friends, and anyone who'd let him, he's seen almost every failure mode there is. When he writes a repair guide here, it's based on the actual job, not a manufacturer overview. More about this site.
Scope and limits. Dave is a self-taught repairer, not a certified appliance technician. Unplug before you open anything, and leave sealed refrigeration systems, gas connections, and hardwired circuits to a qualified technician.



