
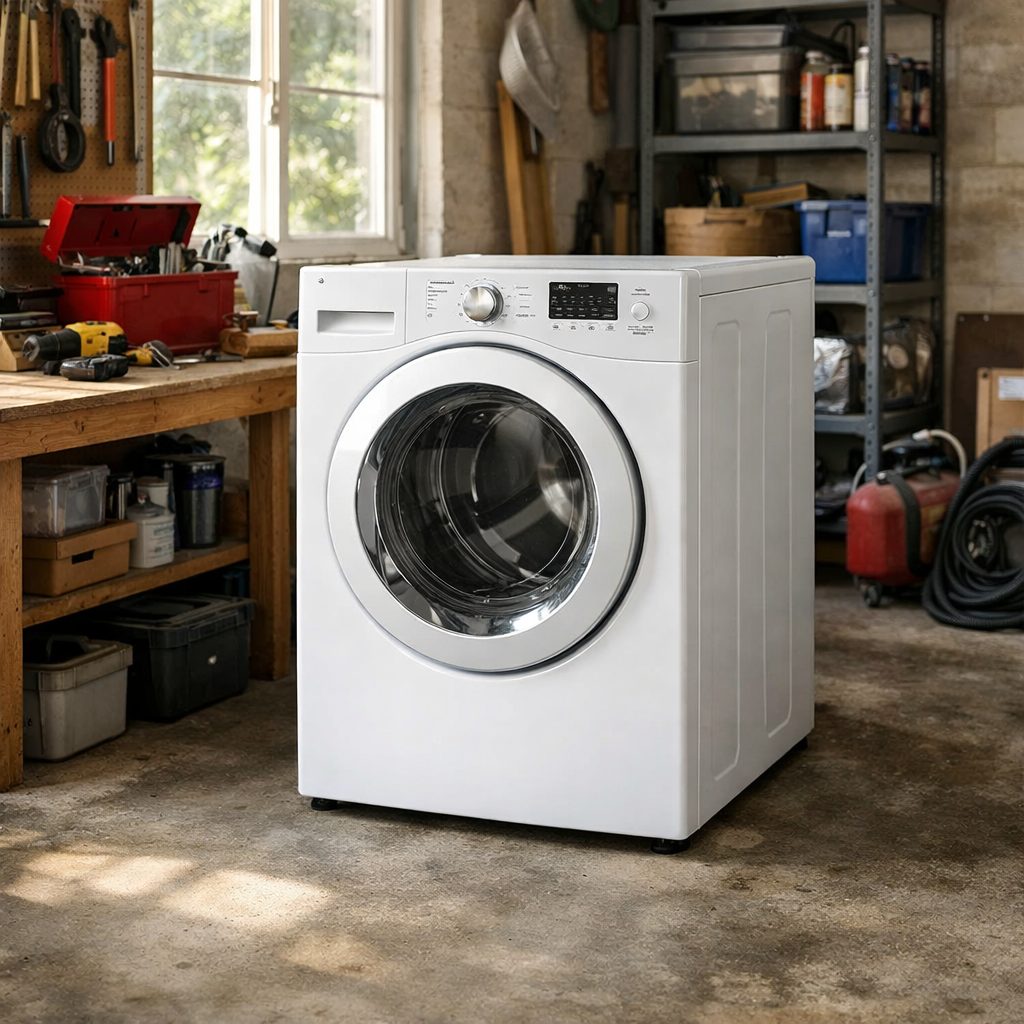

🔩 Lid Switch Failure Repair Guide for Frigidaire FFTW4120SW (Top Load)
💡 Don’t panic! If your Frigidaire FFTW4120SW is experiencing lid switch failure, you’re not alone. This is a common issue, and many DIY enthusiasts can tackle the repair themselves. This guide will walk you through the process step by step, just as I’ve done countless times on the road.
🔨 Pro Tip from Dave
On the FFTW4120SW, the lid switch uses part number 131763202. But here’s a crucial point: the plastic strike tab on the lid often breaks before or alongside the switch itself. Make sure to inspect it carefully before ordering parts. Replacing only the switch while ignoring a broken strike will lead you right back to square one. Check both before making any purchases.
📋 What You’ll Need
- Lid switch
- Switch bracket
- Multimeter
- Unplug the washing machine from power
- Turn off water supply valves
- Allow the machine to cool down if it was recently running
- Have a clean, well-lit workspace
- Unplug the washing machine from the wall outlet and wait 30 seconds for any residual electrical charge to dissipate.
- Set your digital multimeter to the continuity or ohms (Ω) setting, typically indicated by a diode symbol or “200Ω” range.
- Open the washer lid fully and locate the lid switch assembly on the top right corner of the cabinet opening, approximately 2 inches from the right edge and 1 inch down from the top rim.
- Identify the lid switch—a white or gray plastic housing measuring roughly 2 inches long by 1 inch wide with a protruding actuator button that the lid presses down when closed.
- Trace the two wires (typically white and gray or white and black) leading from the lid switch down into the cabinet approximately 8 inches to a wire harness connector.
- Pull the connector apart by squeezing the locking tab and pulling both halves straight apart—you’ll feel it release with moderate hand pressure.
- Touch one multimeter probe to each of the two terminals on the lid switch side of the connector (not the harness side).
- With the lid open and the switch actuator button extended, the multimeter should read “OL” (open loop) or infinite resistance, indicating no continuity.
- Close the lid completely so it presses the actuator button fully down—you’ll hear a distinct click.
- Keep the multimeter probes on the same two terminals and observe the reading change to 0-2 ohms, indicating good continuity through the closed switch.
- Open the lid again and verify the reading returns to “OL” or infinite resistance.
- Locate the lid switch assembly on the top rim of the washer tub, positioned at the front right corner approximately 3 inches from the right edge and 2 inches from the front edge.
- Open the washer lid fully (90 degrees) and examine the white plastic actuator tab on the underside of the lid, centered 4 inches from the front edge of the lid.
- Close the lid slowly while watching the actuator tab descend toward the lid switch button—a small white plunger approximately 0.5 inches in diameter protruding from the switch housing.
- Verify the actuator tab contacts the switch button directly in the center when the lid closes completely. You should hear a distinct click when the switch engages.
- Open the lid and press the switch button manually with your finger—it should depress approximately 0.25 inches with light resistance and spring back immediately when released.
- If the actuator tab misses the switch button or contacts off-center, measure the gap between the tab and button when the lid is fully open—this distance should be 1.5 to 2 inches.
- Check for a bent or cracked actuator tab by grasping it firmly and attempting to wiggle it side-to-side—there should be zero movement.
- Inspect the switch mounting bracket for looseness by gripping the switch housing and attempting to move it—it should be completely rigid with no play.
- Examine the switch button for damage—look for cracks, missing pieces, or a button that remains depressed and doesn’t spring back within 1 second of releasing pressure.
- Verify proper alignment by placing a straightedge or ruler vertically from the closed lid’s actuator tab down to the switch button—they should form a straight vertical line with zero offset to either side.
- Locate the lid switch connector you disconnected in Step 2—it’s a white rectangular plastic connector approximately 1 inch wide with 3 wires (typically brown, white, and gray) attached to the female connector half.
- Hold the female connector half (the one with wire terminals visible inside the plastic housing) in your left hand with the wire entry point facing away from you.
- Identify the terminal positions: looking at the connector face, you’ll see 3 metal terminals arranged in a row—left, center, and right positions.
- Leave the washer unplugged for this entire step. The switch is tested de-energized, so there is never a reason to put power back on the machine with the lid interlock defeated.
- Set your multimeter to the continuity setting (the audible beep icon) or to the Rx1 ohms scale.
- Touch one probe to the left terminal on the switch body (the one the brown wire feeds) and the other probe to the right terminal (the gray wire side). Leave the center terminal alone.
- With the lid raised and the switch plunger fully extended, the meter should read open – no beep, OL, or infinite resistance.
- Now press the plunger in with your finger, or close the lid so the strike depresses it. The meter should snap to continuity, under about 1 ohm.
- Release and depress the plunger five or six times in a row. The reading has to change cleanly every single time; a switch that sticks, flickers, or reads a few hundred ohms when closed is failing intermittently.
- If the switch reads open with the plunger pressed, or never opens with it released, the lid switch is confirmed bad and requires replacement (part number 131763202).
- If the switch tests good in both positions, the fault is upstream – ohm the harness from the switch connector back to the control board and inspect for corroded or backed-out terminals.
- Reconnect the switch connector before you plug the washer back in. Never run this machine with a jumper in the lid switch circuit – that interlock is what stops the tub when the lid opens.
- Locate the faulty lid switch – it’s a small rectangular component (approximately 1 inch x 0.5 inch) mounted on the top inner rim of the washer cabinet, typically 3-4 inches from the right side near where the lid closes.
- Identify the wire harness connected to the switch – you’ll see a white plastic connector with 2 or 3 wires (usually white, black, and possibly orange) plugged into the switch terminals.
- Press the plastic tab on the side of the wire connector with your thumb while pulling the connector straight away from the switch terminals – you’ll feel it release with slight resistance.
- Remove the single mounting screw securing the switch to the cabinet using a 1/4-inch nut driver – turn counterclockwise 4-5 full rotations until the screw comes free.
- Pull the old switch straight up and out of its mounting bracket – it should lift away easily once the screw is removed.
- Position the new lid switch (Frigidaire part number 131763202 or compatible replacement) into the same mounting bracket with the wire terminals facing the front of the washer.
- Insert the mounting screw through the switch mounting hole and thread it into the cabinet bracket – hand-tighten initially.
- Tighten the mounting screw with the 1/4-inch nut driver, turning clockwise until snug – apply firm pressure but stop when you feel solid resistance (approximately 8-10 inch-pounds).
- Align the wire harness connector with the switch terminals, matching the connector shape to the terminal pins.
- Push the connector straight onto the switch terminals until you hear a distinct click – the connector should sit flush against the switch body with no gap visible between them.
- Test the switch by pressing the actuator button (the small protruding plunger) with your finger – it should depress 1/8 inch and spring back immediately when released.
- Locate the lid lock assembly at the top center of the washer tub opening, directly beneath where the lid closes.
- Open the lid completely and identify the white or gray plastic lid lock striker tab mounted on the underside of the lid, positioned 2-3 inches from the front edge of the lid.
- Close the lid and listen for the audible click as the striker engages with the lock mechanism – this click should occur within 1-2 seconds of closing.
- Press the Start/Pause button on the control panel to initiate a wash cycle.
- Wait 5-10 seconds and observe the lid lock indicator light on the control panel – it should illuminate solid red or display a locked padlock symbol.
- Attempt to lift the lid while the lock indicator is lit – the lid should not open and should feel completely rigid with no movement.
- Press the Start/Pause button again to pause the cycle.
- Listen for a distinct click from the lid lock mechanism within 3-5 seconds – this indicates the lock has released.
- Lift the lid – it should open freely without resistance.
- While the lid is open, use a flashlight to inspect the lock striker on the lid for cracks, wear marks, or missing pieces of plastic.
- Examine the lock mechanism housing in the top of the washer opening for debris, detergent buildup, or visible damage to the metal locking pin.
- Close the lid and repeat the lock/unlock test two more times to verify consistent operation.
- If the lock fails to engage, produces grinding noises, or doesn’t release, proceed to Step 6 for lid lock replacement.
- If the lock operates correctly with audible clicks and holds the lid firmly closed, the lid lock assembly is functioning properly – move to Step 6 to continue diagnosis of other components.
- 8318084 AP3180933 PS886960 Washer Door Lid Switch Kit Replacement Fits Whirlpool Roper Estate
- ERP 8269145 Dishwasher Mounting Bracket
- Direct replacement for the safety interlock circuit—once installed, the machine recognizes the closed lid and cycle starts normally again.
- Kit comes with the bracket assembly, so you’re not hunting for separate mounting hardware or worrying about orientation.
- Removal and install typically takes under 15 minutes once you pop the console panel—no special tools needed beyond a screwdriver.
- Cross-compatibility can be tricky—verify the kit matches your exact Frigidaire variant before ordering, as Whirlpool-platform switches don’t always fit without adapter modification.
- If your actual problem is a stuck lid latch or bent strike pin rather than switch failure, swapping the switch alone won’t solve it.
⚠️ Safety First
Before you start your repair, always:
🔧 Step-by-Step Repair Instructions
⚡
🔧 Step 1: Test Continuity When Lid Closed
🛠️ Step 2: Check Switch Alignment
⚙️ Step 3: Continuity-Test the Switch (Power Stays Off)
🔩 Step 4: Replace Switch if Faulty
📋 Step 5: Test Lid Lock Operation
💡 Pro Tips
Take photos as you disassemble components – they’ll be invaluable when putting everything back together. If you encounter resistance or something doesn’t seem right, stop and reassess rather than forcing it. These hands-on experiences have taught me that patience is key to a successful repair.
How Much Does This Repair Cost?
| Repair route | Typical cost |
|---|---|
| Do it yourself | $15–$35 (lid switch assembly) |
| Professional repair | $100–$175 (parts and labor) |
The replacement lid switch assembly for the FFTW4120SW typically runs $15–$35 for the part alone, making this an extremely budget-friendly DIY repair. A professional technician will usually charge $100–$175 total, including labor, so doing it yourself can save you over $100 on what is genuinely a straightforward fix.
🛒 Recommended Products
Here are the recommended products for this repair:
The Lid Switch Assembly That Stops the “Lid Open” False Alarm on Your Frigidaire
When your FFTW4120SW won’t spin or agitate because the control board thinks the lid is open—even though it’s clearly closed—you’re almost certainly looking at a failed lid switch. This is the part that actually triggers, and replacing it is the direct fix for that symptom. I’ve seen it time and again on my travels.
What Works
What Doesn’t
I’ve had homeowners order a switch kit only to discover the lid latch itself was bent—that’s why I always recommend testing the lid mechanism for physical damage before ordering. 8318084 AP3180933 PS886960 Washer Door Lid Switch Kit Replacement Fits Whirlpool Roper Estate
About This Article

Written by Dave Holt. I have been taking apart and fixing household appliances since I was a teenager who couldn't leave a broken one alone. Eighteen years later, after fixing things for neighbors, friends, and anyone who'd let me, I have seen almost every failure mode there is — and misdiagnosed my share along the way. I am self-taught, with no formal training or certifications. When I write a repair guide here, it is based on the actual job, not a manufacturer overview. More about this site.
Scope and limits. Dave is a self-taught repairer, not a certified appliance technician. Unplug before you open anything, and leave sealed refrigeration systems, gas connections, and hardwired circuits to a qualified technician.


