
Water leak from bottom
This step-by-step repair guide walks you through fixing water leak from bottom on your Samsung RB38T776CS9 (Bottom Freezer). With the right tools and parts, most homeowners can complete this repair in 1–2 hours and avoid a costly service call.
🔨 Pro Tip from Dave
On the RB38T776CS9, the defrost drain tube (part DA97-07549B) has a known tendency to freeze up and crack at the lower elbow joint — most techs miss this and just flush the drain without inspecting the tube itself. Always pull that tube completely and check for hairline cracks before reassembling, or you’ll be back doing the same job in three months.
Part of our Top 20 Refrigerator Models & Common Repair Issues Guide. Browse all refrigerator repair guides for related models and issues.
“`html
Common Symptoms & Causes
The following symptoms suggest your Samsung RB38T776CS9 bottom freezer has a water leak issue originating from the base of the unit.
- Puddle of water forming directly under the bottom freezer drawer
- Ice buildup visible on the freezer floor or beneath the evaporator cover
- Water trickling down the back interior wall of the freezer compartment
- Damp or wet flooring around the front or rear base of the refrigerator
This issue is most commonly caused by a blocked or frozen defrost drain, a cracked drain pan, or a deteriorated door gasket allowing warm air in and triggering excess condensation.
“`
Safety First
- Unplug the refrigerator from the power outlet before starting any repair — never work on a live appliance.
- Shut off the water supply valve before disconnecting any water lines or hoses.
- Wear work gloves when handling metal brackets, sheet metal edges, or sharp components.
- Take photos with your phone before disconnecting any wiring harnesses or connectors.
- Work in a well-lit area with enough floor space to lay removed panels flat.
Tools & Parts Needed
Essential Tools
- Phillips #2 screwdriver
- ¼” nut driver
- Needle-nose pliers
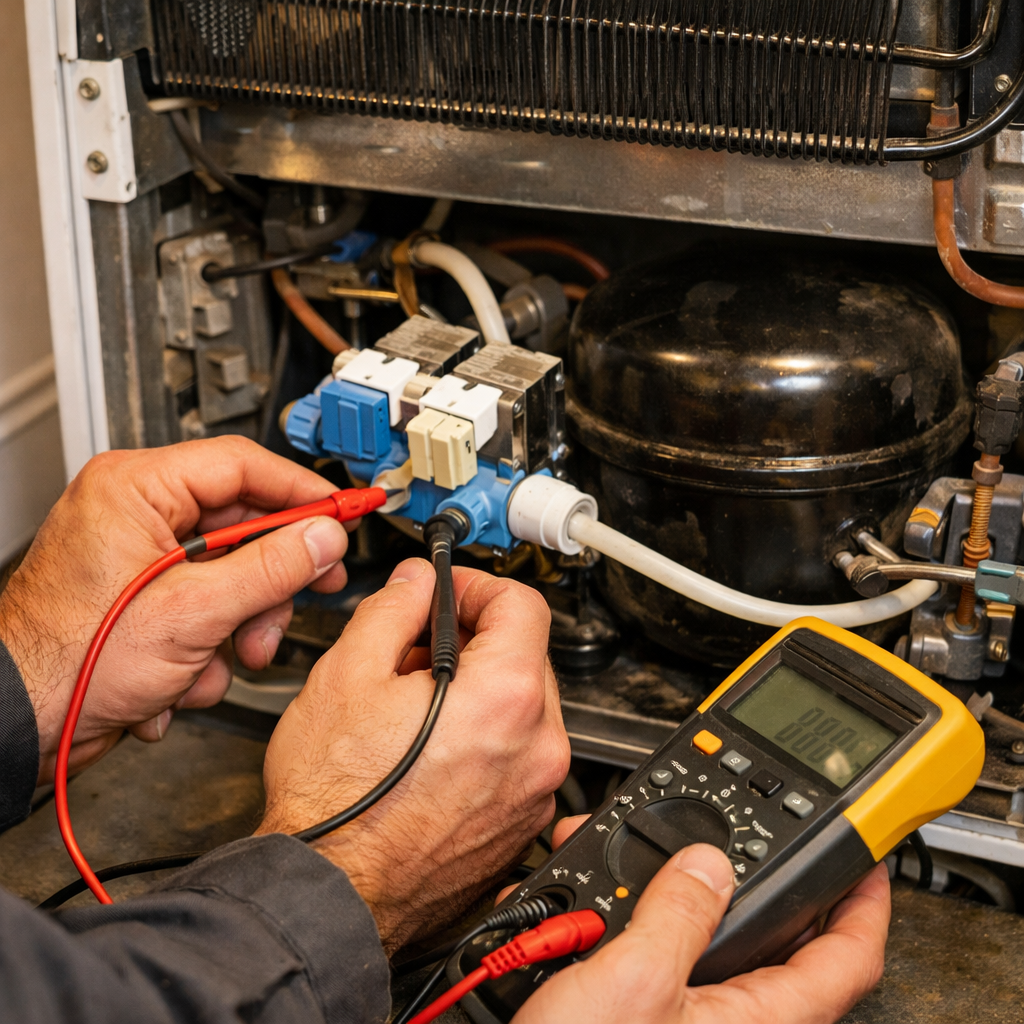
- Multimeter
- Flashlight or work light
Replacement Parts
- Turkey baster
- drain tube brush
- drain pan
- water inlet valve compression fitting
- paper towels
Step-by-Step Repair Instructions
Step 1
Unplug the unit and pull it away from the wall before doing anything else — working around live appliances near standing water is a shock hazard. Slide the drain pan forward from beneath the unit and inspect it for overflow or visible cracks; a cracked pan will drip constantly regardless of what else you fix, so replace it before moving on.
Step 2
Remove the freezer’s back interior panel (four Phillips screws) to access the defrost drain — a blocked drain is the single most common cause of bottom leaks on this model, because meltwater backs up and spills onto the floor instead of draining away. Flush the drain port with hot water using a turkey baster until it runs clear, then run a flexible brush down the drain tube to clear any compacted debris. Pro tip: adding a small pinch of baking soda after flushing helps prevent the biofilm buildup that causes repeat blockages.
Step 3
Move to the rear of the unit and inspect every fitting along the water inlet valve supply line, because even a slow weep at a loose connection will pool under the unit over time. Snug any suspect fittings with an adjustable wrench — ¼-turn past finger-tight is enough; over-tightening plastic fittings will crack them and make the leak worse.
Step 4
If you have an ice maker, trace the ¼” OD supply line from the inlet valve all the way to the ice maker housing, feeling and looking for damp spots, kinks, or hairline cracks — a cracked section under light pressure may only drip when the valve opens. Replace any damaged section with new ¼” OD braided supply tubing, which is more crack-resistant than the original plastic line. Make sure all push-fit or compression fittings click or seat fully before restoring water.
Step 5
Open both the fridge and freezer doors and run your fingers along the full perimeter of each door gasket, pressing inward to feel for gaps or stiff, brittle sections — a failing gasket lets warm humid air inside continuously, generating excess condensation that drips down and collects on the floor. This symptom is easy to overlook because the water appears on the floor rather than near any obvious plumbing, but a simple gasket replacement resolves it completely.
Step 6
Plug the unit back in and lay a double layer of paper towels flat under the entire footprint of the appliance, then leave them undisturbed overnight before checking. The location and pattern of any new moisture on the towels will pinpoint the source — front-centre points to the drain pan or defrost drain, rear spots indicate a supply line or valve issue, and a broad even dampness along the door edge suggests the gasket is still the culprit.
Where to Buy Replacement Parts
Find genuine OEM and aftermarket replacement parts for your Samsung RB38T776CS9 (Bottom Freezer) on Amazon:
- Samsung RB38T776CS9 drain pan DA63-07544A replacement
- Samsung refrigerator defrost drain unclog flush kit
- Samsung refrigerator water inlet valve DA97-12540B
When to Call a Professional
If the issue persists after completing all steps above, the problem may involve the sealed refrigerant system, a failed main control board, or wiring that requires specialized diagnostic equipment. Contact a licensed appliance technician — attempting sealed-system repairs without EPA 608 certification is illegal and unsafe.
“`html
How Much Does This Repair Cost?
DIY parts for fixing a water leak on the Samsung RB38T776CS9 typically cost between $10–$80, depending on the faulty component such as a drain tube, door gasket, or water inlet valve. A professional service call generally runs $150–$300 including labor. Tackling this repair yourself can save you $100 or more.
“`
## Frequently Asked Questions
Frequently Asked Questions
Why is my Samsung RB38T776CS9 leaking water from the bottom?
The most common causes are a clogged defrost drain, a cracked drain pan, or a loose water line connection. Ice buildup blocking the drain tube is the most frequent culprit in bottom freezer models.
Can I fix the water leak myself without a technician?
Yes, clearing a blocked defrost drain is a straightforward DIY repair requiring basic tools. However, if the drain pan is cracked or the water valve is faulty, replacing those parts may need professional help.
How do I prevent the drain from clogging again?
Flush the defrost drain with warm water every six months to prevent ice and debris buildup. Also ensure your freezer temperature is set correctly, ideally between -2°C and -18°C, to avoid excess frost accumulation.
Recommended Products
These are the parts and tools we recommend for this repair, based on compatibility and customer reviews:
- Sthovd DA97-04049D Refrigerator Water Leakage Assembly Replacement for Samsung Refrigerator Drain Tube kit Replace DA97-06970A 3436781 AP5957964 PS1005968 Includes Instructions
- DA97-04049D Refrigerator Drain Tube Cap Replacement DA97-04049A, DA97-04049H, DA97-06970A, DA97-11608B, AP4442156, PS4172177 to all RF and RJ labeled Samsung refrigerators(2 Pack)
- DA82-01415A DA97-04049D Water Leakage Assembly Replacement for Samsung Refrigerator Parts Water Leak Service Drain Tube Kit AP5957964 PS1005968 3436781 DA8201415A DA97-06970A
- SAMSUNG CLIP DRAIN EVAPORATOR REFOEM Original Part: DA61-06796A
As an Amazon Associate, I earn from qualifying purchases.


