
Cooling failure
This step-by-step repair guide walks you through fixing cooling failure on your Samsung RB38T776CS9 (Bottom Freezer). With the right tools and parts, most homeowners can complete this repair in 1–2 hours and avoid a costly service call.
🔨 Pro Tip from Dave
On the RB38T776CS9, a lot of techs miss that the defrost heater assembly (Samsung part DA47-00244C) sits behind a back panel that requires removing the entire freezer drawer rail system first — skip that step and you’ll crack the panel. Also, before replacing anything, check the defrost thermostat (DA47-00157A) with a multimeter for continuity at room temperature; a surprising number of these fail open and get overlooked, causing the same frost-over symptoms as a bad heater.
Part of our Top 20 Refrigerator Models & Common Repair Issues Guide. Browse all refrigerator repair guides for related models and issues.
“`html
Common Symptoms & Causes
The following symptoms on your Samsung RB38T776CS9 typically point to a cooling failure requiring immediate attention.
- The refrigerator compartment temperature rises above 10°C even when set to 3°C
- The freezer drawer fails to reach or maintain its set temperature of -18°C
- The display panel shows a temperature warning or flashing “88 88” error
- You hear the compressor running continuously but food is not staying cold
These issues are most commonly caused by a faulty evaporator fan motor, a failed start relay on the compressor, or a refrigerant leak resulting from normal wear or internal component failure.
“`
Safety First
- Unplug the refrigerator from the power outlet before starting any repair — never work on a live appliance.
- Shut off the water supply valve before disconnecting any water lines or hoses.
- Wear work gloves when handling metal brackets, sheet metal edges, or sharp components.
- Take photos with your phone before disconnecting any wiring harnesses or connectors.
- Work in a well-lit area with enough floor space to lay removed panels flat.
Tools & Parts Needed
Essential Tools
- Phillips #2 screwdriver
- ¼” nut driver
- Needle-nose pliers
- Multimeter
- Flashlight or work light
Replacement Parts
- Defrost heater
- evaporator fan motor
- start relay
- overload protector
- multimeter
Step-by-Step Repair Instructions
Step 1
Confirm which compartment is failing before opening anything, because the symptom pattern points directly to the faulty subsystem. If the fresh food section is warm but the freezer is still cold, the evaporator fan is the likely culprit; if both compartments are warm, suspect the compressor or defrost system. This triage saves you from dismantling the wrong area.
Step 2
Unplug the refrigerator before proceeding, then remove the freezer drawer and unscrew the back panel using a Phillips screwdriver (4 screws). Inspect the evaporator coils closely: a thick frost buildup confirms a defrost system failure, while coils that are clear of frost point toward a fan or compressor problem. Pro tip: photograph the coil area before touching anything so you have a reference for reassembly.
Step 3
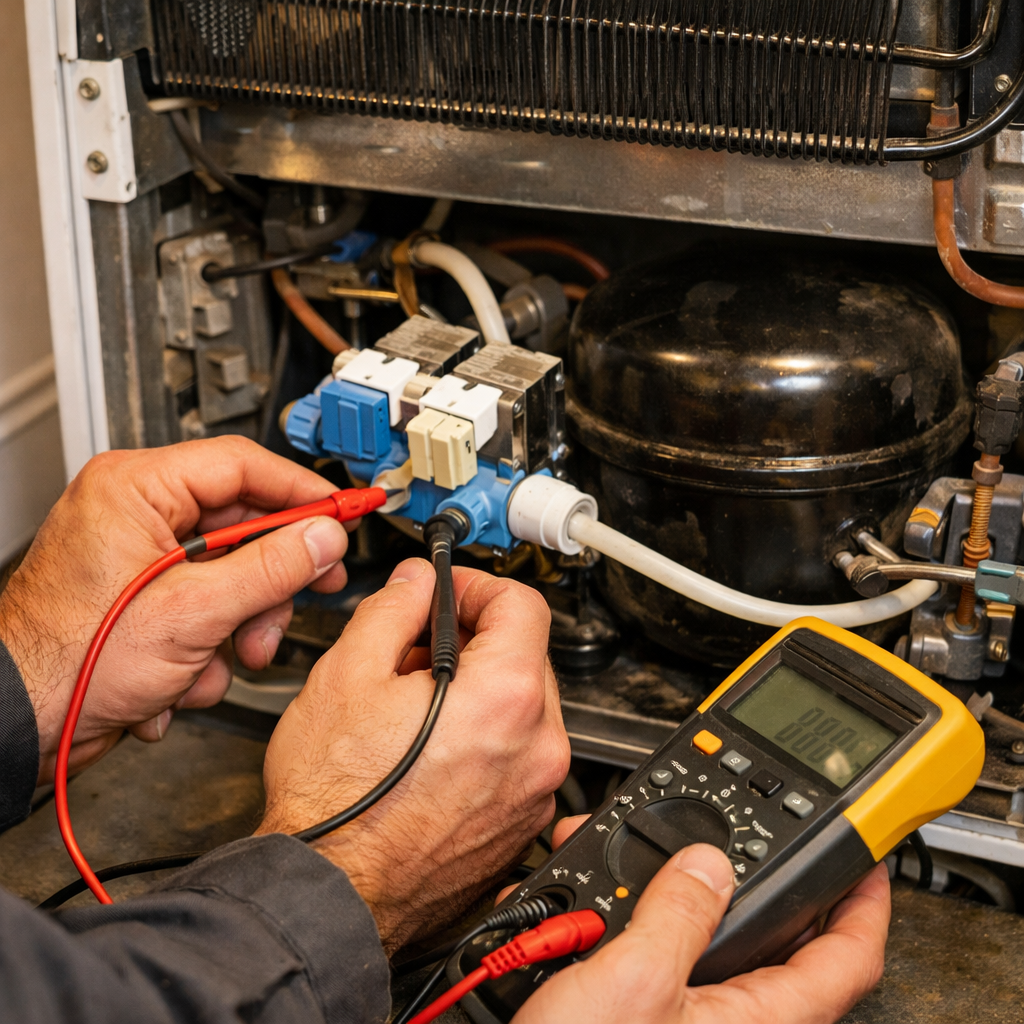
Test the defrost heater by setting your multimeter to Rx1 and checking for a resistance reading between 20–50Ω; a reading of zero or infinite resistance means the heater is open and must be replaced. Test the defrost thermostat for continuity at room temperature, as it should read closed (continuous) when not tripped — no continuity at room temp means it has failed. Always discharge any residual ice with a hair dryer on low heat rather than a sharp tool to avoid puncturing the evaporator.
Step 4
Manually spin the evaporator fan blade to check for physical resistance, wobble, or seizure, any of which indicate a worn bearing that will cause the fan to fail under load. Set your multimeter to Rx1 and probe the fan motor windings; an open or shorted reading confirms the motor needs replacement. Use only the OEM-specified fan motor for the RB38T776CS9, as generic substitutes can run at incorrect speeds and reduce cooling efficiency.
Step 5
Move to the rear of the refrigerator and remove the access panel using a ¼” hex driver (4 screws) to reach the compressor start components. Shake the start relay — a rattling sound means the internal contact is broken and the relay must be replaced; always replace the overload protector at the same time as a matched pair since they work together and the combined cost is only $20–35. Safety note: capacitor-type relays can hold a charge, so wait 5 minutes after unplugging before handling these components.
Step 6
Reassemble both the rear access panel and the internal freezer back panel, ensuring all screws are snug but not overtightened to avoid cracking plastic mounts. Plug the refrigerator back in and allow up to 6 hours for both compartments to stabilize at their set temperatures, as the thermal mass of the cabinet means recovery is gradual. If temperatures are still off after 6 hours, use the Samsung diagnostic mode (press both temp buttons simultaneously for 8 seconds) to check for stored fault codes before calling a technician.
Where to Buy Replacement Parts
Find genuine OEM and aftermarket replacement parts for your Samsung RB38T776CS9 (Bottom Freezer) on Amazon:
- Samsung RB38T776CS9 defrost heater DA47-00244A
- Samsung refrigerator evaporator fan motor DA31-00110L
- Samsung refrigerator start relay DA35-00103B
When to Call a Professional
If the issue persists after completing all steps above, the problem may involve the sealed refrigerant system, a failed main control board, or wiring that requires specialized diagnostic equipment. Contact a licensed appliance technician — attempting sealed-system repairs without EPA 608 certification is illegal and unsafe.
“`html
How Much Does This Repair Cost?
DIY parts for a Samsung RB38T776CS9 cooling failure typically cost between $20–$150, depending on whether you need a start relay, evaporator fan, or control board. A professional service call usually runs $150–$300 including labor. Tackling this repair yourself can save you $100–$200 or more.
“`
Frequently Asked Questions
How do I know if the evaporator fan is causing the cooling failure on my Samsung RB38T776CS9?
Open the freezer and listen for the fan running after the compressor starts. If you hear no airflow or unusual noise, the evaporator fan motor likely needs replacing.
Can a clogged defrost drain cause cooling failure in this bottom freezer model?
Yes, a blocked drain causes ice buildup around the evaporator coils, restricting airflow. Clearing the drain and manually defrosting the coils often restores normal cooling.
Should I attempt this repair myself or call a Samsung technician?
Basic checks like cleaning condenser coils or defrosting are safe DIY tasks. However, refrigerant issues or compressor faults require a certified technician.
Recommended Products
These are the parts and tools we recommend for this repair, based on compatibility and customer reviews:
- DA47-00244W Refrigerator Defrost Heater Assembly Compatible with Samsung Replaces PS9603659, AP5914487, 3955643
- DA81-06013A Refrigerator Evaporator Fan Motor,Replacement Parts DA31-00287A U92C12MS1B3-52 for Samsung RF28HMEDBSR RF28HFEDTSR RF26HFENDSL RF25HMEDBSR etc,with Silent Sponge(No Noise)
- DA31-00287B DC12V Refrigerator Evaporator Fan Motor for Samsung Refrigerator Freezer Fan Motor Replacement Part Replaces DA96-00968A DA31-00334A PS9494284 3954921 AP5948644
As an Amazon Associate, I earn from qualifying purchases.


