
Condensation buildup
This step-by-step repair guide walks you through fixing condensation buildup on your LG LBNC15221V (Bottom Freezer). With the right tools and parts, most homeowners can complete this repair in 1–2 hours and avoid a costly service call.
🔨 Pro Tip from Dave
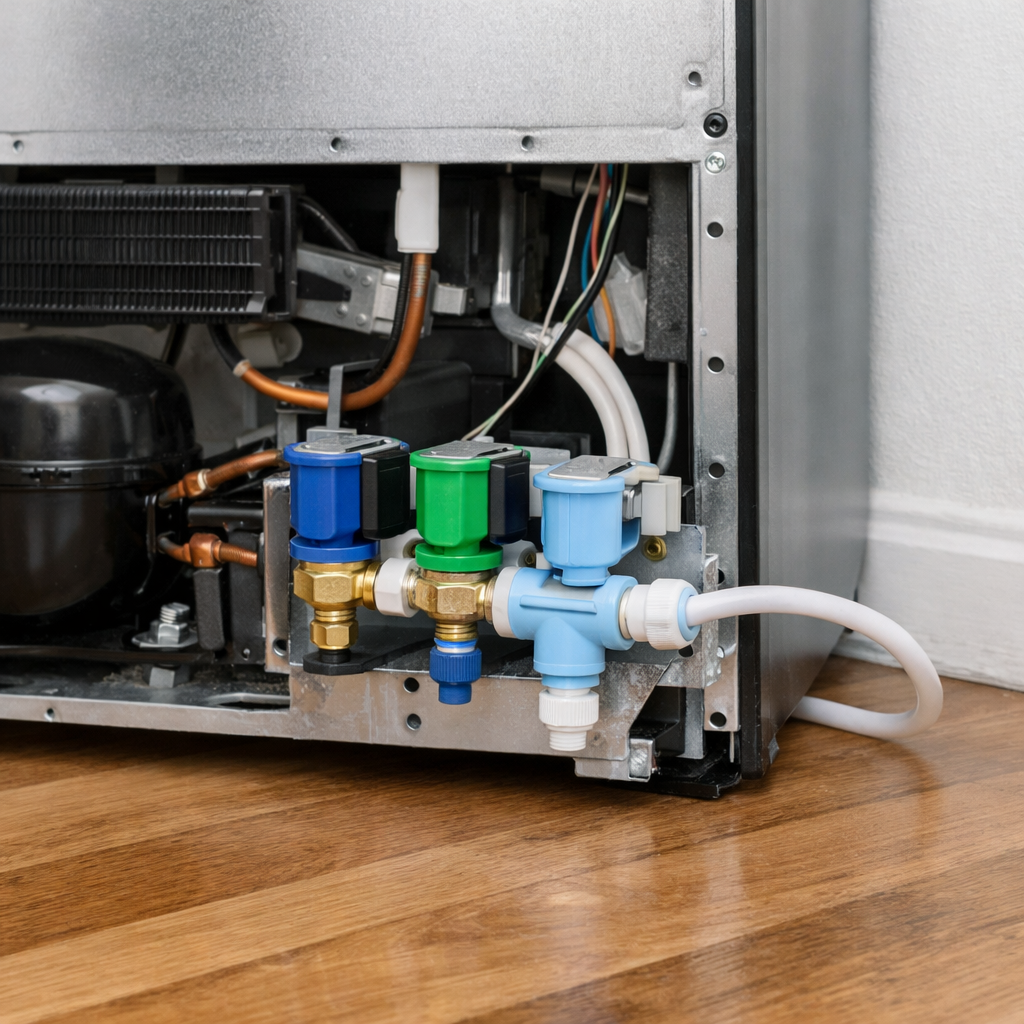
On the LG LBNC15221V, pay close attention to the drain tube and heater assembly (part number 5215JA2006B) — this model is notorious for the drain tube freezing over and causing condensation to pool inside the fresh food compartment. A common mistake I see is homeowners replacing the gasket first without checking whether the defrost drain is partially clogged, which means the problem comes right back within weeks.
Part of our Top 20 Refrigerator Models & Common Repair Issues Guide. Browse all refrigerator repair guides for related models and issues.
“`html
Common Symptoms & Causes
These signs on your LG LBNC15221V typically point to a condensation buildup problem that needs attention.
- Water droplets or frost collecting on the inside walls of the refrigerator compartment
- Puddles of water pooling on the bottom freezer drawer or floor beneath the unit
- Food packaging feels damp or wet after sitting in the fridge for a short time
- The door gasket appears wet, warped, or no longer seals flush against the cabinet
This issue is most commonly caused by a worn or damaged door gasket, a clogged defrost drain, or a faulty defrost heater that allows moisture to accumulate rather than drain and evaporate properly.
“`
Safety First
- Unplug the refrigerator from the power outlet before starting any repair — never work on a live appliance.
- Shut off the water supply valve before disconnecting any water lines or hoses.
- Wear work gloves when handling metal brackets, sheet metal edges, or sharp components.
- Take photos with your phone before disconnecting any wiring harnesses or connectors.
- Work in a well-lit area with enough floor space to lay removed panels flat.
Tools & Parts Needed
Essential Tools
- Phillips #2 screwdriver
- ¼” nut driver
- Needle-nose pliers
- Multimeter
- Flashlight or work light
Replacement Parts
Step-by-Step Repair Instructions
Step 1
Check the door gaskets first, because any gap or deformation allows warm, humid air to continuously enter the refrigerator and condense on cold interior surfaces. Press a dollar bill in the closed door and pull it out — if it slides out easily, the gasket has lost its seal and needs to be replaced. Pro tip: check the gasket along the full perimeter, not just one spot, since wear is often localized to the corners.
Step 2
Locate the anti-sweat heater, a thin resistance wire embedded in the door frame and mullion (the divider between the fresh food and freezer compartments), which is designed to keep those surfaces just warm enough to prevent surface condensation. Set your multimeter to continuity or resistance mode and probe both terminals of the heater — an open circuit (no continuity) means the heater has failed and must be replaced. Safety note: unplug the refrigerator before probing any electrical component to avoid shock risk.
Step 3
If the exterior walls of the refrigerator are sweating, check that the unit has at least half an inch of clearance on each side and one inch at the rear, because inadequate airflow traps heat around the cabinet and causes the outer surfaces to sweat. Restricted airflow also forces the compressor to work harder, raising cabinet temperatures and worsening condensation on interior surfaces over time. Pull the unit forward carefully and verify clearances with a tape measure before pushing it back into position.
Step 4
Verify that the refrigerator is not positioned within two feet of a dishwasher, stove, or other heat-producing appliance, because radiant and convected heat raises the ambient temperature immediately around the unit and makes condensation significantly worse. Even occasional dishwasher steam cycles can spike local humidity enough to overwhelm the anti-sweat system. If relocation is not possible, consider adding a thermal barrier panel between the appliances.
Step 5
In high-humidity climates, some exterior surface condensation during summer months is normal and not a sign of malfunction — the outer cabinet is simply cooler than the surrounding dew point. However, if water is pooling on the interior floor, dripping from the ceiling of the fresh food section, or you can see frost buildup inside, that indicates warm air infiltration and a gasket repair is needed. Use a flashlight to inspect the interior ceiling and rear wall for frost or water streaks, which pinpoint where infiltration is occurring.
Step 6
After completing any repairs, give the refrigerator a full 24 hours before assessing whether the condensation problem has resolved, because the interior thermal mass takes time to stabilize and surface moisture to fully evaporate. Wipe down all interior walls and shelves with a dry cloth before restarting the clock so you are evaluating new moisture, not residual dampness. Pro tip: if condensation returns within that 24-hour window, the root cause has not been fully addressed and the gasket or anti-sweat heater should be re-examined.
Where to Buy Replacement Parts
Find genuine OEM and aftermarket replacement parts for your LG LBNC15221V (Bottom Freezer) on Amazon:
- LG LBNC15221V mullion anti-sweat heater replacement 5006EL3001A
- LG refrigerator door gasket replacement seal MHL46915505
- LG refrigerator anti-condensation heater wire 5300JB1070A
When to Call a Professional
If the issue persists after completing all steps above, the problem may involve the sealed refrigerant system, a failed main control board, or wiring that requires specialized diagnostic equipment. Contact a licensed appliance technician — attempting sealed-system repairs without EPA 608 certification is illegal and unsafe.
“`html
How Much Does This Repair Cost?
DIY repairs for condensation buildup on the LG LBNC15221V typically cost between $10–$65, covering parts like door gaskets, drain tubes, or a defrost thermostat. A professional service call usually runs $150–$300 once you factor in labor and diagnostic fees. Tackling this repair yourself can save you $100 or more.
“`
Frequently Asked Questions
Why is my LG LBNC15221V building up condensation inside the refrigerator?
Condensation typically forms when warm, humid air enters through a worn or damaged door gasket. Inspect the rubber seal around your bottom freezer and refrigerator doors and replace it if you notice cracks or gaps.
Could a faulty defrost drain cause condensation buildup on my LG LBNC15221V?
Yes, a clogged or frozen defrost drain can cause moisture to accumulate inside the unit. Clearing the drain with warm water usually resolves the issue quickly.
How do I know if the temperature settings are contributing to the condensation problem?
If your refrigerator is set too warm, moisture in the air won’t be properly controlled. LG recommends setting the refrigerator to 37°F and the freezer to 0°F for optimal performance.
Recommended Products
These are the parts and tools we recommend for this repair, based on compatibility and customer reviews:
- ForeverPRO MAN62288601 Door Basket for LG Refrigerator
- ForeverPRO 5251JA2006B Tube Assembly Drain for LG Refrigerator
- SUPPLYZ Direct Replacement for LG 5251JA3004E Refrigerator Tube Assembly Drain
- LG 5251JA3004E Refrigerator Drain Tube Assembly Genuine Original Equipment Manufacturer (OEM) Part
As an Amazon Associate, I earn from qualifying purchases.


