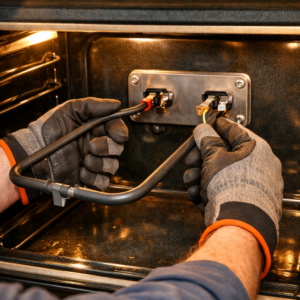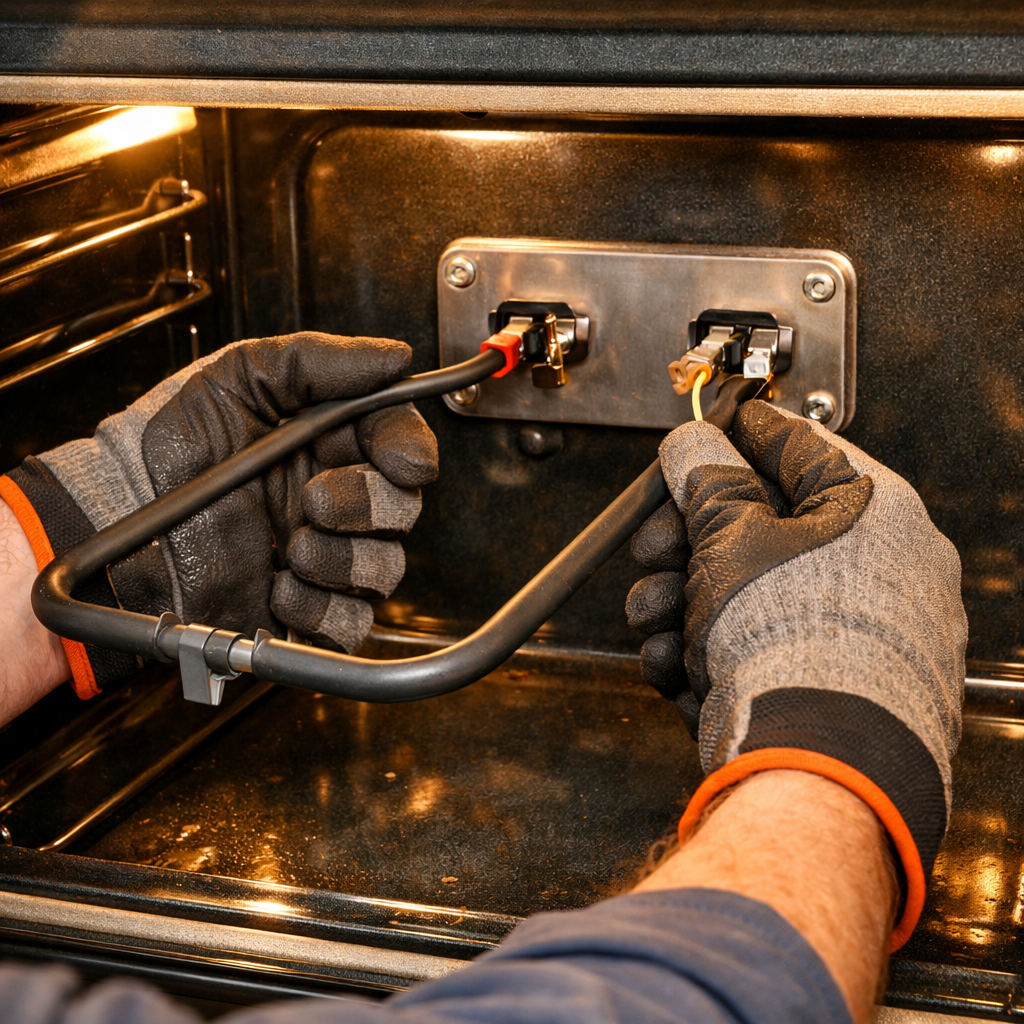

SN686S Door Switch Replacement Guide
If your Panasonic NN-SN686S inverter microwave won’t start when the door is closed, or worse, runs with the door open, it’s likely time to replace the door switch. This switch serves as a critical safety interlock, preventing the microwave from operating when the door is ajar. Don’t worry—this is a MODERATE difficulty repair that most homeowners can handle with a little patience.
🔨 Pro Tip from Dave
On the NN-SN686S, it’s common for the monitor switch (part F06014Y00AP) to fail alongside the primary interlock switch. If you’re already in there, replace both to avoid future headaches. Be careful not to force the door latch hooks during disassembly; this can crack the plastic housing and create a whole new issue. And always discharge the capacitor before diving in—this unit’s capacitor can hold a lethal charge even hours after being unplugged.
Symptoms of Door Switch Failure
Here are some signs that indicate a door switch failure:
- Microwave won’t start even when the door is fully closed
- Microwave runs with door open (serious safety issue)
- Intermittent operation – works sometimes, not others
- Door must be held closed for microwave to work
- Error messages when trying to start
⚠️ Safety Warning
Before starting any repair, always unplug the microwave. Wait at least 60 seconds to allow capacitors to discharge. A faulty door switch is a serious safety hazard; if your microwave runs with the door open, stop using it immediately until it’s repaired.
Parts Needed
Panasonic F603Y3M00AP door switch – Amazon (Part #: F603Y3M00AP)
Tools Required
- Digital Multimeter – For testing continuity
- Phillips Screwdriver – #2 size
- Needle-Nose Pliers – For wire connections
- Flashlight – To see inside the case
- Safety glasses – Protection from debris
Step-by-Step Instructions
Step 1: Unplug and Prepare
Start by unplugging the microwave from the wall outlet. Give it at least 60 seconds to discharge. Then, move the microwave to a well-lit workspace that provides ample access to all sides.
Step 2: Remove the Outer Case
Locate the screws on the back panel of the microwave. Typically, there are 6-8 screws securing the rear cover. Use your Phillips screwdriver to remove them and place them in a magnetic parts tray or container. Carefully lift the rear panel off while being cautious of any connected wires.
Step 3: Locate the Door Switch
The door switch is situated near the door latch mechanism, usually mounted on a bracket close to the top or side of the door opening. You’ll see a button that gets pressed when the door closes.
Step 4: Test the Door Switch
Before replacing it, test the door switch with your multimeter:
- Set the multimeter to continuity mode (ohms)
- With the door open, touch the probes to the switch terminals
- The meter should indicate no continuity (open circuit)
- Close the door manually (or press the switch button)
- The meter should then show continuity (closed circuit)
- If continuity is present when the door is open, the switch is faulty
- If no continuity is shown when the door is closed, the switch is faulty
Step 5: Disconnect the Wires
The door switch has wire connections. Use needle-nose pliers to gently pull the wire connectors off the switch terminals. A quick tip: take a photo with your phone before disconnecting to ensure proper reconnection. Label each wire if necessary.
Step 6: Remove the Old Switch
Usually, the door switch is held in place by one or two small screws or clips. Use your Phillips screwdriver to remove these mounting screws. Some switches might have plastic tabs that need careful release. Gently take out the old switch from its mounting bracket.
Step 7: Install the New Switch
Insert the new Panasonic F603Y3M00AP switch in the same position as the old one. Ensure the orientation matches the original— the button should face the door latch mechanism. Secure it with the mounting screws, taking care not to overtighten.
Step 8: Reconnect the Wires
Using your earlier photo as a reference, reconnect the wires in the correct order. Firmly push the wire connectors onto the switch terminals until they click into place. Double-check that all connections are secure and there are no loose wires.
Step 9: Test the Installation
Before reassembling, test the new switch with your multimeter. With the door open, verify that there’s no continuity. Then, with the door closed (or switch pressed), check for continuity. This confirms the switch is functioning correctly.
Step 10: Reassemble the Microwave
Carefully replace the rear panel, ensuring no wires are pinched or damaged during the process. Reinstall all screws in their original positions. Tighten them securely but avoid overtightening, as this can strip the threads in the plastic case.
Step 11: Final Testing
Plug the microwave back into the wall outlet and conduct the following tests:
- The microwave should NOT start with the door open (critical safety check)
- The door should close securely and latch properly
- The microwave should start normally when the door is closed
- No error messages should appear
- The door should not open during operation
Finally, run a test cycle with a cup of water for 30 seconds to ensure everything is functioning as it should.
Troubleshooting
If the microwave still won’t start after the switch replacement:
- Verify all wire connections are secure
- Check that the door is closing completely
- Ensure the switch is engaging properly
- Inspect for damaged wires or connectors
- Verify that the door alignment is correct
When to Call a Professional
If you’re not comfortable working with electrical components, or if problems persist after the replacement, I recommend reaching out to a professional technician. Multiple switch failures or wiring issues could signal a more complex problem that requires expert attention.
← Back to Top 20 Microwave Models & Common Repair Issues Guide
How Much Does This Repair Cost?
| Repair route | Typical cost |
|---|---|
| Do it yourself | $8–$20 (door switch set) |
| Professional repair | $80–$150 (parts and labor) |
Replacement door switch sets for the Panasonic NN-SN686S typically cost between $8–$20 for a DIY repair, depending on whether you opt for a single switch or a complete interlock kit. A professional repair shop might charge anywhere from $80 to $150 total, including labor, making this a solid DIY opportunity to save some cash on your microwave fix.
Recommended Products
Here are the parts and tools I recommend for this repair, based on compatibility and customer reviews:
- Microwave Door Interlock Switch N.O. Replacement for Panasonic NNSD987 NNSN756 NNSA746 NNT583 NN-SD987S
- LONYE W10727360 & W10269458 & W10269460 Microwave Door Switch Replacement for Whirlpool Microwave SZM-V16-FC-61 SZM-V16-FC-62 SZM-V16-FC-63
- KW3A Microwave Oven Door Switch 16A 125V/250V Door Interlock Switch – 2 Normally Open (NO) & 1 Normally Closed (NC) – Replacement for GE, Whirlpool, LG, Samsung, Frigidaire Microwave Oven
- Yoiilnz KW3A Microwave Oven Door Switch 16A 125/250V Door Interloc (2 Normally Open and 1 Normally Closed)
The Secondary Interlock Switch That Actually Stops the NN-SN686S Dead
If your NN-SN686S won’t power on or heat, even though the door closes just fine, the secondary interlock switch is almost always the failure point—and this is the exact OEM part that gets it running again. I make it a point to order this part first when diagnosing this model.
What works
- Direct OEM fit—no guessing on connector type or terminal spacing; it snaps into the existing harness without any adapter hunting.
- Solves the most common no-power symptom on this model; I’ve seen it fix units that owners thought needed a full control board replacement.
- Inexpensive enough that even if you diagnose wrong, you’re not out much—and having the OEM part on hand saves a second trip to the bench.
What doesn’t
- Won’t help if the primary door latch itself is broken or if the control board has actually failed—test with a multimeter first or you’ll install this and still have no power.
- Availability can be spotty; if Amazon is out of stock, you may need to source it through a Panasonic parts distributor, which adds days to the repair.
I once ordered the primary latch assembly thinking the secondary switch was bad, then had to backtrack—that’s why I now always use continuity testing on the switch itself before ordering. Panasonic F603Y3M00AP door switch – Amazon
About This Article

Written by Dave Holt. I have been taking apart and fixing household appliances since I was a teenager who couldn't leave a broken one alone. Eighteen years later, after fixing things for neighbors, friends, and anyone who'd let me, I have seen almost every failure mode there is — and misdiagnosed my share along the way. I am self-taught, with no formal training or certifications. When I write a repair guide here, it is based on the actual job, not a manufacturer overview. More about this site.
Scope and limits. Dave is a self-taught repairer, not a certified appliance technician. Unplug before you open anything, and leave sealed refrigeration systems, gas connections, and hardwired circuits to a qualified technician.