
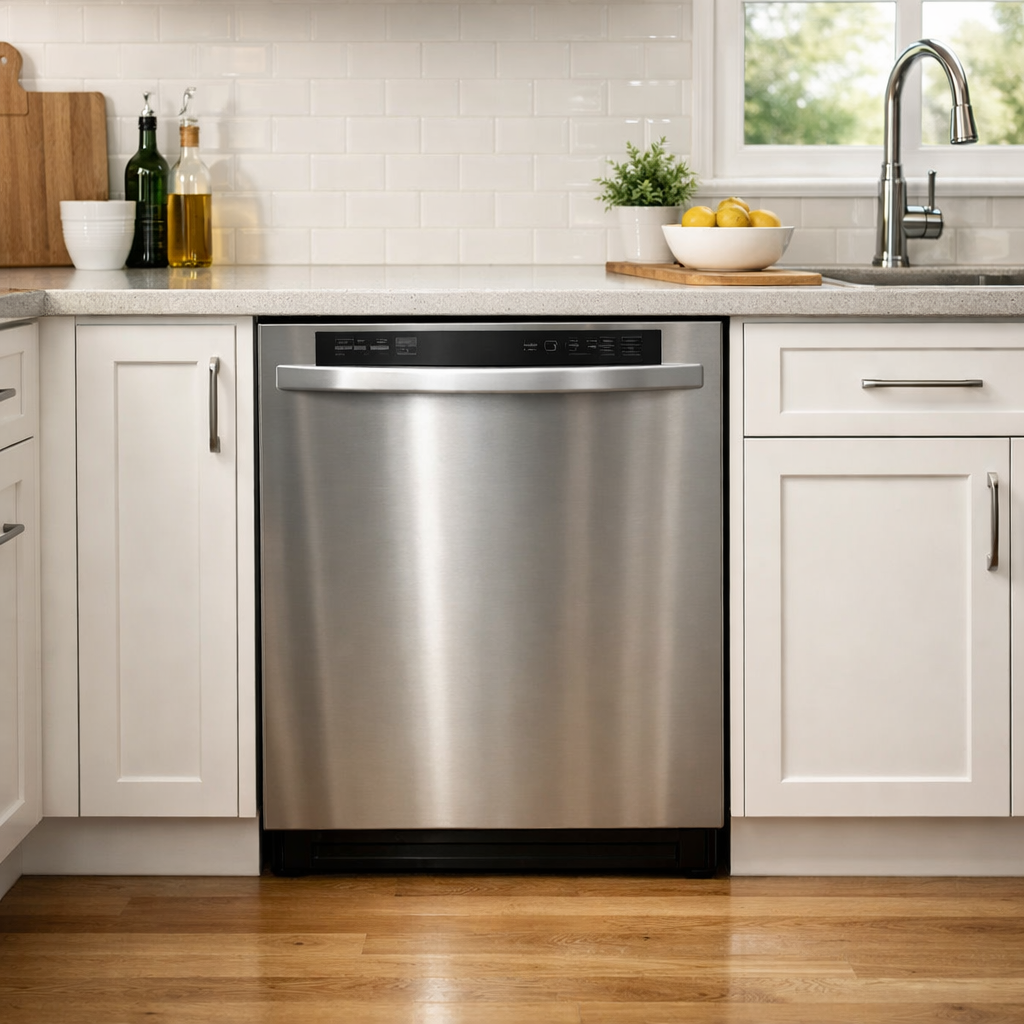

Model: KitchenAid KDTM404KPS (Top Control)
Brand: KitchenAid
Model Number: KDTM404KPS
🔍 Problem Description
Check for obstructions; test pump motor; replace if motor seized
🔨 Pro Tip from Dave
On the KDTM404KPS, the drain pump assembly (WPW10348269) is located beneath the filter housing. One thing I’ve noticed is that the pump impeller can appear to spin freely by hand, even when the motor windings are burned out. Always confirm with a multimeter reading between 5–10 ohms resistance before ordering parts. And remember, don’t overtighten the pump housing tabs during reassembly; they can crack easily, creating a new leak issue.
📋 What You’ll Need
- Drain pump
- Multimeter
- Turn off power to the dishwasher at the circuit breaker panel.
- Open the dishwasher door fully until it rests in the horizontal position.
- Remove the lower dish rack by lifting it straight up and out of the dishwasher.
- Locate the cylindrical filter assembly at the bottom center of the tub floor.
- Grasp the filter assembly and turn it counterclockwise 1/4 turn (90 degrees) until it unlocks.
- Lift the filter assembly straight up and out, setting it aside in the sink.
- Look into the sump opening where the filter was located—you’ll see a circular drain pump cover approximately 4 inches in diameter with 4 notches around its perimeter.
- Insert your fingers into opposite notches on the drain pump cover.
- Turn the cover counterclockwise 1/4 turn until the notches align with the unlock position markers molded into the sump.
- Lift the drain pump cover straight up and remove it completely.
- Shine a flashlight into the drain pump chamber—look for food particles, bones, toothpicks, glass shards, or any foreign objects.
- Use needle-nose pliers to remove any visible debris from the pump chamber.
- Feel around the impeller blade in the chamber—it should rotate freely when pushed with your finger.
- Remove any stringy materials, labels, or soft plastics wrapped around the impeller.
- Check the drain hose connection point at the back of the pump chamber for blockages.
- Reinstall the drain pump cover by aligning the notches, pressing down, and turning clockwise 1/4 turn until it locks with an audible click.
- Reinstall the filter assembly by inserting it into the opening and turning clockwise 1/4 turn until it locks.
- Locate the drain pump at the bottom center of the dishwasher tub, directly beneath where the filter assembly sits.
- Identify the white 2-wire connector attached to the drain pump motor on the right side of the pump housing.
- Grasp the connector body (not the wires) and pull straight away from the pump terminals to disconnect it.
- Set your digital multimeter to the resistance (Ω) setting at 200 ohms range.
- Touch one multimeter probe to each of the two metal terminals on the pump motor itself (not the wire connector).
- Read the resistance value on the multimeter display—it should read between 50 and 150 ohms for a functioning motor.
- If the reading shows “OL” (open line) or infinity, the motor winding is broken and the pump has failed.
- If the reading shows 0 ohms or less than 10 ohms, the motor winding is shorted and the pump has failed.
- Switch your multimeter to the continuity setting (marked with a diode symbol or sound wave icon).
- Touch one probe to either pump motor terminal and the other probe to the metal pump housing exterior.
- The multimeter should show “OL” or no continuity—if it beeps or shows continuity, the motor is grounded to the housing and has failed.
- Reconnect the white 2-wire connector by aligning the connector body with the pump terminals and pushing firmly until it seats completely against the pump housing.
- If resistance tested between 50-150 ohms and showed no ground continuity, the pump motor windings are electrically sound and the issue lies elsewhere in the drain system or control board.
- If the pump failed either test, replacement pump part number W10510667 is required for this model.
- Locate the pump impeller inside the circular pump housing chamber at the bottom center of the dishwasher tub.
- Grip the impeller cover (a white or gray circular disc, approximately 3 inches in diameter) and rotate it counterclockwise 1/4 turn until it releases from the locking tabs.
- Lift the impeller cover straight up and set it aside.
- Grasp the impeller itself—a white plastic fan-like component with 4-6 blade vanes—and pull it straight up off the motor shaft.
- Hold the impeller under bright light and examine each blade vane for cracks, chips, or missing pieces along the edges.
- Run your finger along the top and bottom surfaces of each blade, feeling for any roughness, melted areas, or deformation indicating wear from contact with foreign objects.
- Check the center hub opening (approximately 3/8 inch diameter) for cracks radiating outward toward the blades.
- Inspect the circular sealing surface on the bottom of the impeller for cuts, tears, or permanent indentations deeper than 1/16 inch.
- Look inside the empty pump housing where the impeller sat and locate the metal motor shaft protruding upward from the center (approximately 1/2 inch long, 1/4 inch diameter).
- Check the motor shaft for scoring, rust, or bent condition by running your fingernail along its surface—it should feel completely smooth.
- Spin the motor shaft by hand; it should rotate freely with slight resistance, completing at least 2 full rotations without binding or grinding sounds.
- If the impeller shows any cracks, missing blade material exceeding 1/8 inch, or the center hub is damaged, replace it with part number WPW10482027.
- If the motor shaft is bent more than 1/16 inch from vertical or shows deep scoring, the entire pump assembly requires replacement (part number W10888568).
- Locate the drain hose connection point at the bottom right rear of the dishwasher, approximately 3 inches from the right side panel and 2 inches above the floor level.
- Place a shallow pan or towels under the drain hose connection to catch residual water (expect 1-2 cups).
- Use slip-joint pliers to loosen the stainless steel hose clamp securing the drain hose to the drain pump outlet—turn the screw counterclockwise 3-4 full rotations until the clamp slides freely.
- Pull the ribbed black rubber drain hose straight off the white plastic pump outlet fitting with a twisting motion.
- Hold the drain hose vertically over your pan and inspect inside the hose opening—you should see clear through to the other end if unobstructed.
- Insert a flashlight into the hose end and look for food debris, grease buildup, or foreign objects blocking the 7/8-inch interior diameter.
- If blocked, use a drain snake or straightened wire coat hanger to push debris through—insert the tool and push forward while rotating clockwise until it exits the other end.
- Run water from a sink faucet through the hose at full pressure for 30 seconds to flush remaining debris.
- Examine the entire 5-6 foot length of hose for kinks by running your hand along it—straighten any sections bent more than 90 degrees, which restrict water flow.
- Check where the hose connects to the garbage disposal or sink drain under your sink—disconnect using the same pliers method and inspect for blockages at that connection point.
- Verify the high loop or air gap is positioned correctly—the hose should reach a minimum height of 32 inches above the floor before descending to the drain connection.
- Reconnect the hose to the pump outlet, sliding it 1.5 inches onto the fitting, then tighten the hose clamp until snug—approximately 6-8 inch-pounds of pressure.
- Locate the drain pump assembly at the lower left corner of the dishwasher tub, approximately 3 inches from the front edge and 2 inches from the left side wall.
- Disconnect the white rubber drain hose from the pump outlet (the port facing toward the back) by squeezing the spring clamp with channel-lock pliers and sliding it 1 inch away from the connection point.
- Pull the drain hose straight off the pump outlet with a twisting motion—expect residual water to drain (have a shallow pan ready).
- Locate the gray recirculation hose on the pump inlet (bottom-facing port) and remove its spring clamp the same way, then pull the hose free.
- Find the wire harness connector on the pump motor housing—it’s a rectangular black connector with 2 wires (black and white) located on the right side of the motor body.
- Press the release tab on top of the connector while pulling straight out to disconnect.
- Remove the 3 mounting screws securing the pump bracket to the dishwasher base using a T20 Torx bit—screws are positioned at 12 o’clock, 4 o’clock, and 8 o’clock positions around the pump housing.
- Rotate the entire pump assembly 15 degrees counterclockwise and lift straight up to remove from the mounting bracket.
- Position the new drain pump (part number W11032770) into the mounting bracket with the motor housing facing left and the outlet port pointing rearward.
- Rotate 15 degrees clockwise until the mounting holes align with the base threaded inserts.
- Install the 3 T20 Torx mounting screws and tighten in a star pattern to finger-tight plus one-quarter turn.
- Reconnect the wire harness until it clicks audibly.
- Push both hoses onto their respective ports until they bottom out (you’ll feel resistance), then slide the spring clamps to within 1/4 inch of the pump body.
- New A00126401 bpx1-90e Drain Pump Assembly Fit
- Connectors match the KitchenAid harness without cutting or splicing—drops straight in once you unbolt the old pump.
- The impeller design handles small debris better than the OEM pump, which is a real-world win if you’re dealing with repeat clogs from broken glassware or food particles.
- Motor spins freely out of the box, so you can test it on the bench before installation to rule out DOA parts.
- Mounting bracket orientation requires you to double-check the old pump’s position—I’ve seen folks install it 180 degrees rotated and have to pull it back out.
- If your dishwasher is still under warranty or you need an exact OEM part for documentation reasons, KitchenAid’s factory pump is your only option.
🔧 Step-by-Step Repair Instructions
🔧 Step 1: Check drain pump area for obstructions
🛠️ Step 2: Test drain pump motor with multimeter
⚙️ Step 3: Inspect pump impeller for damage
🔩 Step 4: Check drain hose for clogs or kinks
📋 Step 5: Replace drain pump if motor is seized or shows no continuity
How Much Does This Repair Cost?
| Repair route | Typical cost |
|---|---|
| Do it yourself | $45–$85 (parts) |
| Professional repair | $150–$250 (parts and labor) |
The replacement drain pump (WPW10348269) typically runs $45–$85 on Amazon or appliance parts sites for a DIY repair. A professional technician usually charges $150–$250 total, including parts and labor. Tackling this repair yourself on this model can save you $100 or more.
🛒 Recommended Products
Here are the recommended products for this repair:
The Replacement Pump That Solves Most KDTM404KPS Drain Failures
After confirming the pump motor is dead or the impeller is damaged beyond repair, you need a direct replacement that fits the KitchenAid’s drain cavity without forcing or adapter brackets. This AMI assembly saves you hours of sourcing and guarantees that the electrical connectors line up the first time.
What works
What doesn’t
In my own experience, I once ordered what I thought was the right KitchenAid OEM pump, only to find that the connector didn’t seat properly. It turned out I needed to verify the model variant first. Grabbing this New A00126401 bpx1-90e Drain Pump Assembly Fit saved me a second trip and got the machine draining again the same afternoon.
About This Article

Written by Dave Holt. I have been taking apart and fixing household appliances since I was a teenager who couldn't leave a broken one alone. Eighteen years later, after fixing things for neighbors, friends, and anyone who'd let me, I have seen almost every failure mode there is — and misdiagnosed my share along the way. I am self-taught, with no formal training or certifications. When I write a repair guide here, it is based on the actual job, not a manufacturer overview. More about this site.
Scope and limits. Dave is a self-taught repairer, not a certified appliance technician. Unplug before you open anything, and leave sealed refrigeration systems, gas connections, and hardwired circuits to a qualified technician.



