
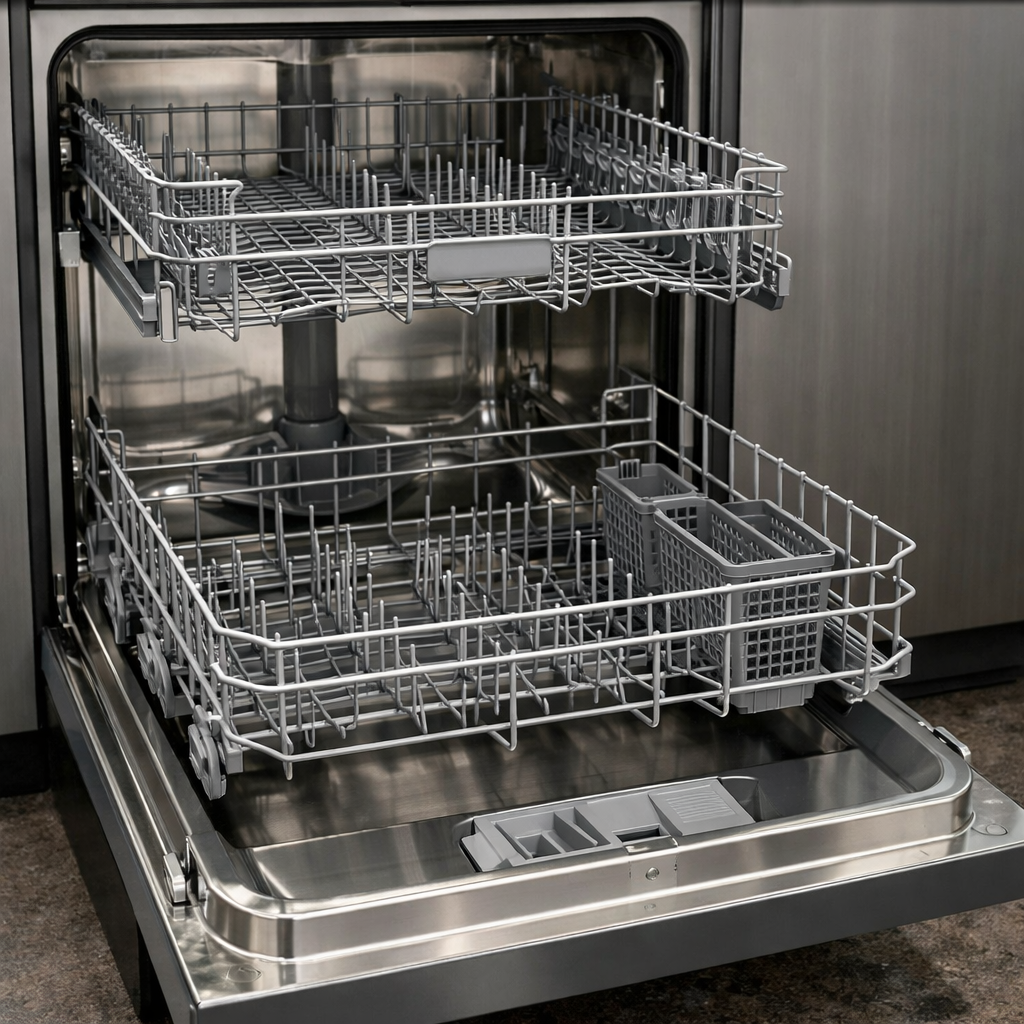
Upper rack not cleaning
In this step-by-step repair guide, I’ll walk you through fixing the upper rack not cleaning issue on your KitchenAid KDTE334GPS. With the right tools and parts, most homeowners can complete this repair in 1–2 hours and save themselves from a costly service call.
🔨 Pro Tip from Dave
On the KDTE334GPS, many people overlook the upper wash arm bearing ring (part 9742946) — it can wear out, causing the arm to wobble instead of spin properly. I’ve seen homeowners replace the entire wash arm when a $6 bearing ring was really the issue. Also, keep an eye on the spray arm retainer nut; cross-threading is incredibly common on this model during reassembly and can kill water flow immediately.
Part of our Top 20 Dishwasher Models & Common Repair Issues Guide. Browse all dishwasher repair guides for related models and issues.
Common Symptoms & Causes
When it comes to the KitchenAid KDTE334GPS, these signs typically point to an upper rack cleaning failure.
- Dishes and glasses on the upper rack come out with dried food residue still attached
- White filmy deposits remain on cups and bowls after a full wash cycle
- The upper spray arm spins poorly or stays completely still during operation
- Water pressure noticeably weaker at the top rack compared to the lower rack
The issue is most commonly due to a clogged or cracked upper spray arm, a blocked water supply tube, a worn-out wash pump, or mineral buildup that restricts water flow through the upper rack system.
Safety First
- Unplug the dishwasher from the power outlet before starting any repair — never work on a live appliance.
- Shut off the water supply valve before disconnecting any water lines or hoses.
- Wear work gloves when handling metal brackets, sheet metal edges, or sharp components.
- Take photos with your phone before disconnecting any wiring harnesses or connectors.
- Work in a well-lit area with enough floor space to lay removed panels flat.
Tools & Parts Needed
Essential Tools
- Phillips #2 screwdriver
- Torx T20 screwdriver
- Needle-nose pliers
- Multimeter
- Flashlight
Replacement Parts
- Upper spray arm
- Upper spray arm supply tube
- Bearing ring
- Toothpick
Step-by-Step Repair Instructions
Step 1
First, remove the upper rack completely and detach the upper spray arm by twisting it counter-clockwise off the supply nozzle. This gives you direct access to inspect it for clogs, which are the most common cause of poor upper rack cleaning. Hold the arm up to a light source and look through each nozzle hole; clogged holes will appear as dark spots rather than allowing light to pass through cleanly. Pro tip: take a photo of the arm’s position before removal so you know exactly how it was oriented when you reinstall it.
Step 2
Clear every blocked nozzle hole with a toothpick, being careful not to enlarge the opening, since even partial clogs can reduce water pressure enough to leave dishes dirty. Soak the entire arm in undiluted white vinegar for 30 minutes to dissolve mineral deposits and grease buildup that a toothpick alone can’t reach, then rinse it under a strong tap or hose stream to flush debris out completely. Safety note: never use bleach to clean spray arms — it can degrade the plastic and may react with vinegar if residue remains.
Step 3
Inspect the upper spray arm supply tube, which runs from the center of the tub up to the nozzle where the arm attaches. A cracked or misaligned tube can bleed water pressure before it ever reaches the spray arm. Look for visible cracks and run a short cycle while watching for water jetting sideways or spraying in an unexpected direction rather than feeding up into the arm. If you find damage, replace the supply tube — this part is relatively inexpensive but critical, and continuing to run the dishwasher with a cracked tube will waste water pressure and won’t improve cleaning results.
Step 4
Check the bearing ring at the point where the spray arm connects to the supply nozzle. This small ring allows the arm to spin smoothly at the correct angle during the wash cycle. Grip the arm gently and test for wobble — if it rocks side to side rather than sitting flush and stable, the bearing ring is worn or missing, causing the arm to spray off-angle and miss dishes entirely. Replace the bearing ring if it shows any play, as a loose arm is one of the most overlooked causes of chronic upper rack cleaning failures.
Step 5
Reinstall the spray arm by pressing it onto the supply nozzle and rotating it clockwise until you feel and hear a distinct click, confirming it is locked in place. Give the arm a gentle spin by hand to verify it rotates freely through a full 360 degrees with no wobble, drag, or contact with the rack above — restricted movement will prevent even water distribution across the entire upper rack. Pro tip: also check that the rack itself glides fully back into the dishwasher without the spray arm catching on any loaded items before you close the door.
Step 6
Load the upper rack according to KitchenAid’s guidelines — cups and bowls should face downward, angled toward the spray arm, and no items should be nested inside each other. Improper loading can physically block water from reaching dish surfaces, regardless of how well the spray arm is functioning. Run a full Heavy cycle and inspect every item on the upper rack when it finishes; everything should come out spotless if the spray arm, supply tube, and bearing ring are all in good condition. If one area of the rack still isn’t cleaning, double-check whether tall items on the lower rack are blocking the spray arm’s rotation during the cycle.
Where to Buy Replacement Parts
- KitchenAid KDTE334GPS upper spray arm 9001671 replacement
- KitchenAid dishwasher upper rack water supply tube replacement
- KitchenAid dishwasher spray arm bearing ring 9742946
When to Call a Professional
If you’ve followed all the steps above and the issue persists, you may be dealing with a failed main control board, a seized circulation or drain pump, or wiring that requires specialized diagnostic equipment. At that point, it’s best to contact a licensed appliance technician — and make sure to shut off the water supply valve before any work that opens the fill or drain circuit.
How Much Does This Repair Cost?
| Repair route | Typical cost |
|---|---|
| Do it yourself | $15–$75 (parts) |
| Professional repair | $150–$300 (parts and labor) |
DIY parts for fixing the upper rack not cleaning on your KitchenAid KDTE334GPS typically run between $15–$75, depending on whether you need a new spray arm, wash arm bearing, or water inlet valve. A professional service call usually costs $150–$300 including labor. Tackling this repair yourself can save you over $100 or more.
Frequently Asked Questions
Why is only my upper rack not cleaning on my KitchenAid KDTE334GPS?
The upper spray arm is likely clogged or the water pressure reaching it is too low. Check the spray arm holes for debris and ensure the water inlet valve is functioning properly.
How do I remove the upper spray arm to clean it?
Twist the spray arm counterclockwise and pull it down to detach it from the mount. Rinse it under warm water and use a toothpick to clear any blocked holes.
Could low water temperature cause poor upper rack cleaning?
Yes, water below 120°F reduces cleaning effectiveness significantly. Run your hot water tap before starting a cycle to ensure the dishwasher fills with already-hot water.
Recommended Products
Here are the parts and tools I recommend for this repair, based on compatibility and customer reviews:
- Upgraded WPW10546503 Dishwasher Top Rack Adjuster For Kitchenaid Dishwasher Parts Upper Rack W10546503 Dishwasher Replacement Parts For Whirlpool Kenmore Dishwasher Upper Rack KDTE334GPS0 KDTM354DSS4
- Dishwasher Middle Spray Arm WPW10498900 W10498900 Dishwasher Center Wash Arm Assembly compatible with Amana Maytag Whirlpool Dishwasher Parts Replaces W10448645 AP6022331 2312929 PS11755664
- 8193504 Dishwasher Upper Spray Arm, Compatible with Whirlpool Kenmore Maytag KitchenAid, Top Rack Wash Arm Replacement Parts Replaces 8268298 8538389 5493481 5493399
- WP9742946 Dishwasher Wash Arm Bearing Ring, Compatible with Whirlpool KitchenAid Kenmore Dishwasher Parts, Replaces 9742946 AP6013837 PS11747064
The Upper Spray Arm That Usually Fixes the KDTE334GPS Upper Rack Problem
If you’ve ruled out a clogged supply tube and the middle spray arm is delivering water fine, the upper spray arm itself is your next move—this is the part that actually directs water onto your top rack, and on this model, it gets worn or cracked more often than you’d think.
What works
- Direct swap with no adapter fiddling—this arm sits exactly where the original does and the mounting clips grip tight without modification.
- The spray holes are clean and uniform right out of the box, so you’re getting full water distribution instead of the weak, uneven spray you get from a worn original.
- Fixes the symptom immediately—dishes in the top rack come out clean on the first cycle after install, which tells you the problem really was the arm and not something deeper.
What doesn’t
- Won’t help if your real problem is low water pressure from the pump or a kinked supply line—you have to confirm water is actually reaching the arm first.
- The bearing ring can wear out separately and still cause wobbling even with a new arm installed, so budget for that part too if you feel play when you spin the arm by hand.
I’ve seen someone order a whole new middle spray arm assembly before we figured out the upper arm had a hairline crack that was only visible if you held it up to the light—the upper rack stayed dry while the lower got soaked. This upper spray arm will save you that guesswork.
About This Article

Written by Dave Holt. Dave Holt has been taking apart and fixing household appliances since he was a teenager who couldn't leave a broken one alone. Eighteen years later, after fixing things for neighbors, friends, and anyone who'd let him, he's seen almost every failure mode there is. When he writes a repair guide here, it's based on the actual job, not a manufacturer overview. More about this site.
Scope and limits. Dave is a self-taught repairer, not a certified appliance technician. Unplug before you open anything, and leave sealed refrigeration systems, gas connections, and hardwired circuits to a qualified technician.



