
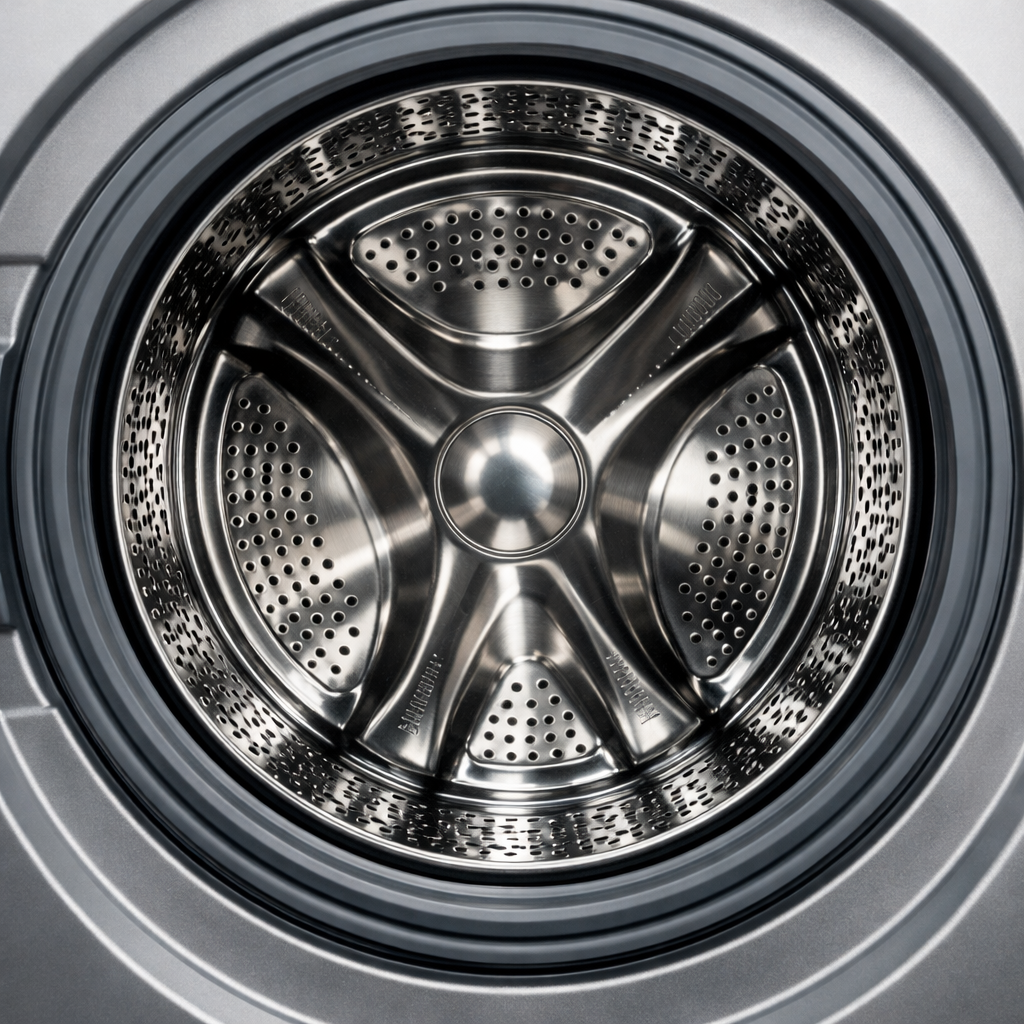
Sensor bar dirty
In this guide, I’ll take you through the process of fixing a sensor bar dirty issue on your LG DLGX7701VE (Gas). With the right tools and parts, you can typically tackle this repair in about 1–2 hours and save yourself a costly service call.
🔨 Pro Tip from Dave
On the DLGX7701VE, the moisture sensor bars (part EBG61106801) are located just inside the drum opening on the front bulkhead. A common mistake I’ve seen is using abrasive scrubbers that scratch the metal strips — once they’re scratched, they collect residue even faster. Use a cotton ball with rubbing alcohol only, and keep an eye out for dryer sheet wax buildup, as this model’s airflow pattern tends to deposit softener residue onto the sensor bars more quickly than other LG units.
Part of our Top 20 Dryer Models & Common Repair Issues Guide. Browse all dryer repair guides for related models and issues.
Common Symptoms & Causes
If you notice your LG DLGX7701VE gas dryer starting to act up, a dirty sensor bar might be the culprit. Here are some symptoms that could indicate this issue:
- Your clothes come out damp even after the drying cycle is complete.
- The dryer stops mid-cycle before the laundry is fully dry.
- Drying times become significantly longer than usual.
- The dryer runs for a short time then shuts off as if the load is already dry.
Typically, these symptoms stem from residue buildup — fabric softener, lint, or mineral deposits — coating the moisture sensor bar and interfering with its ability to detect moisture levels accurately.
Safety First
- Unplug the dryer from the power outlet before starting any repair — never work on a live appliance.
- Wear work gloves when handling metal brackets, sheet metal edges, or sharp components.
- Take photos with your phone before disconnecting any wiring harnesses or connectors.
- Work in a well-lit area with enough floor space to lay removed panels flat.
Tools & Parts Needed
Essential Tools
- Phillips #2 screwdriver
- ¼” nut driver
- Putty knife
- Multimeter
- Work gloves
Replacement Parts
- Moisture sensor bars (replacement pair)
- 0000-grade steel wool
- white vinegar
- cloth
Step-by-Step Repair Instructions
Step 1
The sensor bars are two horizontal metal strips located inside the drum at the lint screen opening. They measure moisture by detecting electrical conductivity between them. Residue from dryer sheets and minerals can create an insulating layer on the bars, making the dryer think clothes are dry when they aren’t. Using 0000-grade steel wool, gently scrub both strips until the coating is removed — this grade is fine enough to clean without scratching the metal.
Step 2
Once you’ve scrubbed the bars, wipe them down thoroughly with a cloth dampened in white vinegar. This helps dissolve any leftover mineral deposits and neutralizes residue the steel wool might have loosened. Finish by drying the bars with a clean cloth — they should look like bright, bare metal without any dull film or discoloration, confirming good electrical contact. Avoid touching the bars with bare fingers after cleaning to prevent skin oils from re-coating the surface.
Step 3
If the bars appear pitted, corroded, or cracked, cleaning won’t restore reliable conductivity, and they must be replaced. Start by removing the two Phillips screws securing the sensor bar assembly to the front bulkhead, then disconnect the two wire connectors — take note or photograph their positions to ensure proper reinstallation. Pro tip: replacement sensor bars are inexpensive OEM parts, usually under $20, so don’t put a degraded bar back into service if you want to avoid recurring issues.
Step 4
Lint buildup around the sensor area can increase resistance and mimic the effect of dirty bars, so it’s wise to clean the lint screen housing while you’re at it. Use a long-handled brush to push deep into the housing channel and work it around the sides to dislodge compacted lint that standard cleaning misses. Doing this after cleaning the bars but before testing ensures you isolate the sensor as the fixed variable.
Step 5
To avoid the newly cleaned bars from recoating quickly, switch from dryer sheets to liquid fabric softener added during the wash cycle. Dryer sheets deposit wax on the sensor bars with every load. If you use dryer sheets, wipe the sensor bars with a dry cloth monthly as a maintenance habit. This change can often be the most impactful long-term fix because dirty bars will return quickly if dryer sheets are still in use.
Step 6
Once all repairs are complete, run a functional test by loading a full batch of damp clothes, selecting the Auto Dry cycle, and observing the results. A properly functioning sensor circuit will run the drum until the clothes are genuinely dry, then shut off within about two minutes of reaching that dryness threshold. If the dryer shuts off early or runs excessively long, the sensor circuit or control board may have an underlying fault that requires further diagnosis.
Where to Buy Replacement Parts
- LG DLGX7701VE moisture sensor bar 6602EL3001A replacement
- LG gas dryer sensor dry stops early fabric softener sheet
- dryer sensor bar steel wool cleaning method
When to Call a Professional
If the issue persists after completing all the steps above, you may be looking at a failed main control board, a defective heating element or thermal cutoff, or wiring that requires specialized diagnostic equipment. In such cases, it’s best to contact a licensed appliance technician. And remember, on gas dryers, do not attempt work on the gas valve or supply line — that work should only be carried out by a licensed gas fitter in most places.
How Much Does This Repair Cost?
| Repair route | Typical cost |
|---|---|
| Do it yourself | $5 (parts) |
| Professional repair | $150–$300 (parts and labor) |
Cleaning a dirty sensor bar is a low-cost DIY repair, typically requiring only a cotton swab and rubbing alcohol, costing under $5. In contrast, a professional service call for the same fix can run between $150 and $300 after considering labor and trip fees. Doing this yourself can save you over $100 for a straightforward, beginner-friendly task.
Frequently Asked Questions
How do I know if the sensor bar on my LG DLGX7701VE is dirty and not broken?
If your dryer shuts off early but your clothes are still damp, a dirty sensor bar is likely the cause. A genuinely faulty sensor will typically trigger an error code, while a dirty one will just give inaccurate moisture readings.
What should I use to clean the sensor bar on this LG gas dryer?
Use a soft cloth lightly dampened with rubbing alcohol to wipe the two metal sensor bars inside the drum. Avoid abrasive cleaners, as they can scratch the surface and worsen performance.
How often should I clean the sensor bar on my LG DLGX7701VE?
I recommend cleaning the sensor bar every one to three months, especially if you use dryer sheets regularly. The residue from dryer sheets is the most common cause of sensor bar buildup on this model.
Recommended Products
These are the parts and tools I recommend for this repair, based on compatibility and customer reviews:
- (2 Pack) Rayhoor 6500EL3001A Dryer Moisture Sensor Bar Replacement Part Fit for LG Kenmore – Replaces PD00001914, 1268224, AP4445128, EAP3529161
- 6500EL3001A – OEM Upgraded Replacement for LG Dryer Moisture Sensor Bar
The Steel Wool That Actually Cleans Without Damaging the LG DLGX7701VE Sensor Bar
Before you think about ordering a replacement sensor bar, grab some 0000-grade steel wool—this is the go-to for this model because the sensor prongs are delicate, and coarser grades can leave scratches that trigger false readings. In my experience, it’s the only abrasive material fine enough to remove stubborn lint and mineral deposits without creating new problems.
What works
- Removes heavy lint buildup and white mineral deposits that a regular cloth won’t touch—I’ve seen it restore sensor function on dryers that were already cycling into high-heat mode.
- Fine enough that it won’t scratch the ceramic prongs or the surrounding metal housing, which matters because even microscopic scratches can create air pockets that fool the moisture reading.
- Works quickly with light pressure—you don’t need to scrub hard, which reduces the risk of accidentally pushing debris deeper into the sensor assembly or loosening connections inside the dryer.
What doesn’t
- Won’t fix a genuinely failed sensor bar—if you clean it and the dryer still isn’t detecting moisture, you’re looking at a part replacement, not a cleaning problem.
- Coarser grades (like 000 or 00) will scratch the prongs and make things worse, so you have to order the right grit or you’re wasting time and potentially making a diagnosis harder.
The most common mistake I see is people grabbing whatever steel wool is at the hardware store without checking the grade. I’ve seen someone order 00-grade, damage the prongs, and then think the sensor was actually dead and buy a replacement unnecessarily. Start with 0000-grade steel wool and save the replacement part for after you’ve confirmed cleaning didn’t solve it.
About This Article

Written by Dave Holt. Dave Holt has been taking apart and fixing household appliances since he was a teenager who couldn't leave a broken one alone. Eighteen years later, after fixing things for neighbors, friends, and anyone who'd let him, he's seen almost every failure mode there is. When he writes a repair guide here, it's based on the actual job, not a manufacturer overview. More about this site.
Scope and limits. Dave is a self-taught repairer, not a certified appliance technician. Unplug before you open anything, and leave sealed refrigeration systems, gas connections, and hardwired circuits to a qualified technician.

