
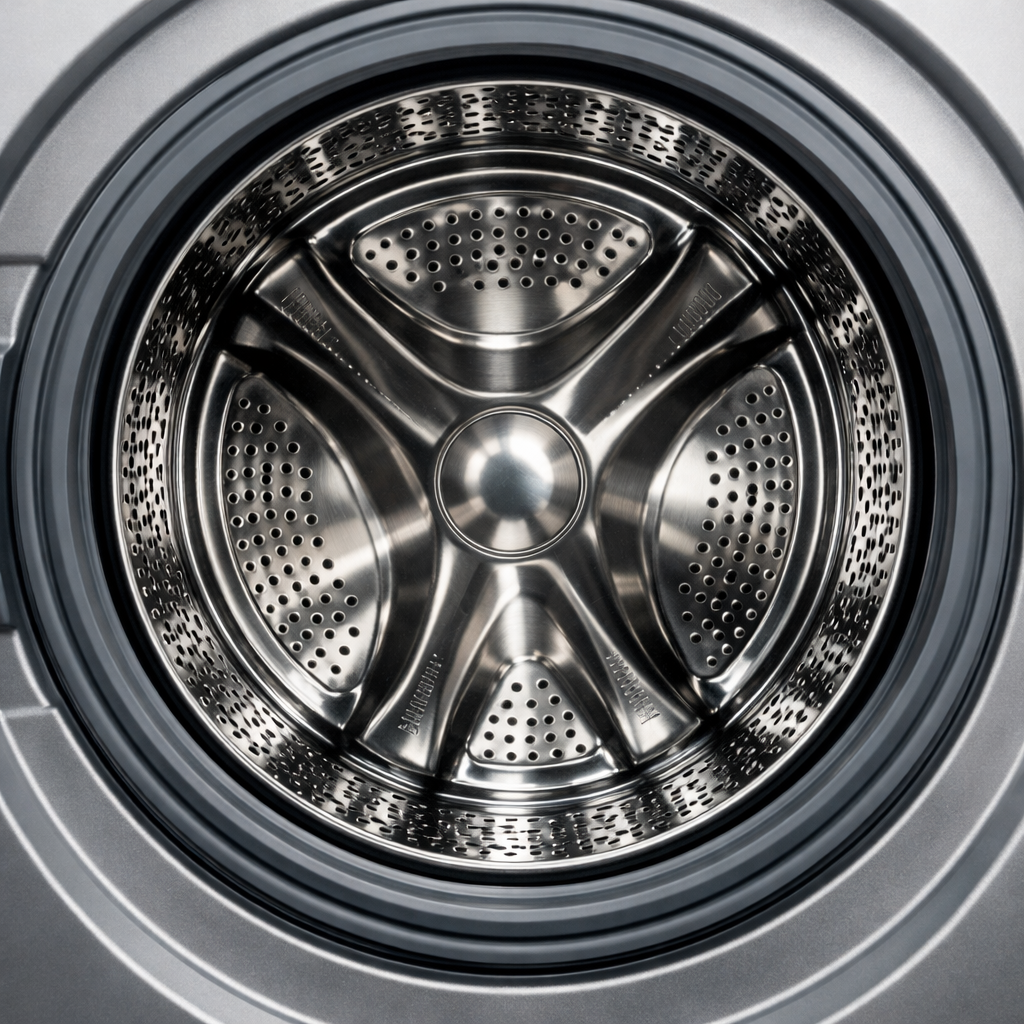
Not drying — condenser pump clog
In this guide, I’ll walk you through fixing the not drying — condenser pump clog issue on your Bosch WTW87NH1UC (Condenser Heat Pump). With the right tools and parts, you can complete this repair in just 1–2 hours, saving yourself a costly service call.
🔨 Pro Tip from Dave
On the WTW87NH1UC, the condenser pump is easily accessed through the lower front panel. However, a common mistake I’ve seen is forgetting to fully drain the water reservoir before starting the repair. Skipping this step can flood the base tray and trigger unrelated error codes. The pump assembly uses part number 00145212, and be sure to check the rubber outlet hose connection at reassembly; a loose fit can lead to slow leaks that are hard to trace later.
Part of our Top 20 Dryer Models & Common Repair Issues Guide. Browse all dryer repair guides for related models and issues.
Common Symptoms & Causes
If you’re experiencing a condenser pump clog on your Bosch WTW87NH1UC heat pump dryer, you might notice the following symptoms:
- Clothes come out damp or completely wet after a full drying cycle.
- The dryer displays error code E:02 or a condensation drawer warning.
- The condensate drawer remains empty even after multiple cycles.
- The drum runs and heats briefly, then the cycle extends unusually long without finishing.
These issues are typically caused by lint, debris, or mineral buildup blocking the condenser pump, which prevents it from evacuating collected moisture and disrupts the heat exchange cycle.
Safety First
- Unplug the dryer from the power outlet before starting any repair — it’s crucial to never work on a live appliance.
- Wear work gloves when handling metal brackets, sheet metal edges, or sharp components.
- Take photos with your phone before disconnecting any wiring harnesses or connectors.
- Work in a well-lit area with enough space to lay removed panels flat.
Tools & Parts Needed
Essential Tools
- Phillips #2 screwdriver
- ¼” nut driver
- Putty knife
- Multimeter
- Work gloves
Replacement Parts
- Condenser filter
- base tray
- small brush
- warm water
Step-by-Step Repair Instructions
Step 1
First thing’s first: unplug the dryer before servicing. Then, open the condenser access panel on the lower-left front (it swings outward) and pull the lint filter from its slot. Rinse the filter under warm running water and let it dry completely before reinstalling. A clogged lint filter is usually the top culprit for poor drying in heat pump models because it restricts airflow. Pro tip: keep a second clean filter handy so you can swap immediately and run the dryer without waiting for the wet filter to dry.
Step 2
Slide out the base condensate tray from the lower-right area behind the access panel, empty any standing water, and wash the tray with warm soapy water. This tray collects moisture from your laundry, and if it overfills or is blocked, it can trigger the dryer’s flood-protection sensor, stopping the drying cycle prematurely. Make sure the tray seats fully when reinstalled; a partially seated tray can cause the same sensor fault.
Step 3
With the tray removed, inspect the condenser fin block visible inside the lower chamber for lint buildup between the fins. Even a thin layer of lint across the fins can significantly cut heat exchange efficiency, causing the dryer to run for hours without effectively drying clothes. Use a soft brush to loosen debris, then vacuum it away — avoid using high-pressure air, as it can bend the delicate aluminum fins.
Step 4
Bosch heat pump dryers recirculate warm air through a closed loop instead of exhausting it, which means all moisture and lint stays inside the machine and accumulates on the condenser filter. Unlike vented dryers that can tolerate occasional missed filter cleaning, heat pump models will noticeably underperform after just a few cycles with a dirty filter. Bosch recommends cleaning the condenser filter every 5 cycles as a strict minimum.
Step 5
To test if the condensate pump is the root cause, reinstall the condenser filter, remove the tray, plug the dryer in, and run a normal cycle while watching the pump outlet for water flow. If the pump is operational, you should see water actively draining during the cycle; if there’s no flow despite the tray area being wet, the pump motor has likely failed. You can access the pump motor from the rear of the machine by removing two screws and disconnecting the wiring harness, then test for continuity with a multimeter before ordering a replacement. Don’t forget to unplug the dryer again before opening the rear panel.
Step 6
Once everything is reinstalled, run a full normal cycle with a medium-sized load and note the total drying time. A well-serviced Bosch WTW87NH1UC should complete a medium load in about 150–180 minutes. If it runs significantly longer, the condenser filter might still be partially blocked, or the condenser fins may require more thorough cleaning. Be sure to check the filter again before running another load.
Where to Buy Replacement Parts
- Bosch WTW87NH1UC condenser filter cleaning procedure
- Bosch heat pump dryer lint filter condenser maintenance
- Bosch dryer pump filter base drawer cleaning
When to Call a Professional
If the issue persists after completing all the steps above, you might be dealing with a sealed refrigerant system issue, a failed main control board, or faulty wiring that requires specialized diagnostic equipment. In that case, it’s best to contact a licensed appliance technician, as attempting sealed-system repairs without proper certification is illegal and unsafe.
How Much Does This Repair Cost?
| Repair route | Typical cost |
|---|---|
| Do it yourself | $15–$60 (parts) |
| Professional repair | $150–$300 (parts and labor) |
DIY parts for a condenser pump clog repair on the Bosch WTW87NH1UC typically cost $15–$60, which includes a replacement drain pump or cleaning supplies. A professional service call for the same issue usually ranges from $150–$300 in parts and labor. By tackling this repair yourself, you can save $100–$250 or more.
Frequently Asked Questions
How do I know if my Bosch WTW87NH1UC has a condenser pump clog and not another drying issue?
If your drum spins and heat generates but clothes remain wet, then a blocked condenser pump is likely the issue. You might also notice water pooling inside the drum or see an error code on the display.
Can I clean the condenser pump myself without a technician?
Absolutely! Most homeowners can clear a condenser pump clog by accessing the pump filter behind the front lower panel. Just remember to unplug the dryer before you start any cleaning or inspection.
How often should I clean the condenser pump on my Bosch heat pump dryer?
Bosch suggests cleaning the condenser and pump filter every few months, depending on how often you use your dryer. Regular maintenance helps prevent clogs and keeps drying performance at its best.
The Base Tray Replacement That Stops Water Backup in the WTW87NH1UC
Once you’ve cleared the pump clog, you may find that the base tray itself is warped, cracked, or has accumulated enough lint residue to hinder proper drainage even with a clean pump. Replacing the tray eliminates the guesswork and ensures condensate flows freely going forward.
What works
- Sits flush against the dryer housing with no gaps—I’ve seen cheap aftermarket trays rock slightly, causing water to puddle instead of drain.
- The drain port alignment matches the factory spec exactly, so you don’t have to jury-rig the pump connection or force anything into place.
- Comes pre-molded with the right slope and drainage channels, which older or damaged trays lose over time.
What doesn’t
- You have to pull the entire front panel and disconnect the pump hose to swap it out—it’s not a five-minute job if you’ve never done it.
- If your pump is still clogged or the pump outlet itself is blocked, replacing the tray alone won’t fix the drying problem.
I’ve seen someone insist the pump was the culprit when really the tray had hairline cracks that weren’t visible until I removed it—water was weeping out the sides instead of down the drain. Swapping in a fresh base tray solved it instantly.
About This Article

Written by Dave Holt. Dave Holt has been taking apart and fixing household appliances since he was a teenager who couldn't leave a broken one alone. Eighteen years later, after fixing things for neighbors, friends, and anyone who'd let him, he's seen almost every failure mode there is. When he writes a repair guide here, it's based on the actual job, not a manufacturer overview. More about this site.
Scope and limits. Dave is a self-taught repairer, not a certified appliance technician. Unplug before you open anything, and leave sealed refrigeration systems, gas connections, and hardwired circuits to a qualified technician.

