
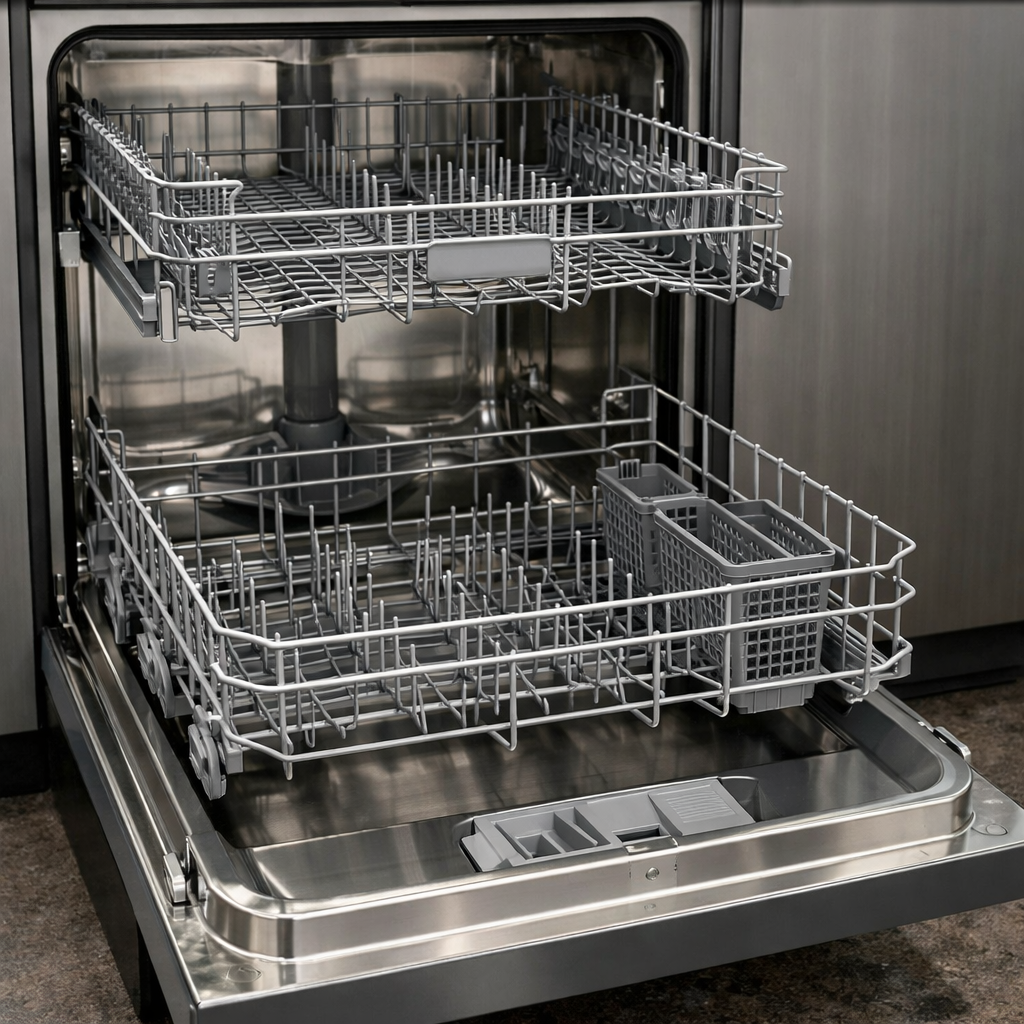
I30 error — leak detected
In this guide, I’ll take you through the steps to fix the I30 error — leak detected on your Frigidaire FGID2476SF. With the right tools and parts, you can complete this repair in just 1–2 hours, saving yourself the cost of a service call.
🔨 Pro Tip from Dave
On the FGID2476SF, remember to check the inlet valve assembly (part number 154637401) as it can develop slow leaks that trigger the I30 error without any visible signs. I often see homeowners jump to replace the door gasket first, skipping the vital step of checking the float sensor (part 154852701). If the base pan still holds water, it can keep the float switch activated even after the leak is fixed. Always tilt the machine forward to drain it completely before resetting.
Part of our Top 20 Dishwasher Models & Common Repair Issues Guide. Browse all dishwasher repair guides for related models and issues.
Common Symptoms & Causes
Here are the signs that typically indicate an I30 leak detection error on the Frigidaire FGID2476SF dishwasher:
- The dishwasher display shows the “I30” error code and the cycle halts mid-wash.
- Water is visibly pooling in the base pan beneath the dishwasher tub.
- The drain pump runs non-stop even after the cycle has completed.
- A float switch in the base pan triggers and prevents the unit from starting.
This issue is most often caused by a worn door gasket, a cracked spray arm, a loose hose connection, or a faulty water inlet valve that allows water to escape into the base pan over time.
Safety First
- Unplug the dishwasher from the power outlet before starting any repair — never work on a live appliance.
- Shut off the water supply valve before disconnecting any water lines or hoses.
- Wear work gloves when handling metal brackets, sheet metal edges, or sharp components.
- Take photos with your phone before disconnecting any wiring harnesses or connectors.
- Work in a well-lit area with enough floor space to lay removed panels flat.
Tools & Parts Needed
Essential Tools
- Phillips #2 screwdriver
- Torx T20 screwdriver
- Needle-nose pliers
- Multimeter
- Flashlight
Replacement Parts
- Float switch
- door gasket
- water inlet valve fitting
- dry towels
Step-by-Step Repair Instructions
Step 1
First things first, disconnect the power at the breaker or by unplugging the unit. Water and live electricity don’t mix. Next, remove the two Phillips screws securing the kick plate, and pull it free to access the base pan. Shine a flashlight across the pan floor; if you see standing water, you’ve got an active leak. Use towels to soak up all the water to accurately assess the float switch and trace the leak source in the following steps.
Step 2
Locate the anti-flood float switch in the front-left corner of the base pan. This is the safety device that triggered the I30 error by rising with the water level. If the float is stuck in the raised position, that means water pressure is holding it up. Removing the remaining water should allow it to drop back down. Gently press the float down by hand to ensure it moves freely; a stuck float will keep triggering the I30 even after fixing the leak.
Step 3
With the base pan dry, inspect the four most common leak sources on this model: the door bottom gasket, the water inlet valve supply fitting at the left rear, the drain hose connection at the pump, and the circulation pump shaft seals. Look for signs of failure — a torn gasket, mineral-crusted fittings, loose hose clamps, or dark oily residue around the pump seals. Pro tip: run your fingers over each component to check for dampness; slow leaks can dry quickly under heat.
Step 4
If the door gasket is the issue — torn, cracked, or pulled out of its groove — pull it free from the retaining groove around the tub opening. No tools are needed. Clean any debris or mold from the channel with a damp cloth to ensure the new gasket seats evenly and creates a proper seal. Press the replacement gasket firmly into the groove starting at the top center and working your way around; it requires no adhesive and must sit fully recessed to avoid leaks.
Step 5
Tighten any loose hose clamps or supply fittings hand-firm plus a quarter turn with pliers. Be cautious not to overtighten plastic fittings, as this can crack them and lead to worse leaks. If the inlet valve supply fitting is visibly cracked, you’ll need to replace the entire inlet valve assembly, as cracked plastic can’t be sealed with tape or sealant. Ensure all hose clamps are positioned over the bead of the fitting, not on the smooth hose barrel, which is a common installation mistake.
Step 6
Before restoring power, dry the base pan thoroughly with towels, then allow 15–20 minutes of air drying to avoid residual moisture that could reactivate the float switch and trigger another false I30. Reinstall the kick plate loosely or leave it off entirely, restore power, and run a short wash cycle while observing the base pan with a flashlight during the first five minutes — this is when water pressure is highest and any remaining leak will show itself. If the base pan stays dry through a full cycle, reinstall the kick plate and consider the job complete.
Where to Buy Replacement Parts
- Frigidaire FGID2476SF float switch 154372401 replacement
- Frigidaire dishwasher door gasket 154614001 replacement
- Frigidaire dishwasher base pan water leak source
When to Call a Professional
If you continue to experience issues after following these steps, the problem may involve a failed main control board, a seized circulation or drain pump, or wiring that requires specialized diagnostic equipment. In this case, it’s best to contact a licensed appliance technician — and remember to shut off the water supply valve before any work that opens the fill or drain circuit.
How Much Does This Repair Cost?
| Repair route | Typical cost |
|---|---|
| Do it yourself | $10–$75 (parts) |
| Professional repair | $150–$300 (parts and labor) |
For DIY parts to fix an I30 leak error on the Frigidaire FGID2476SF, you can expect to spend between $10–$75, depending on whether you’re replacing the door gasket, float switch, or hose. A professional service call typically costs $150–$300 once you factor in labor. By tackling this repair yourself, you can save at least $100 or more.
Frequently Asked Questions
Is it safe to run my Frigidaire FGID2476SF while the I30 error is active?
No, you should not run the dishwasher until the leak is located and repaired. Continuing to operate it risks water damage to your floor and cabinetry.
Where is the most common source of the leak that triggers the I30 error?
The door gasket and the water inlet valve are the most frequent culprits. Inspect both components first before checking internal hoses.
How do I reset the I30 error after fixing the leak?
Once the leak is repaired, tilt the dishwasher to drain any water from the base pan, then restore power. The error should clear automatically after a successful cycle.
The Door Gasket That Stops the I30 Error Before It Floods Your Base Pan
If water is pooling in the base of your FGID2476SF and triggering the I30 leak alert, a deteriorated door gasket is often the first culprit—water seeps past the seal during the wash cycle and collects where the float switch sits. Replacing the gasket is usually the fastest fix and prevents repeated false alarms from a soaked pan.
What works
- Gasket material is thick and flexible enough to compress properly against the door frame without tearing during installation—no fighting with a brittle replacement.
- Seals tight immediately; you can run a test cycle right after install and see the difference in how much (or how little) water sits in the base pan.
- Removes cleanly from the old channel without leaving residue that would prevent a tight seal on the new gasket.
What doesn’t
- Won’t fix the I30 error if your float switch is already stuck or faulty—you’ll still get false alarms even with a brand-new gasket.
- Installation requires removing the inner door panel, which means taking out screws and carefully disconnecting the door latch assembly; not a five-minute swap.
I’ve had plenty of DIYers order a float switch first because they assumed the sensor was bad, only to find out after replacing the gasket that the real leak source was water sneaking past the seal all along. Save yourself the second order and start with the door gasket if you’re seeing standing water in the pan.
About This Article

Written by Dave Holt. Dave Holt has been taking apart and fixing household appliances since he was a teenager who couldn't leave a broken one alone. Eighteen years later, after fixing things for neighbors, friends, and anyone who'd let him, he's seen almost every failure mode there is. When he writes a repair guide here, it's based on the actual job, not a manufacturer overview. More about this site.
Scope and limits. Dave is a self-taught repairer, not a certified appliance technician. Unplug before you open anything, and leave sealed refrigeration systems, gas connections, and hardwired circuits to a qualified technician.



